Configure the final steps and use the map in the Editor
Click on Map Datasets. Choose the dataset you just created.
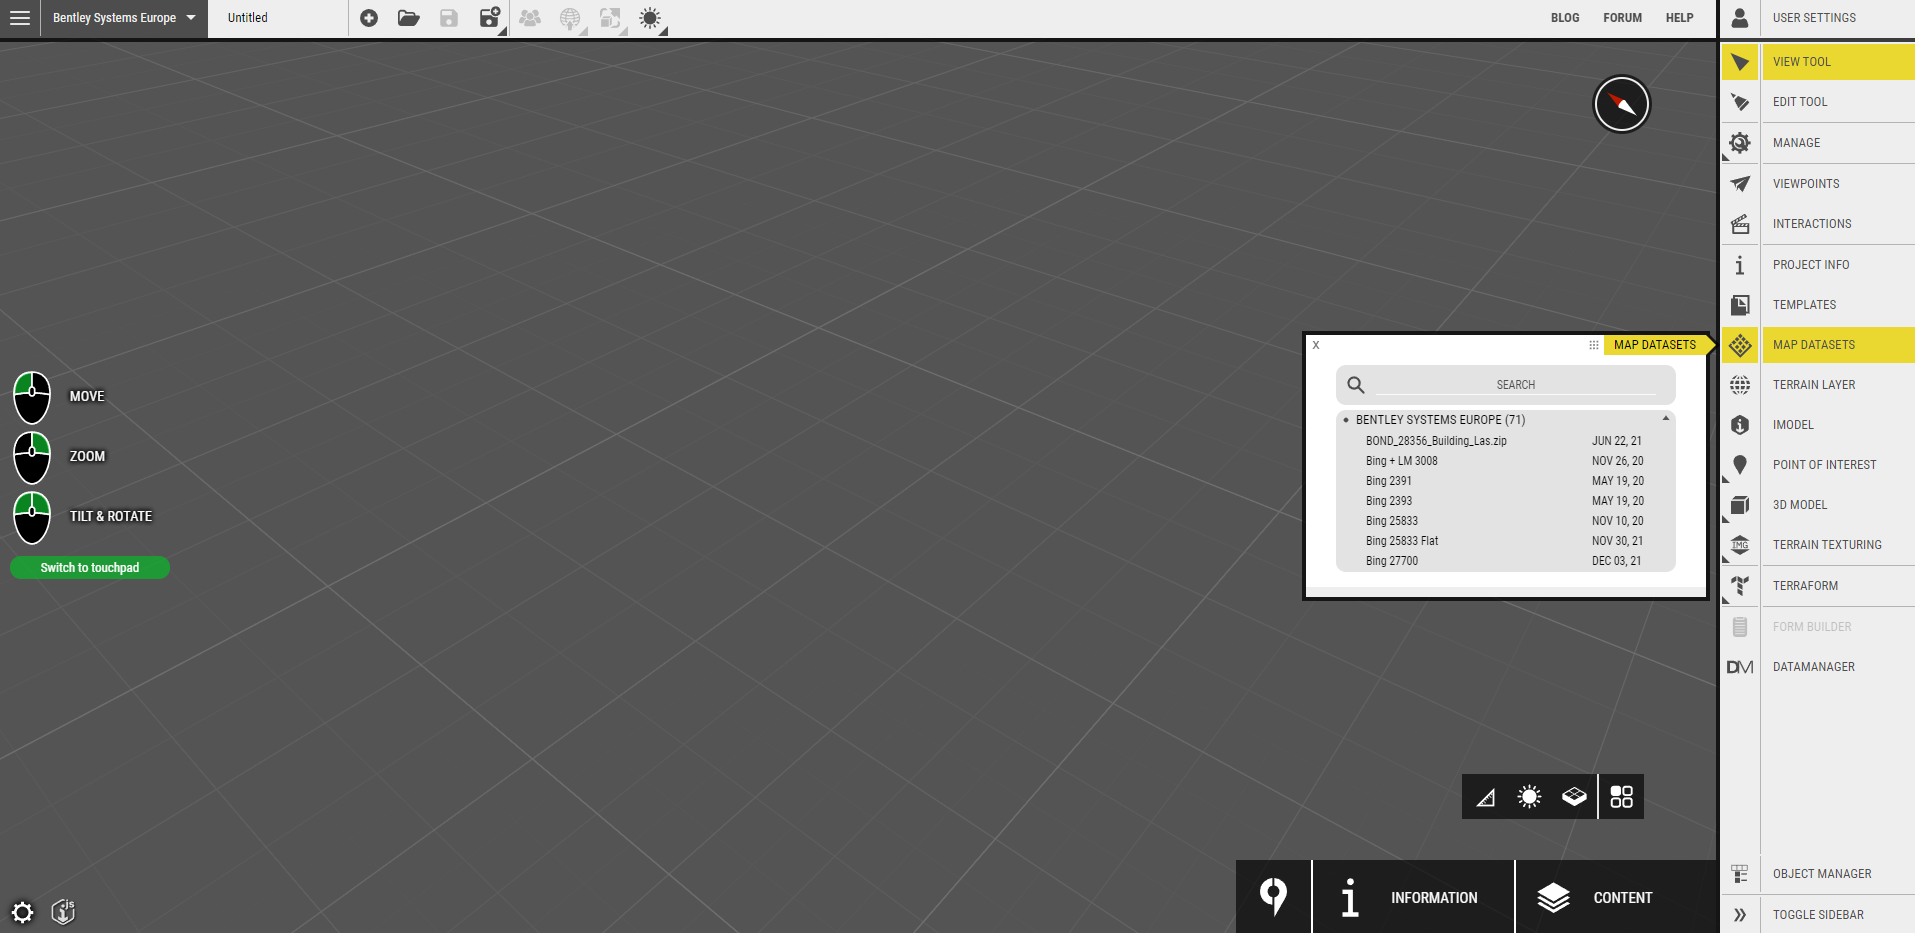
After you have selected the dataset, a properties window will be shown for the added dataset. If the dataset is not visible in the current view, use the Navigate to object button to fly to the dataset bounds.
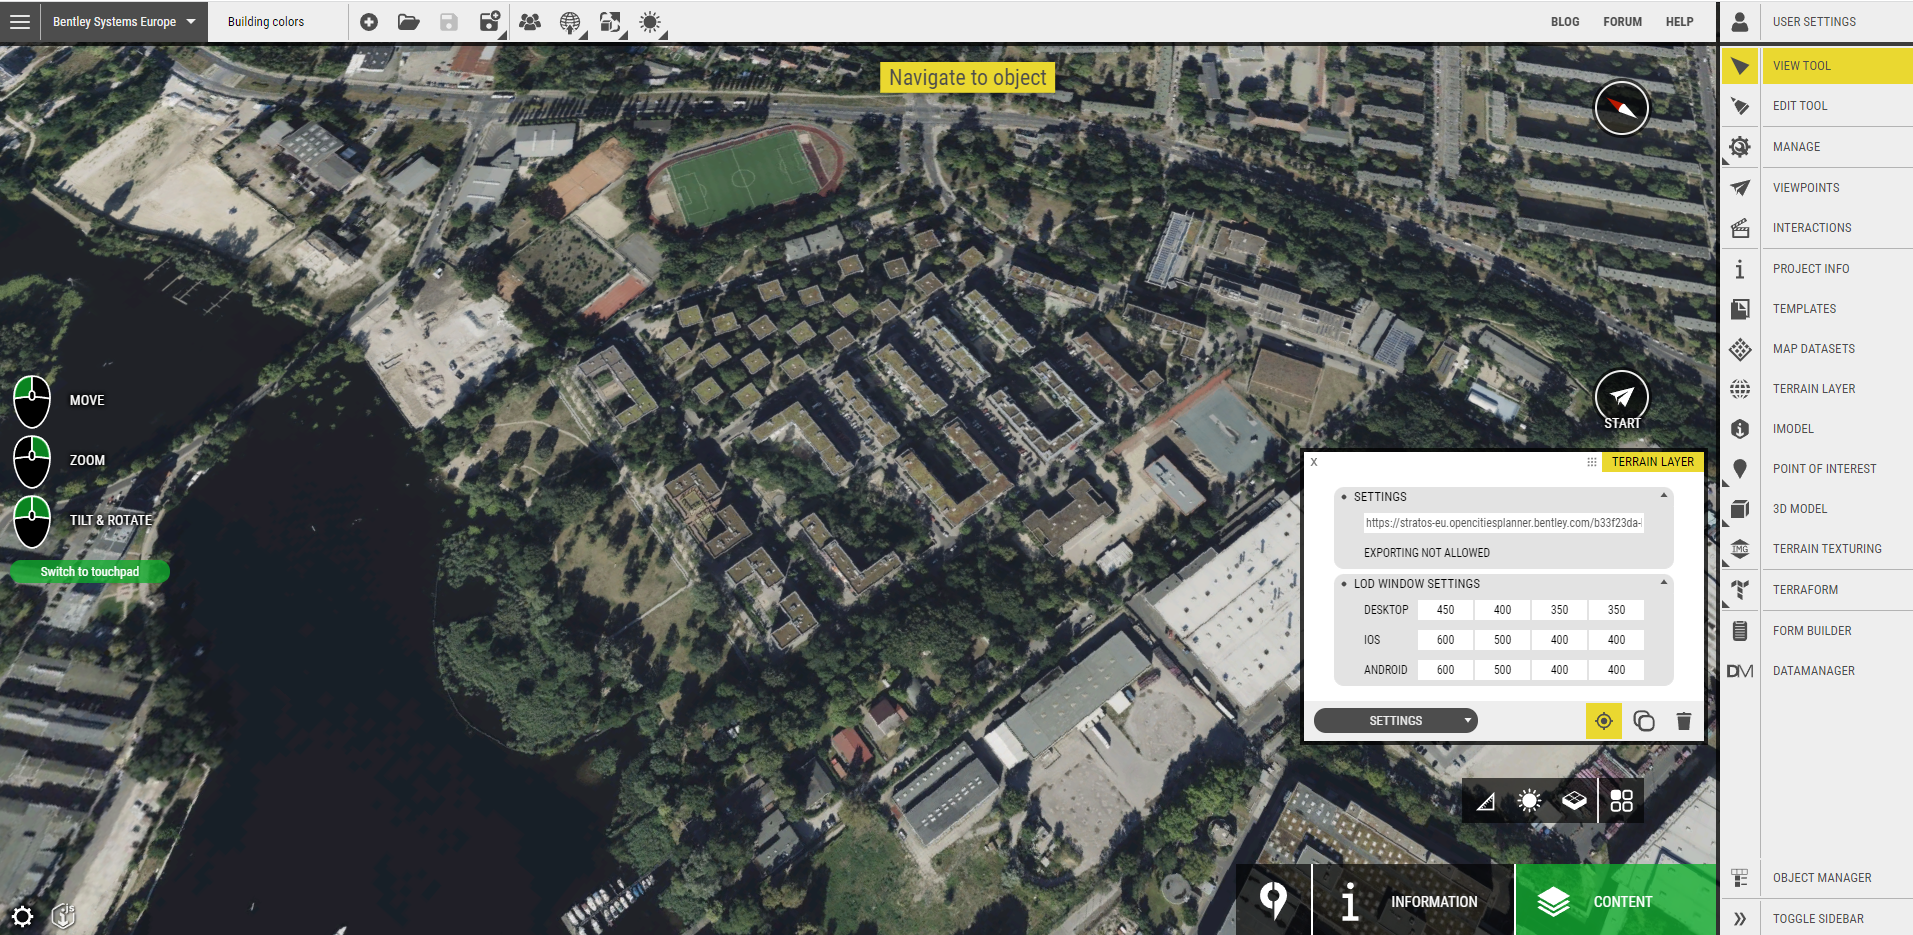
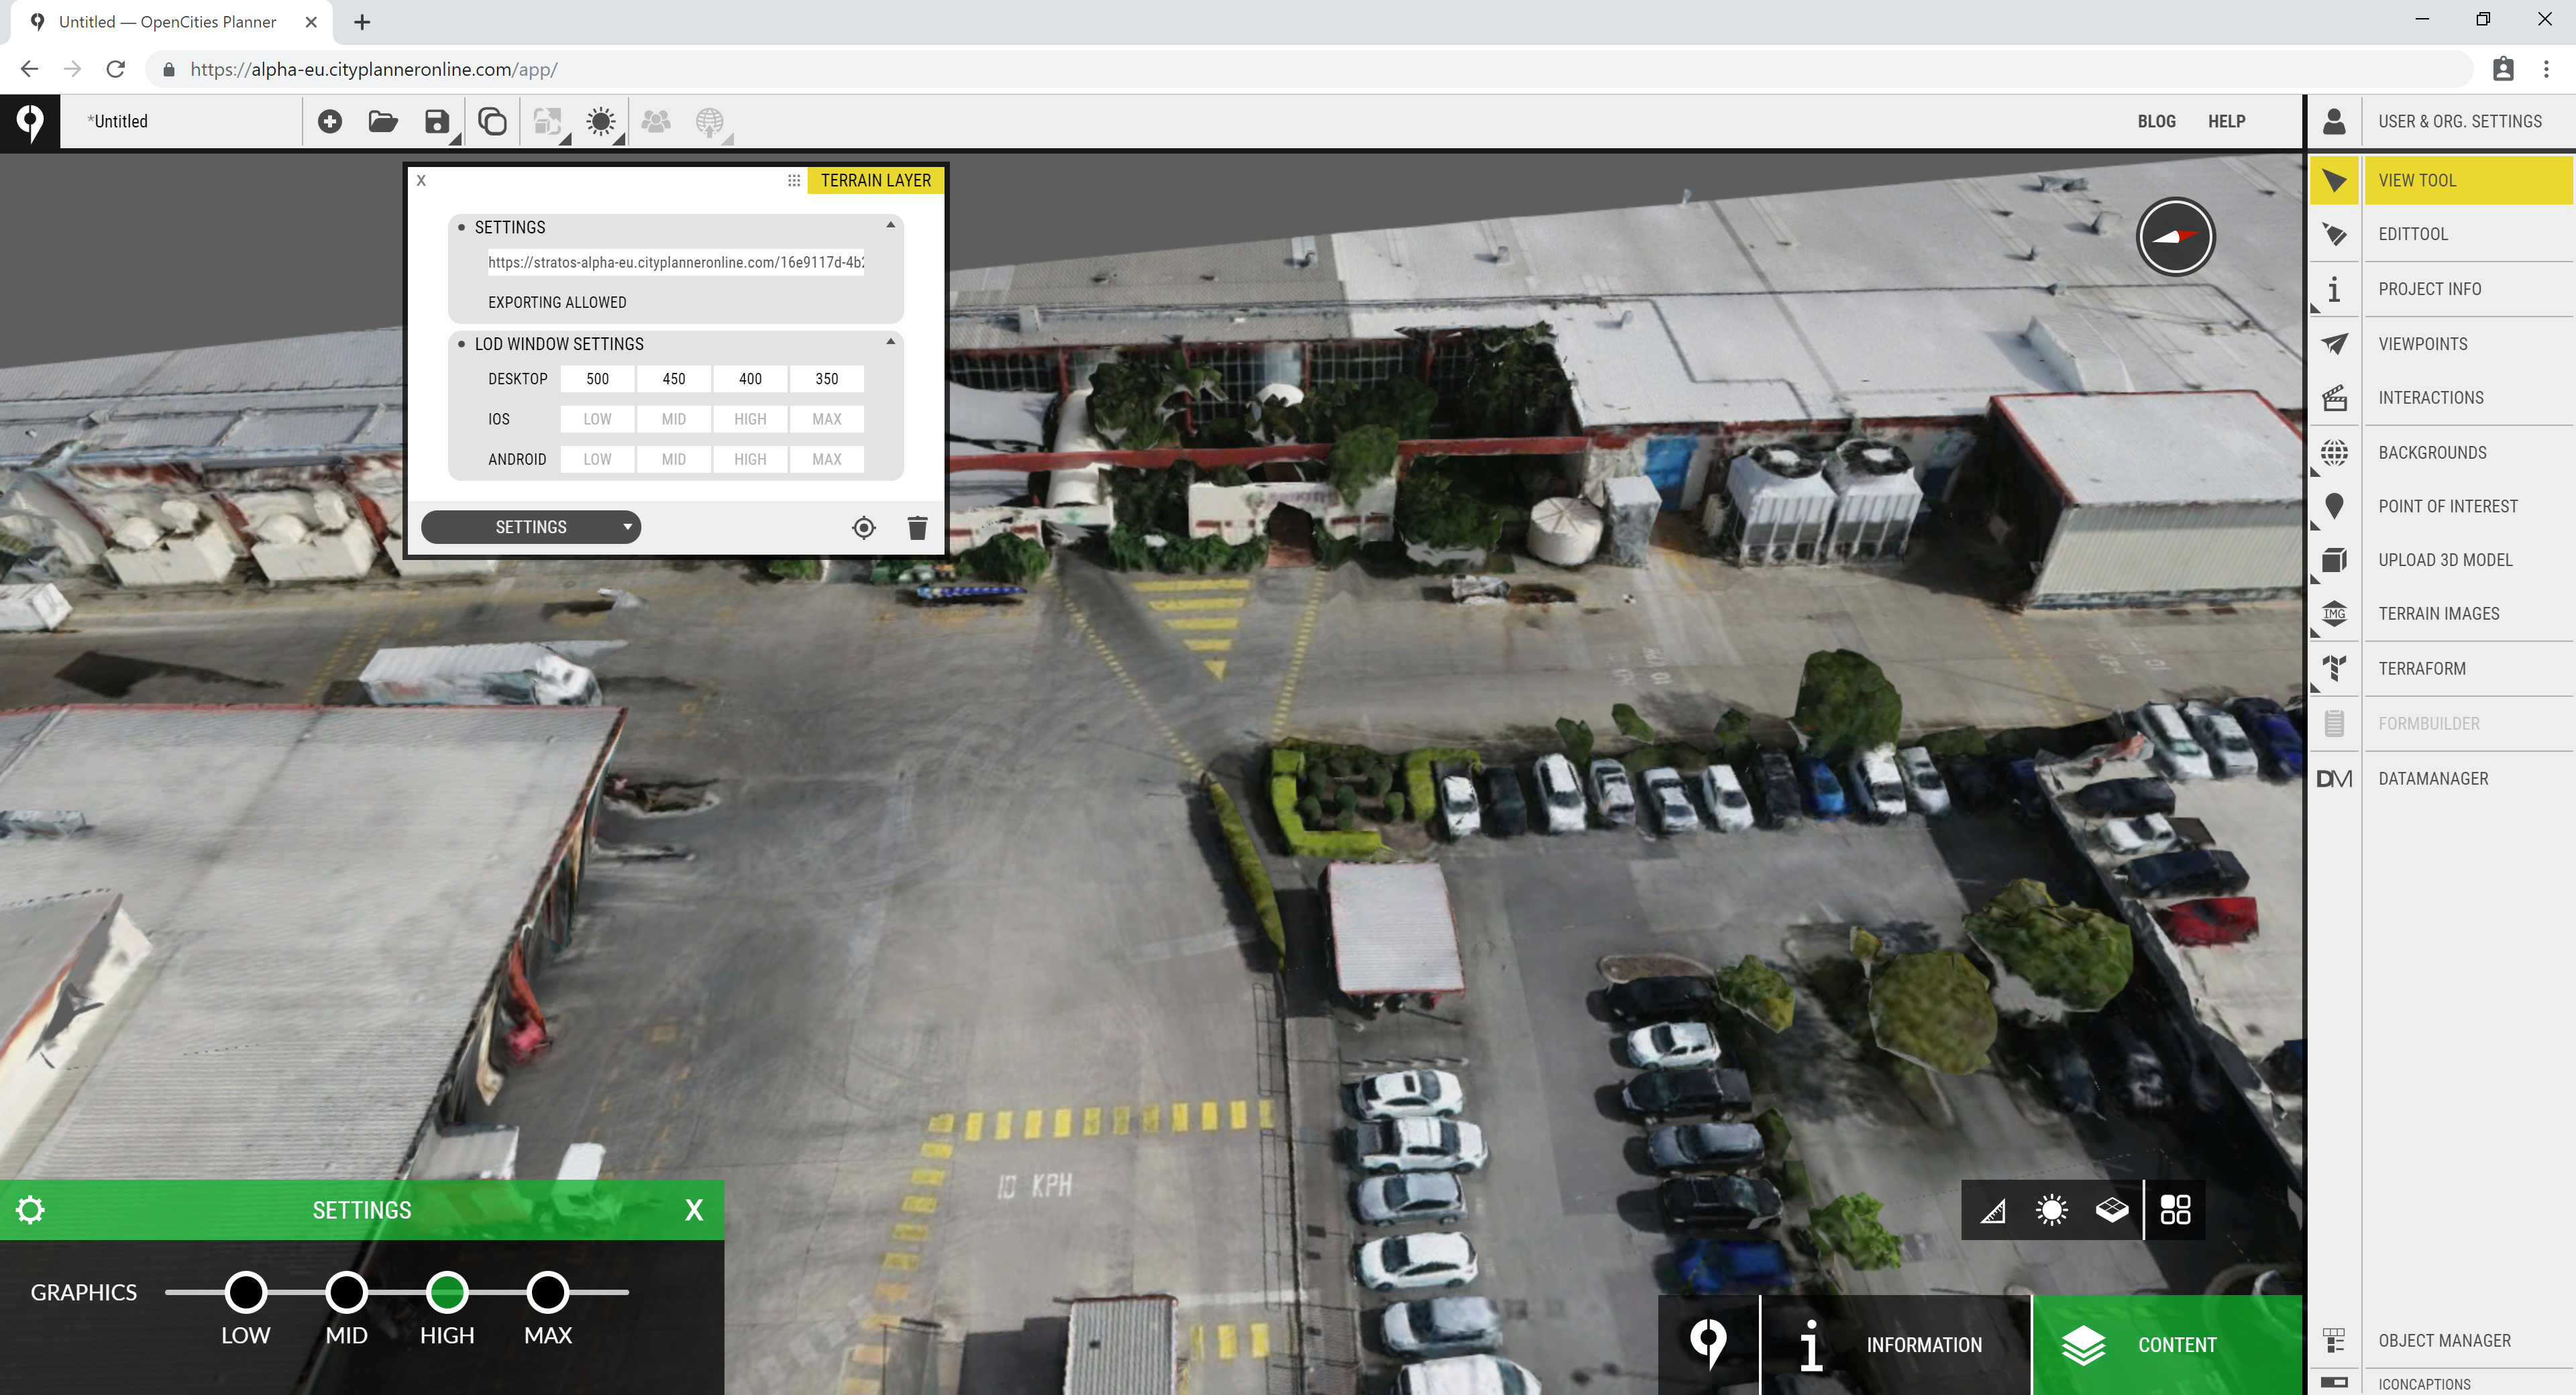
Next, if you want, you can change the LOD Window settings. They will be configured automatically when the dataset is created but you can change them if you want.
LOD settings determine resolution quality for the graphics setting in OpenCities Planner. The columns represent Low, Medium, High, Max.
Higher numbers mean lower quality.
Read more about LOD Window Setting here: Terrain Layer & LOD Window Settings
Start with something like 500, 450, 400, 350, and see if that works for your dataset and intended low-end devices. When you make a change, you have to toggle between the graphics settings to see the change.
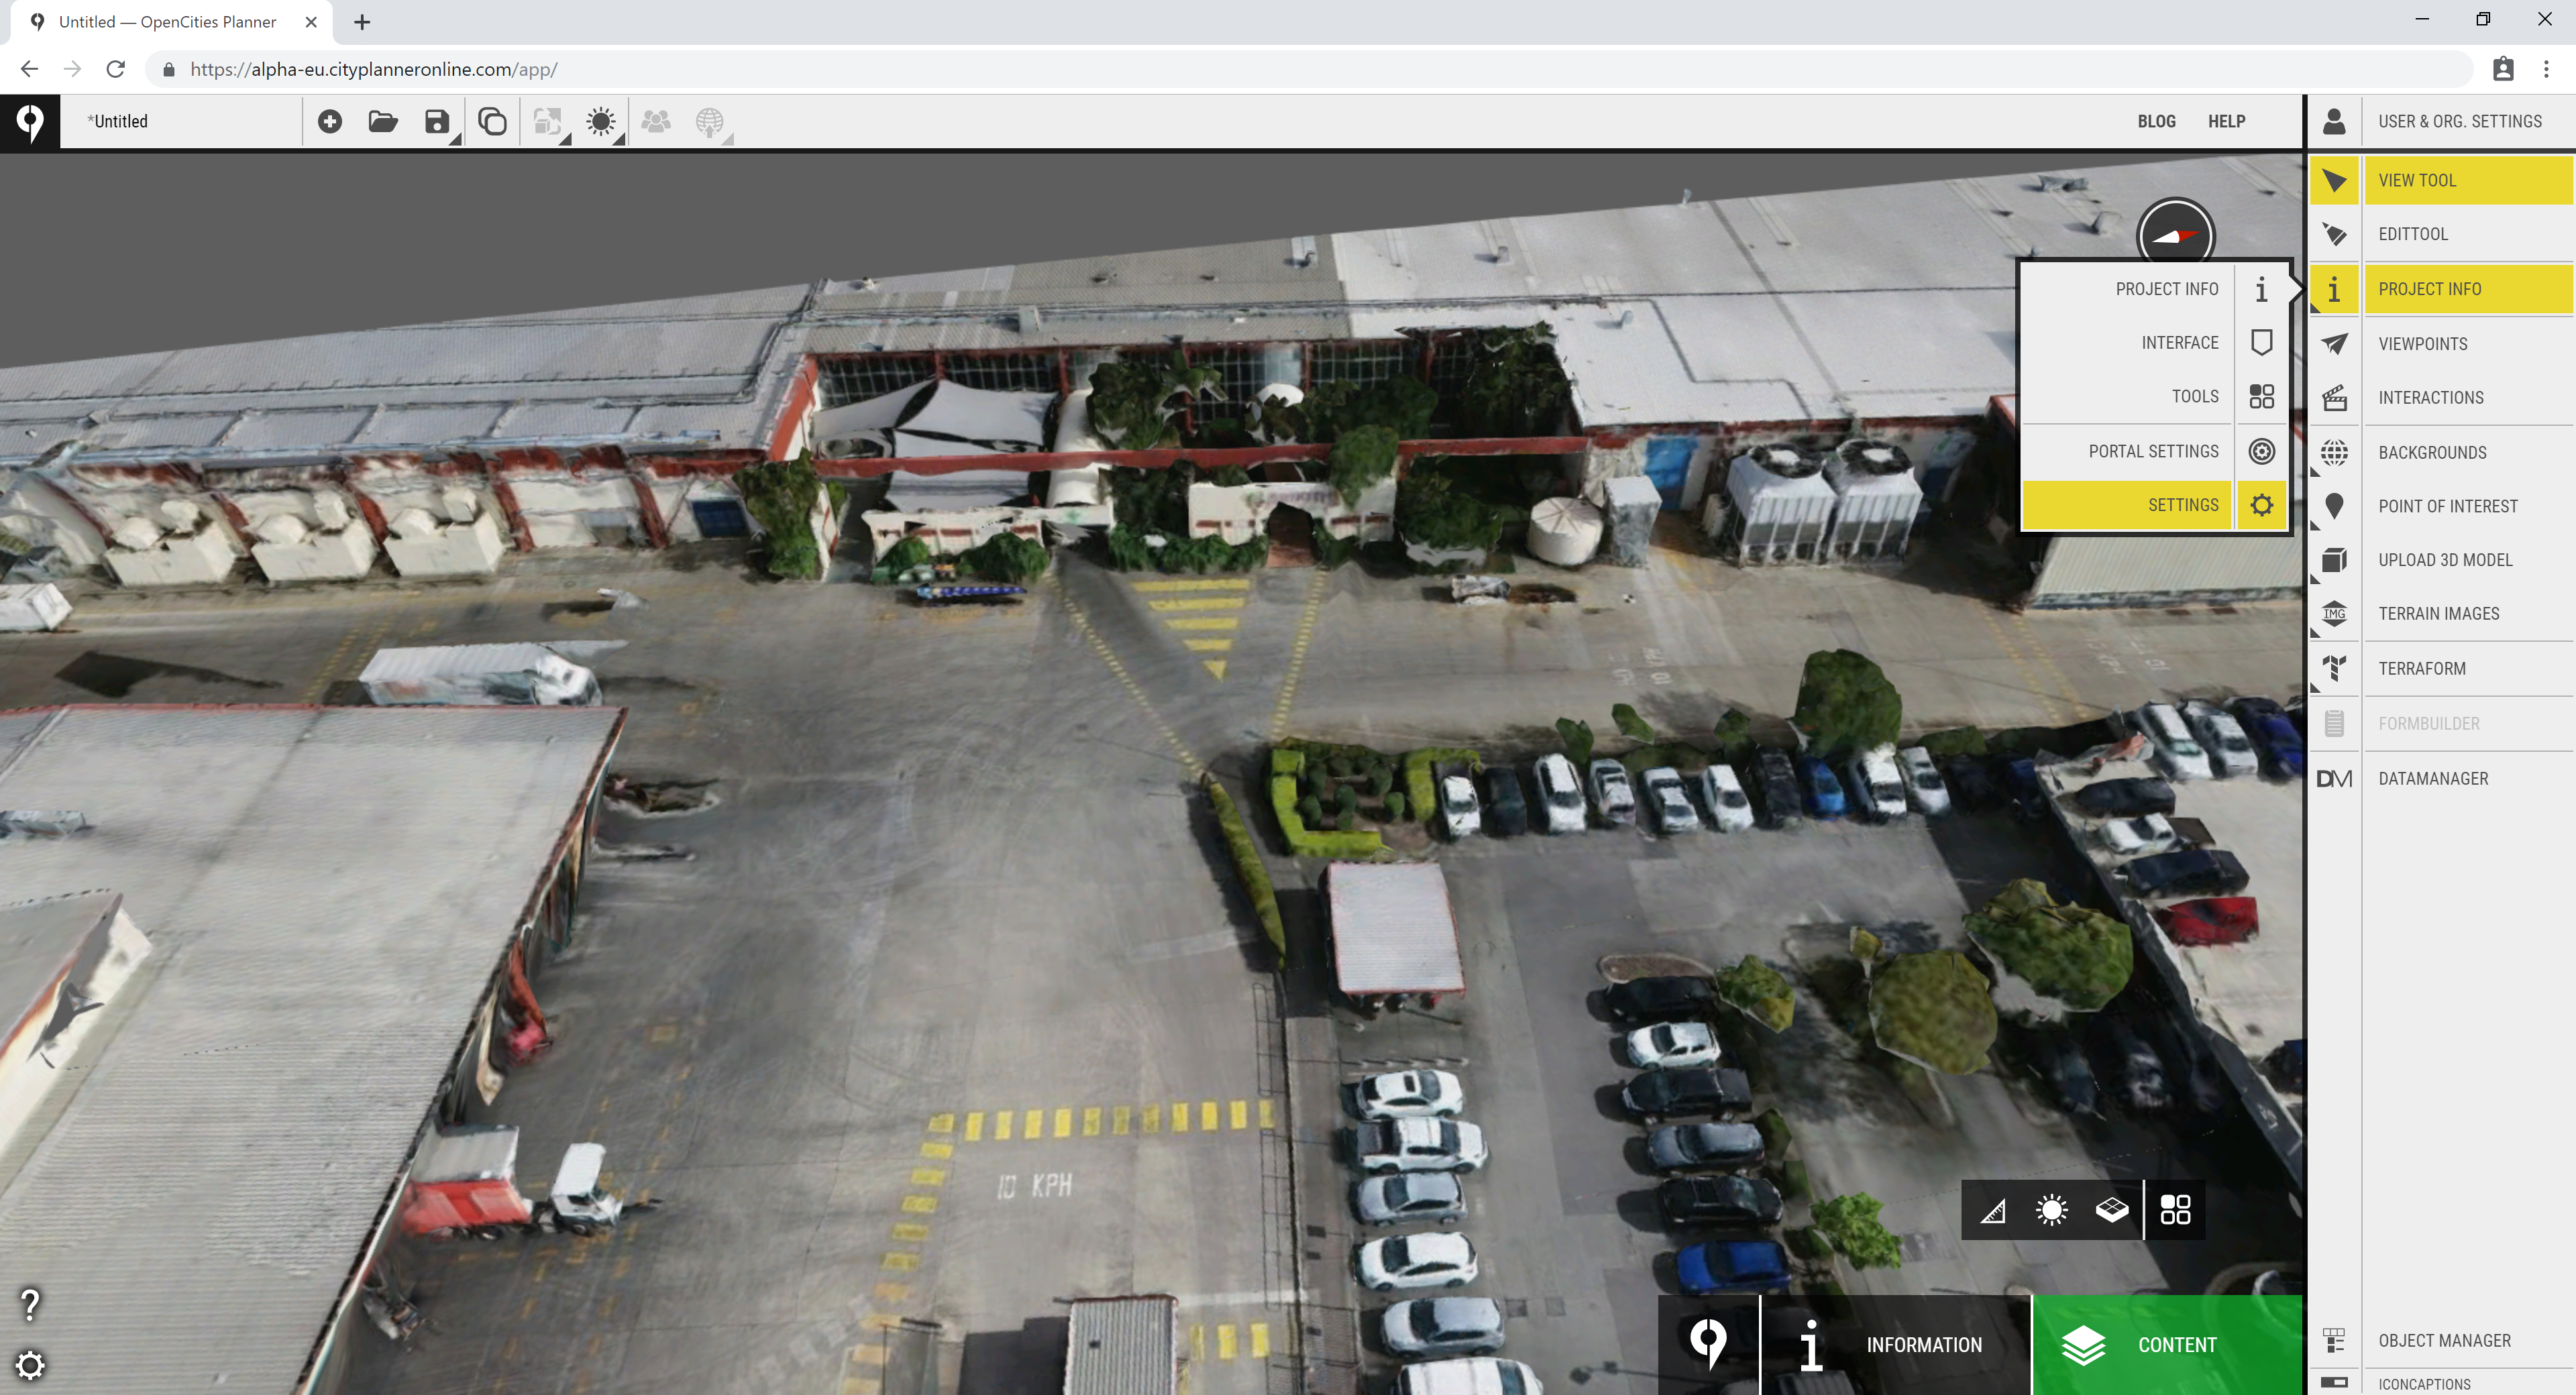
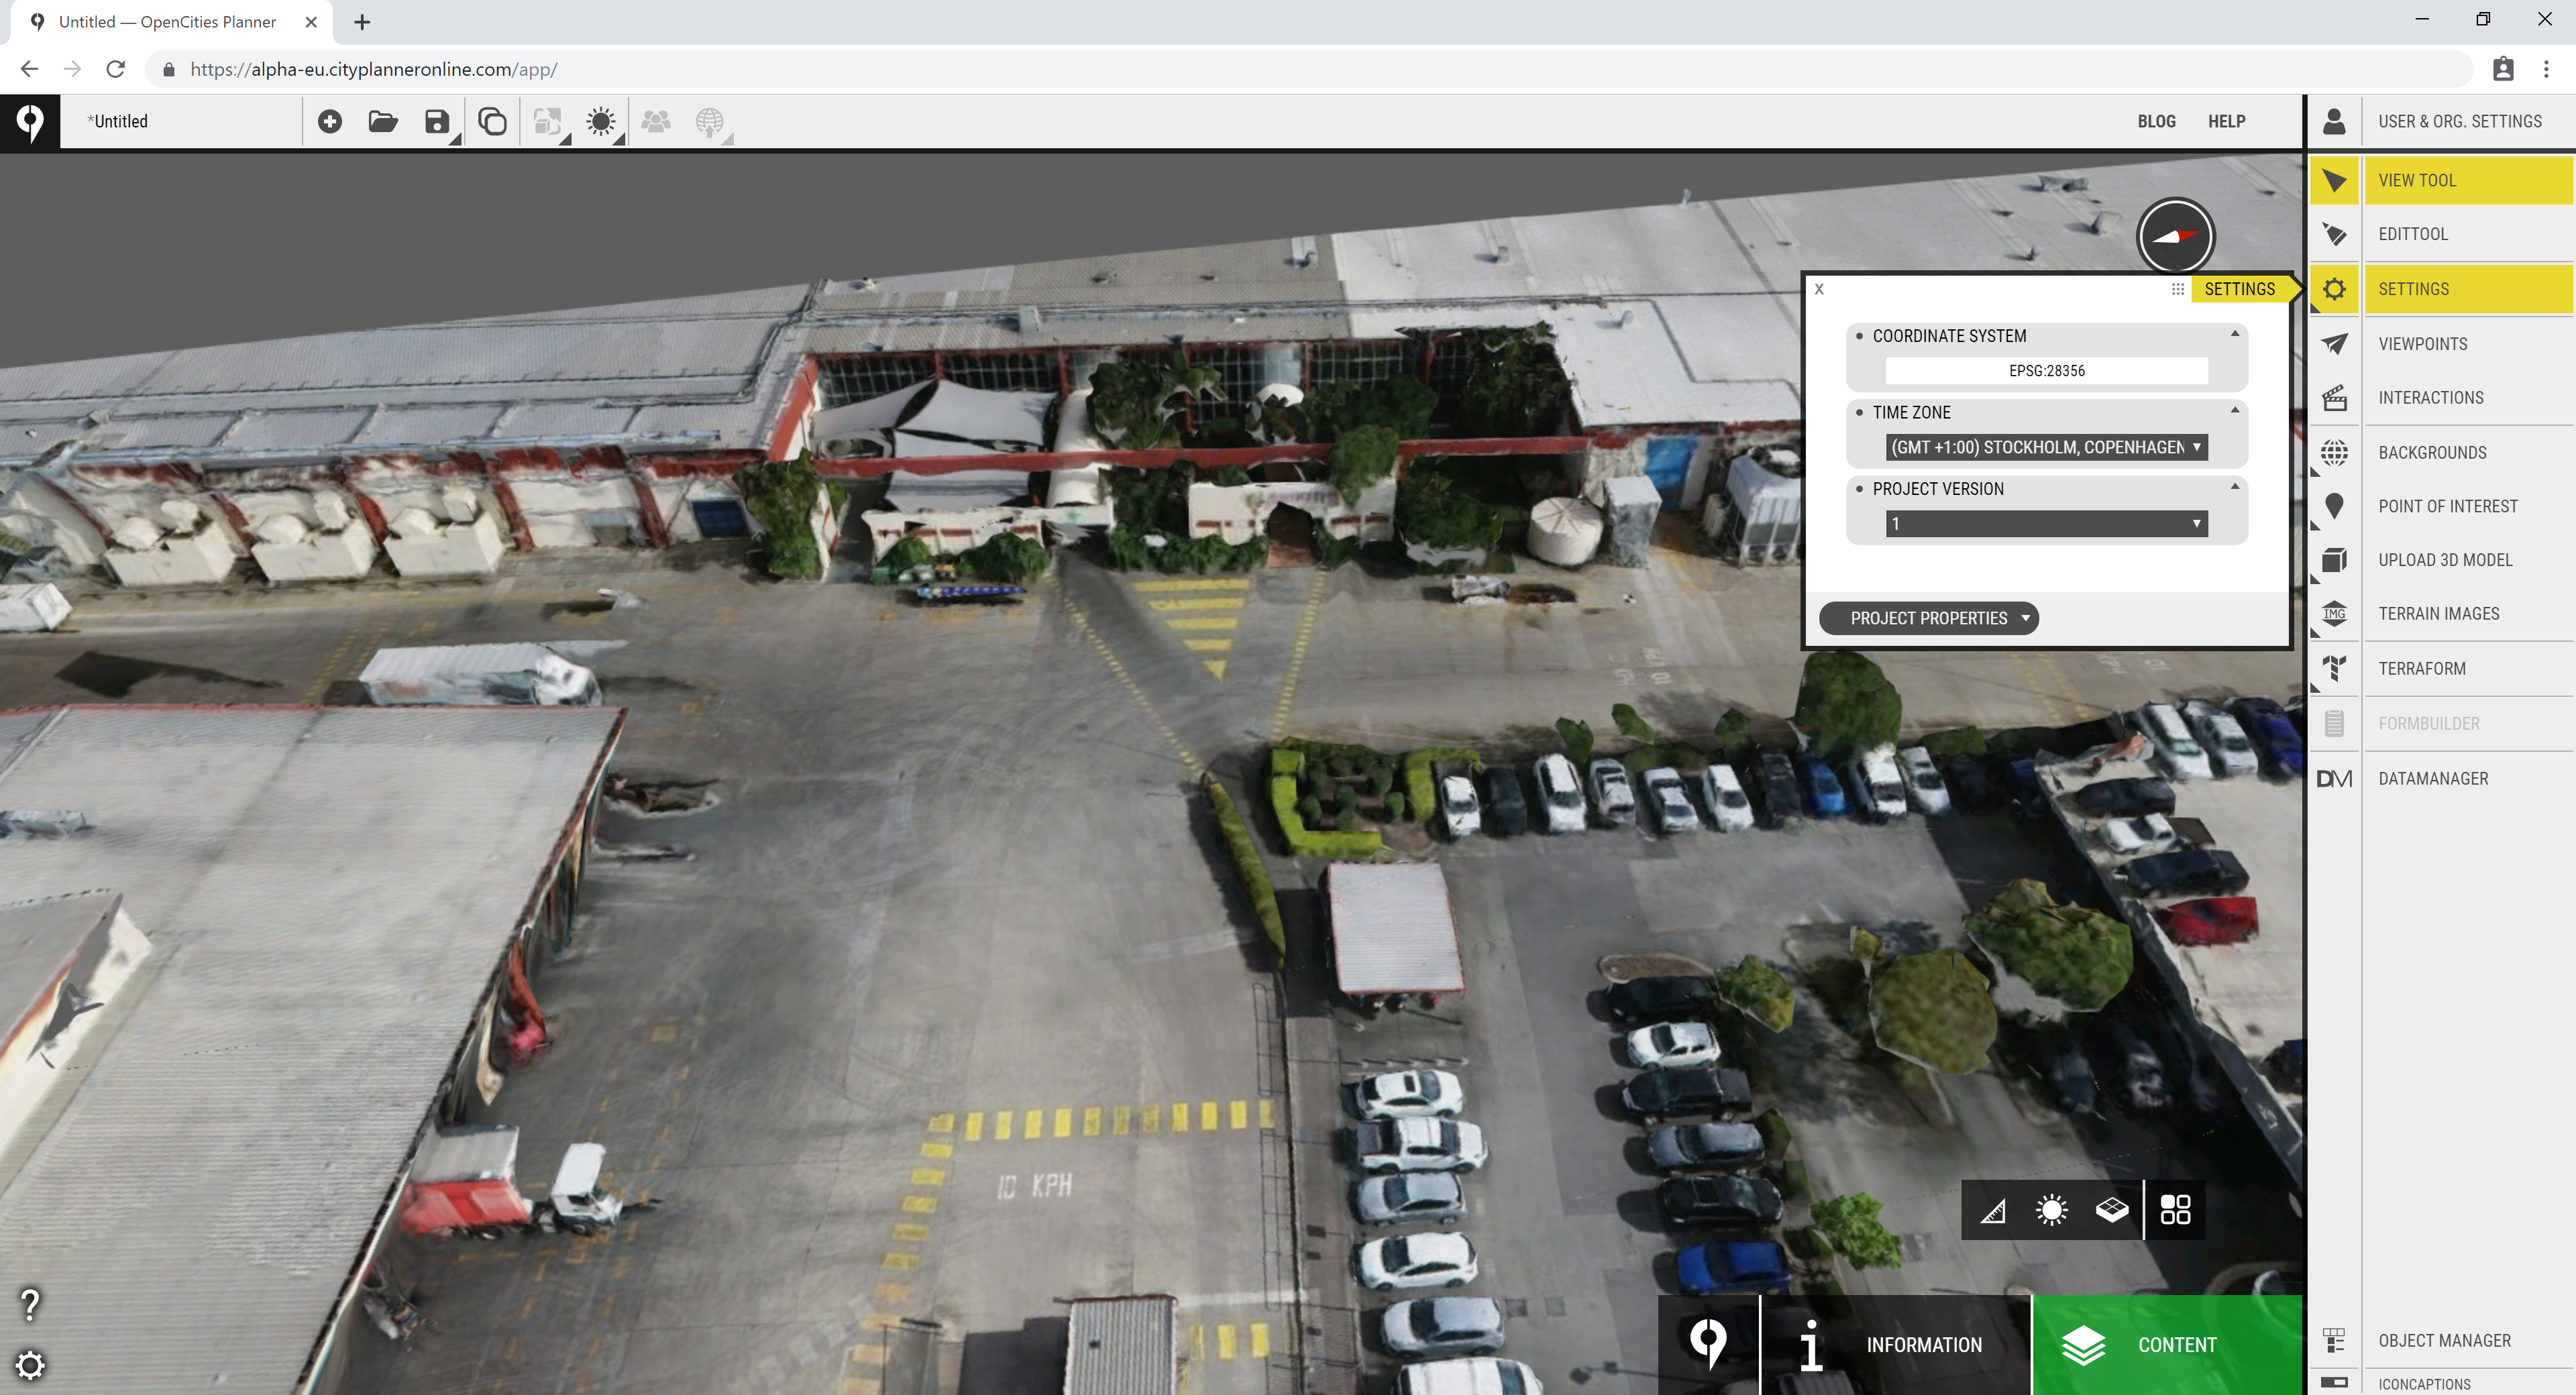
Make sure the project is using the same coordinate system as the dataset you added. Go to Project info, Settings, Project Properties and check the coordinate system and also the time zone used in your project.
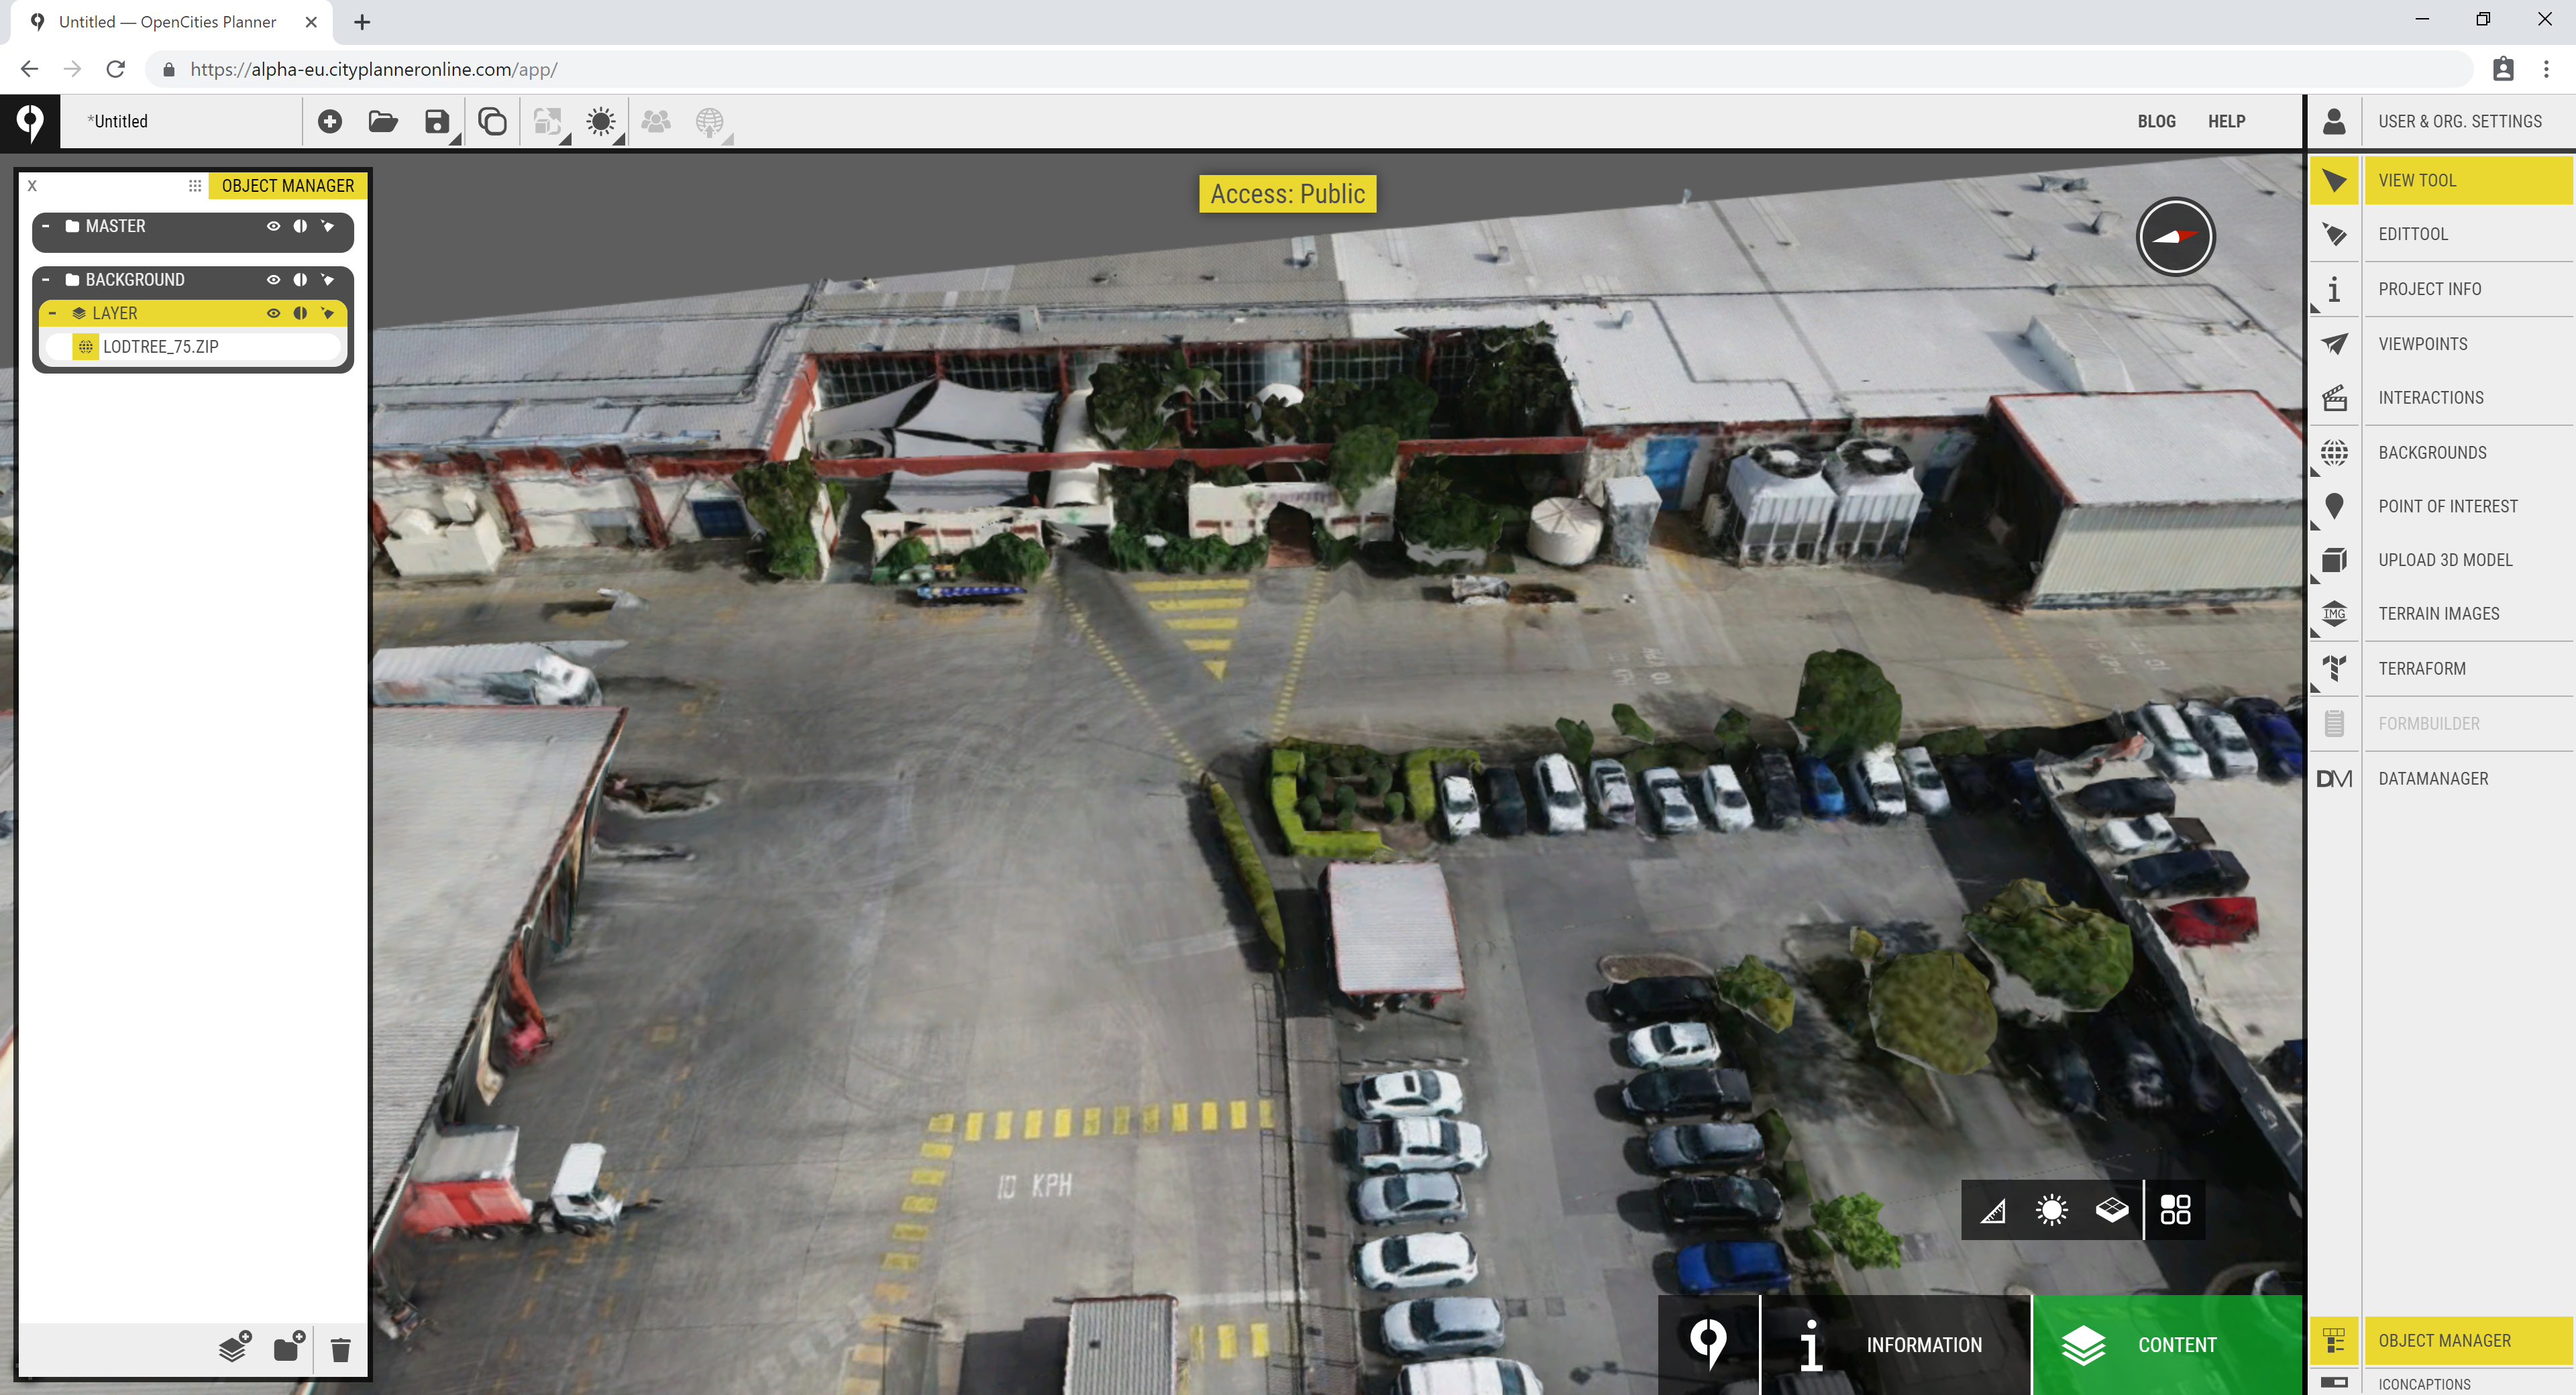
Finally, go to Object manager and check the access setting for the layer that you added the dataset to. If you want the data to be shown when sharing externally with a public URL, you need to set the access setting to Public. Click the access icon for the layer until you’ve set the access setting you want.
That’s it! You can save as a Project or as a Background if you want to reuse this dataset in several projects without going through the setup steps in the editor.