Creating Datasets from DTM/DSM with raster texturing
Preparing
When creating a terrain with ortho imagery or map raster textured on the terrain, you will need the DTM in GeoTiff or accessible via Web Coverage Service (WCS).
The ortho imagery or the map raster should be in GeoTiff or another georeferenced image format, or available as WMS (more image services will be supported such as WMTS, WMS, TMS, WMTS, ESRI ImageService, DigitalGlobe ImageService and Slippy map).
If you’re working with files, it’s generally a good idea to add them all to a Zip archive for easy management in DataManager.
Creating Sources
You’re going to create at least one Source with the DTM, and another with the raster. Then you will combine them into a Dataset in the next step. If you have many DTMs or Imagery with different resolution, you want to create a Source per resolution.
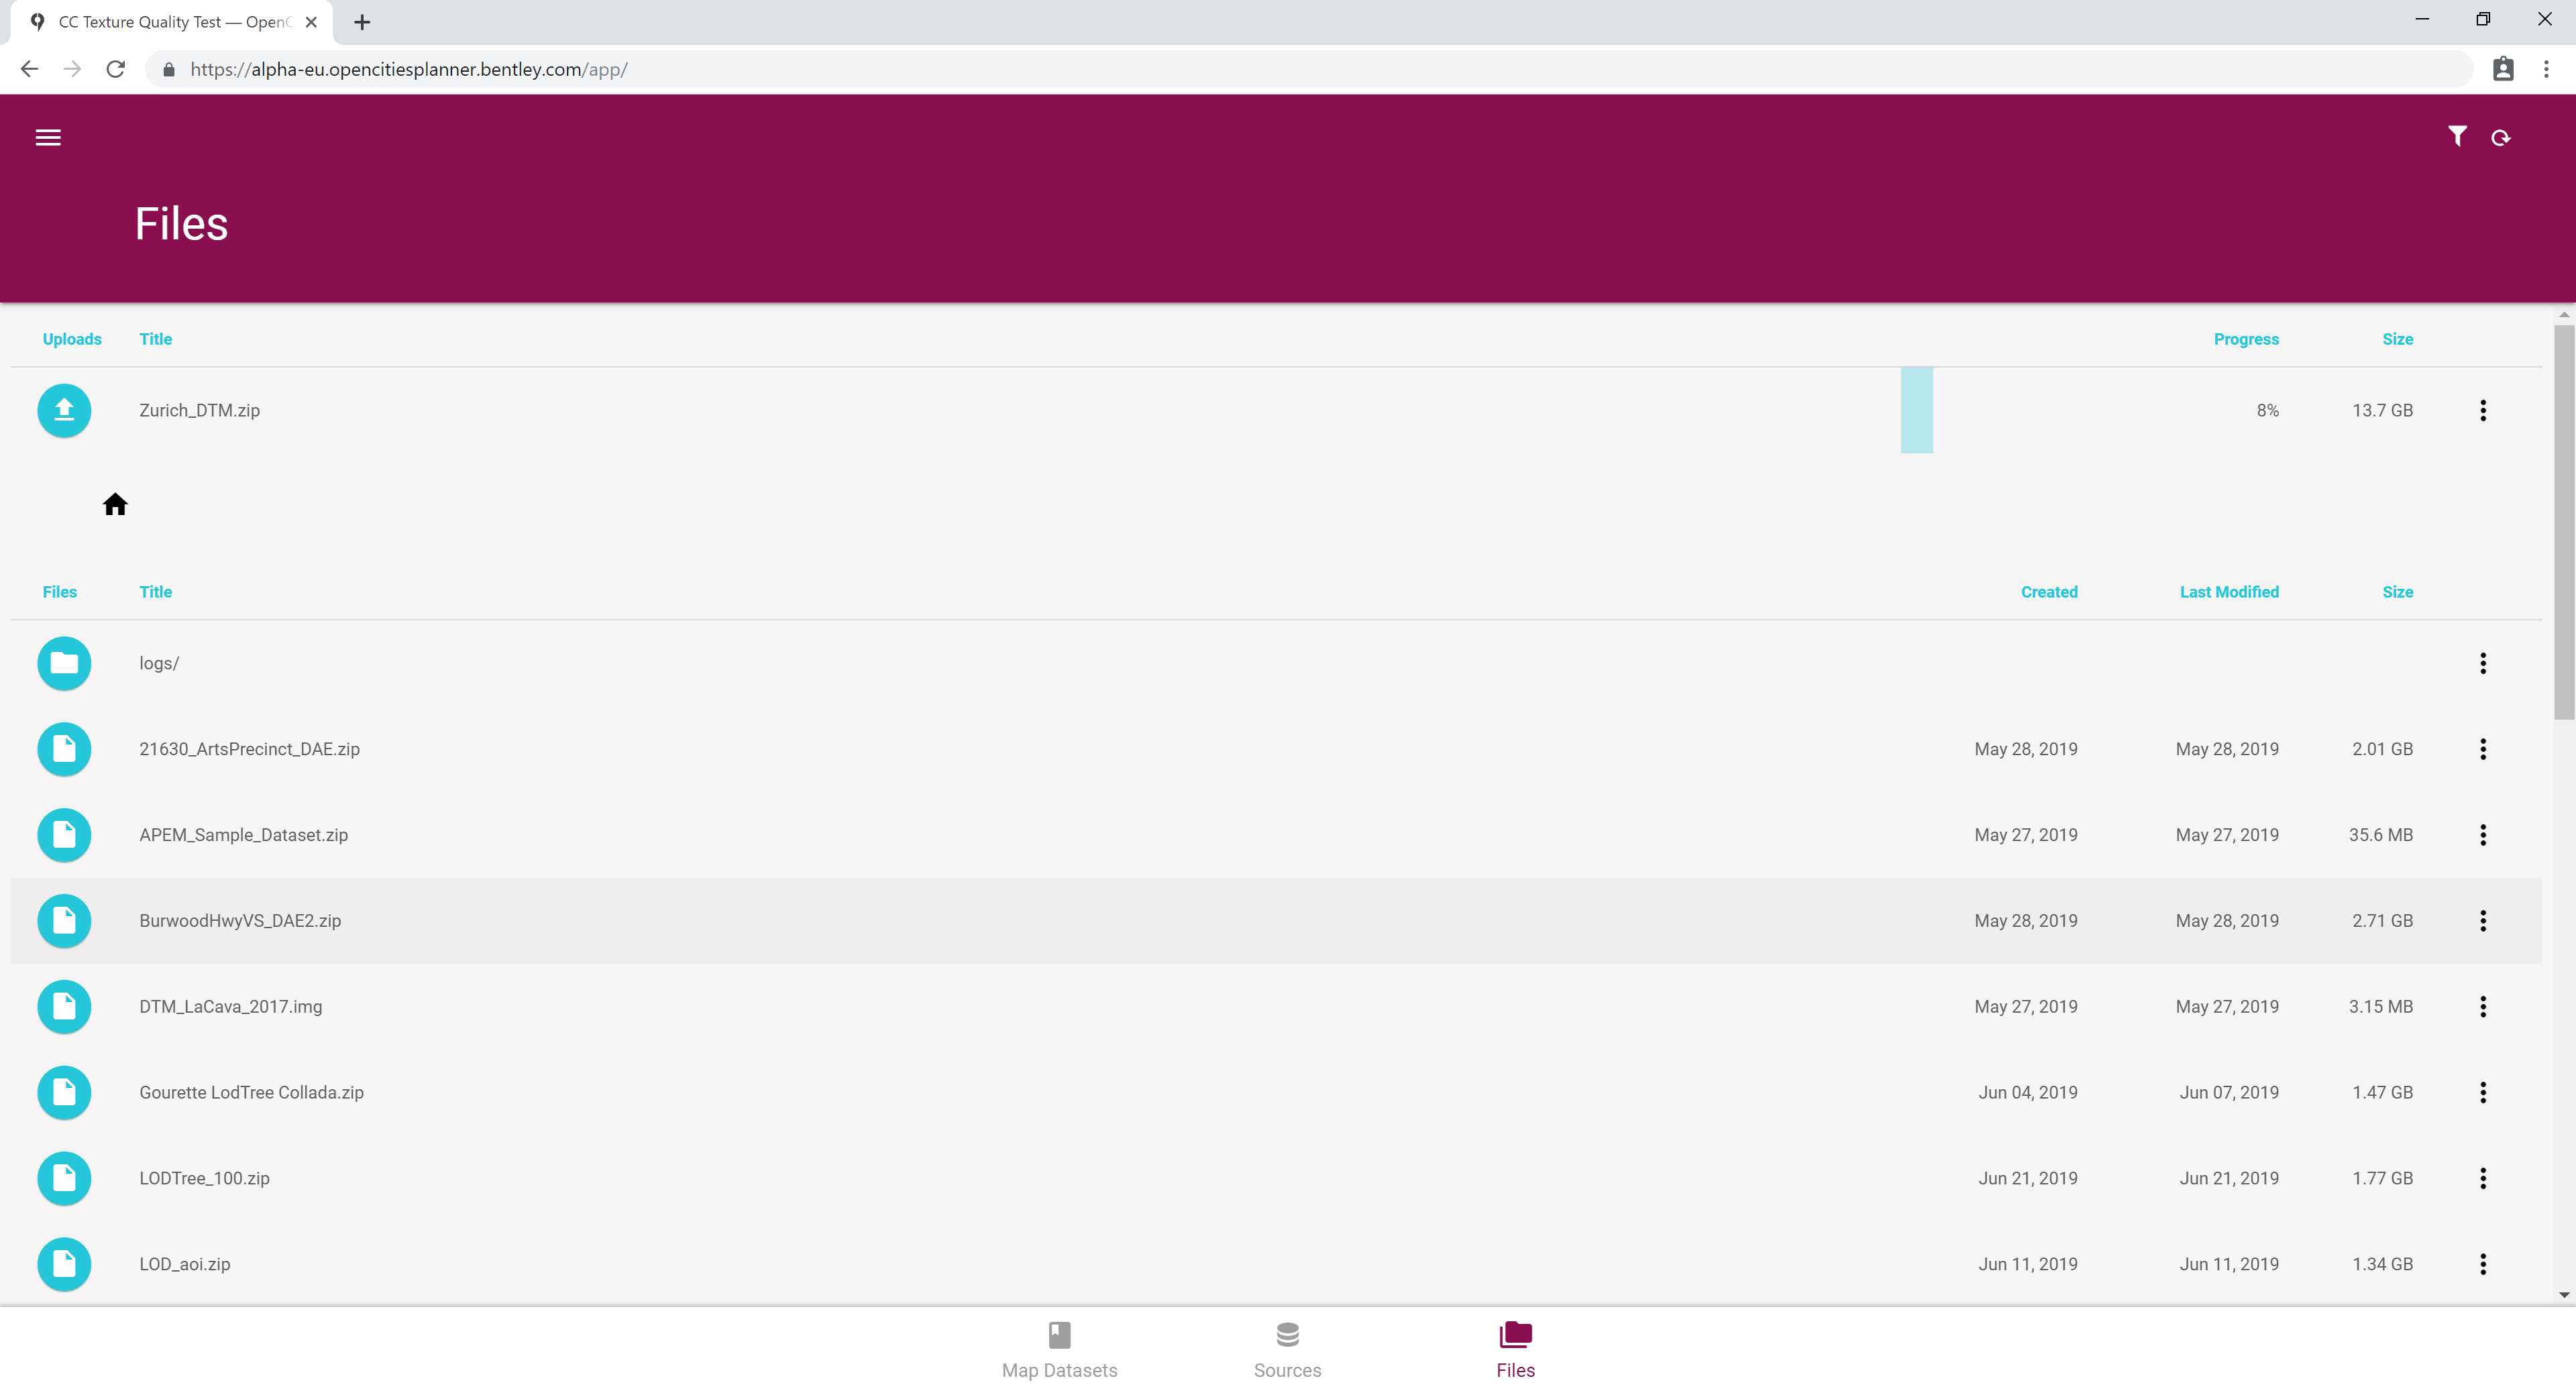
Start by uploading your files if you are using files. Either drag and drop on DataManager or use the Azure Storage Explorer application to upload the files.
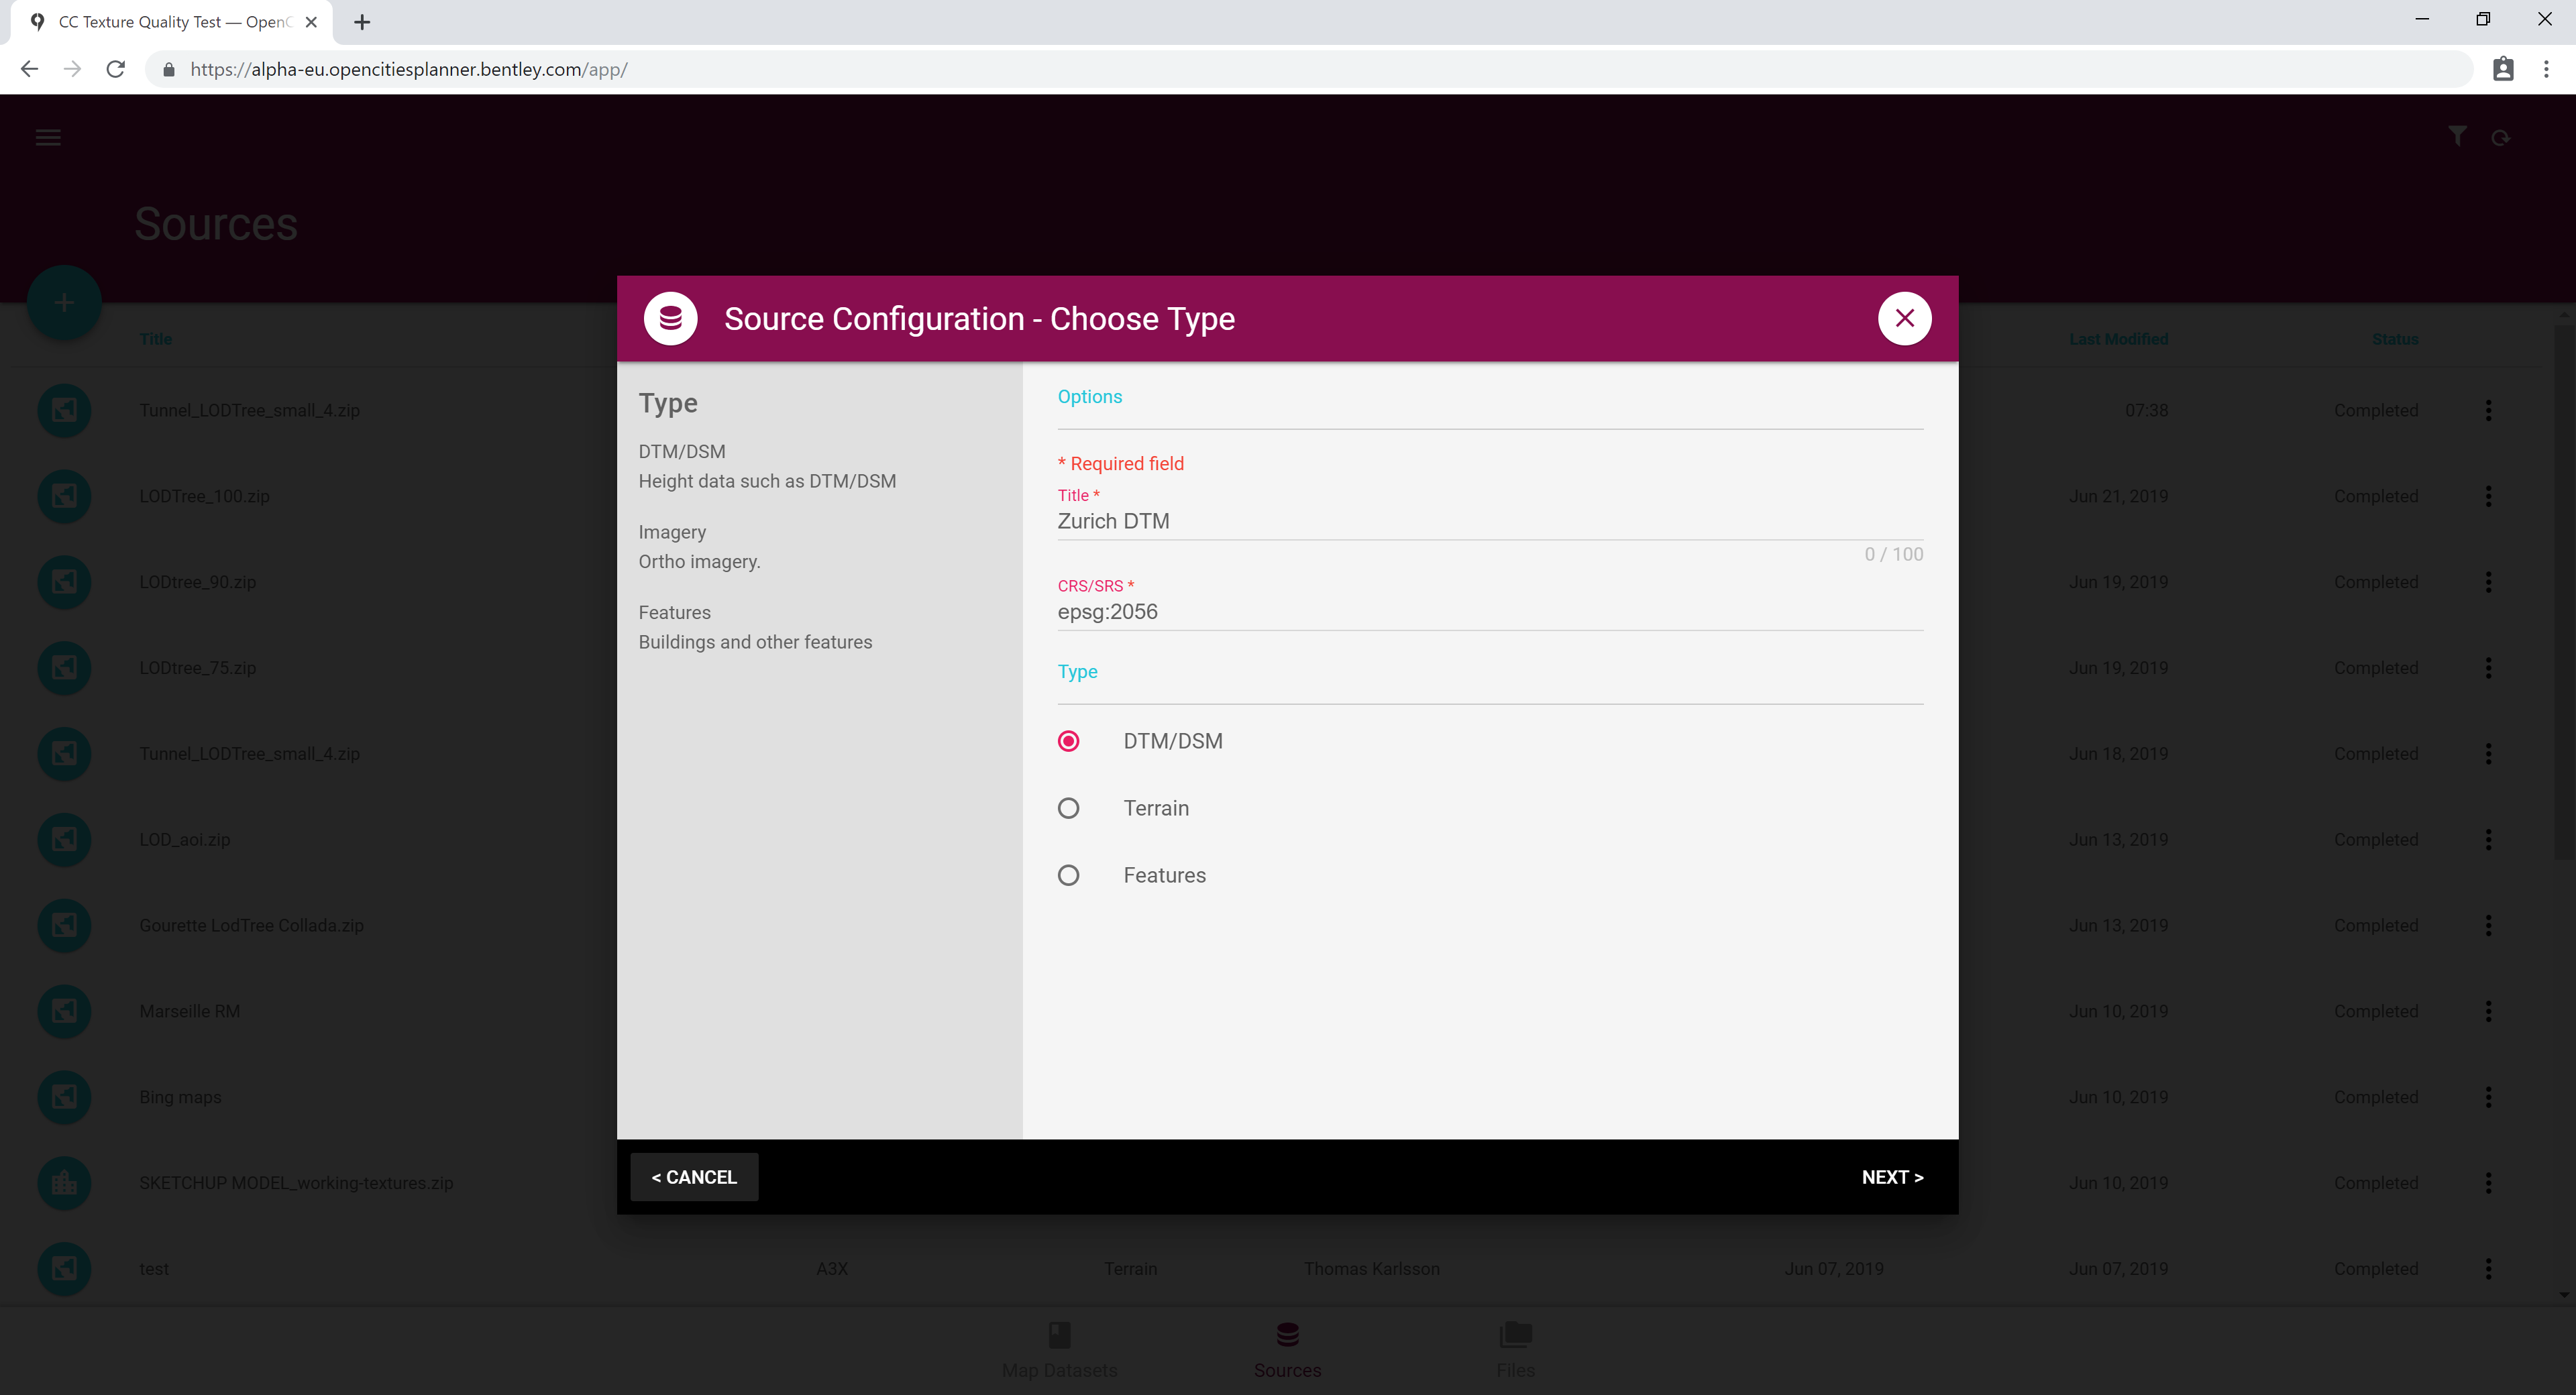
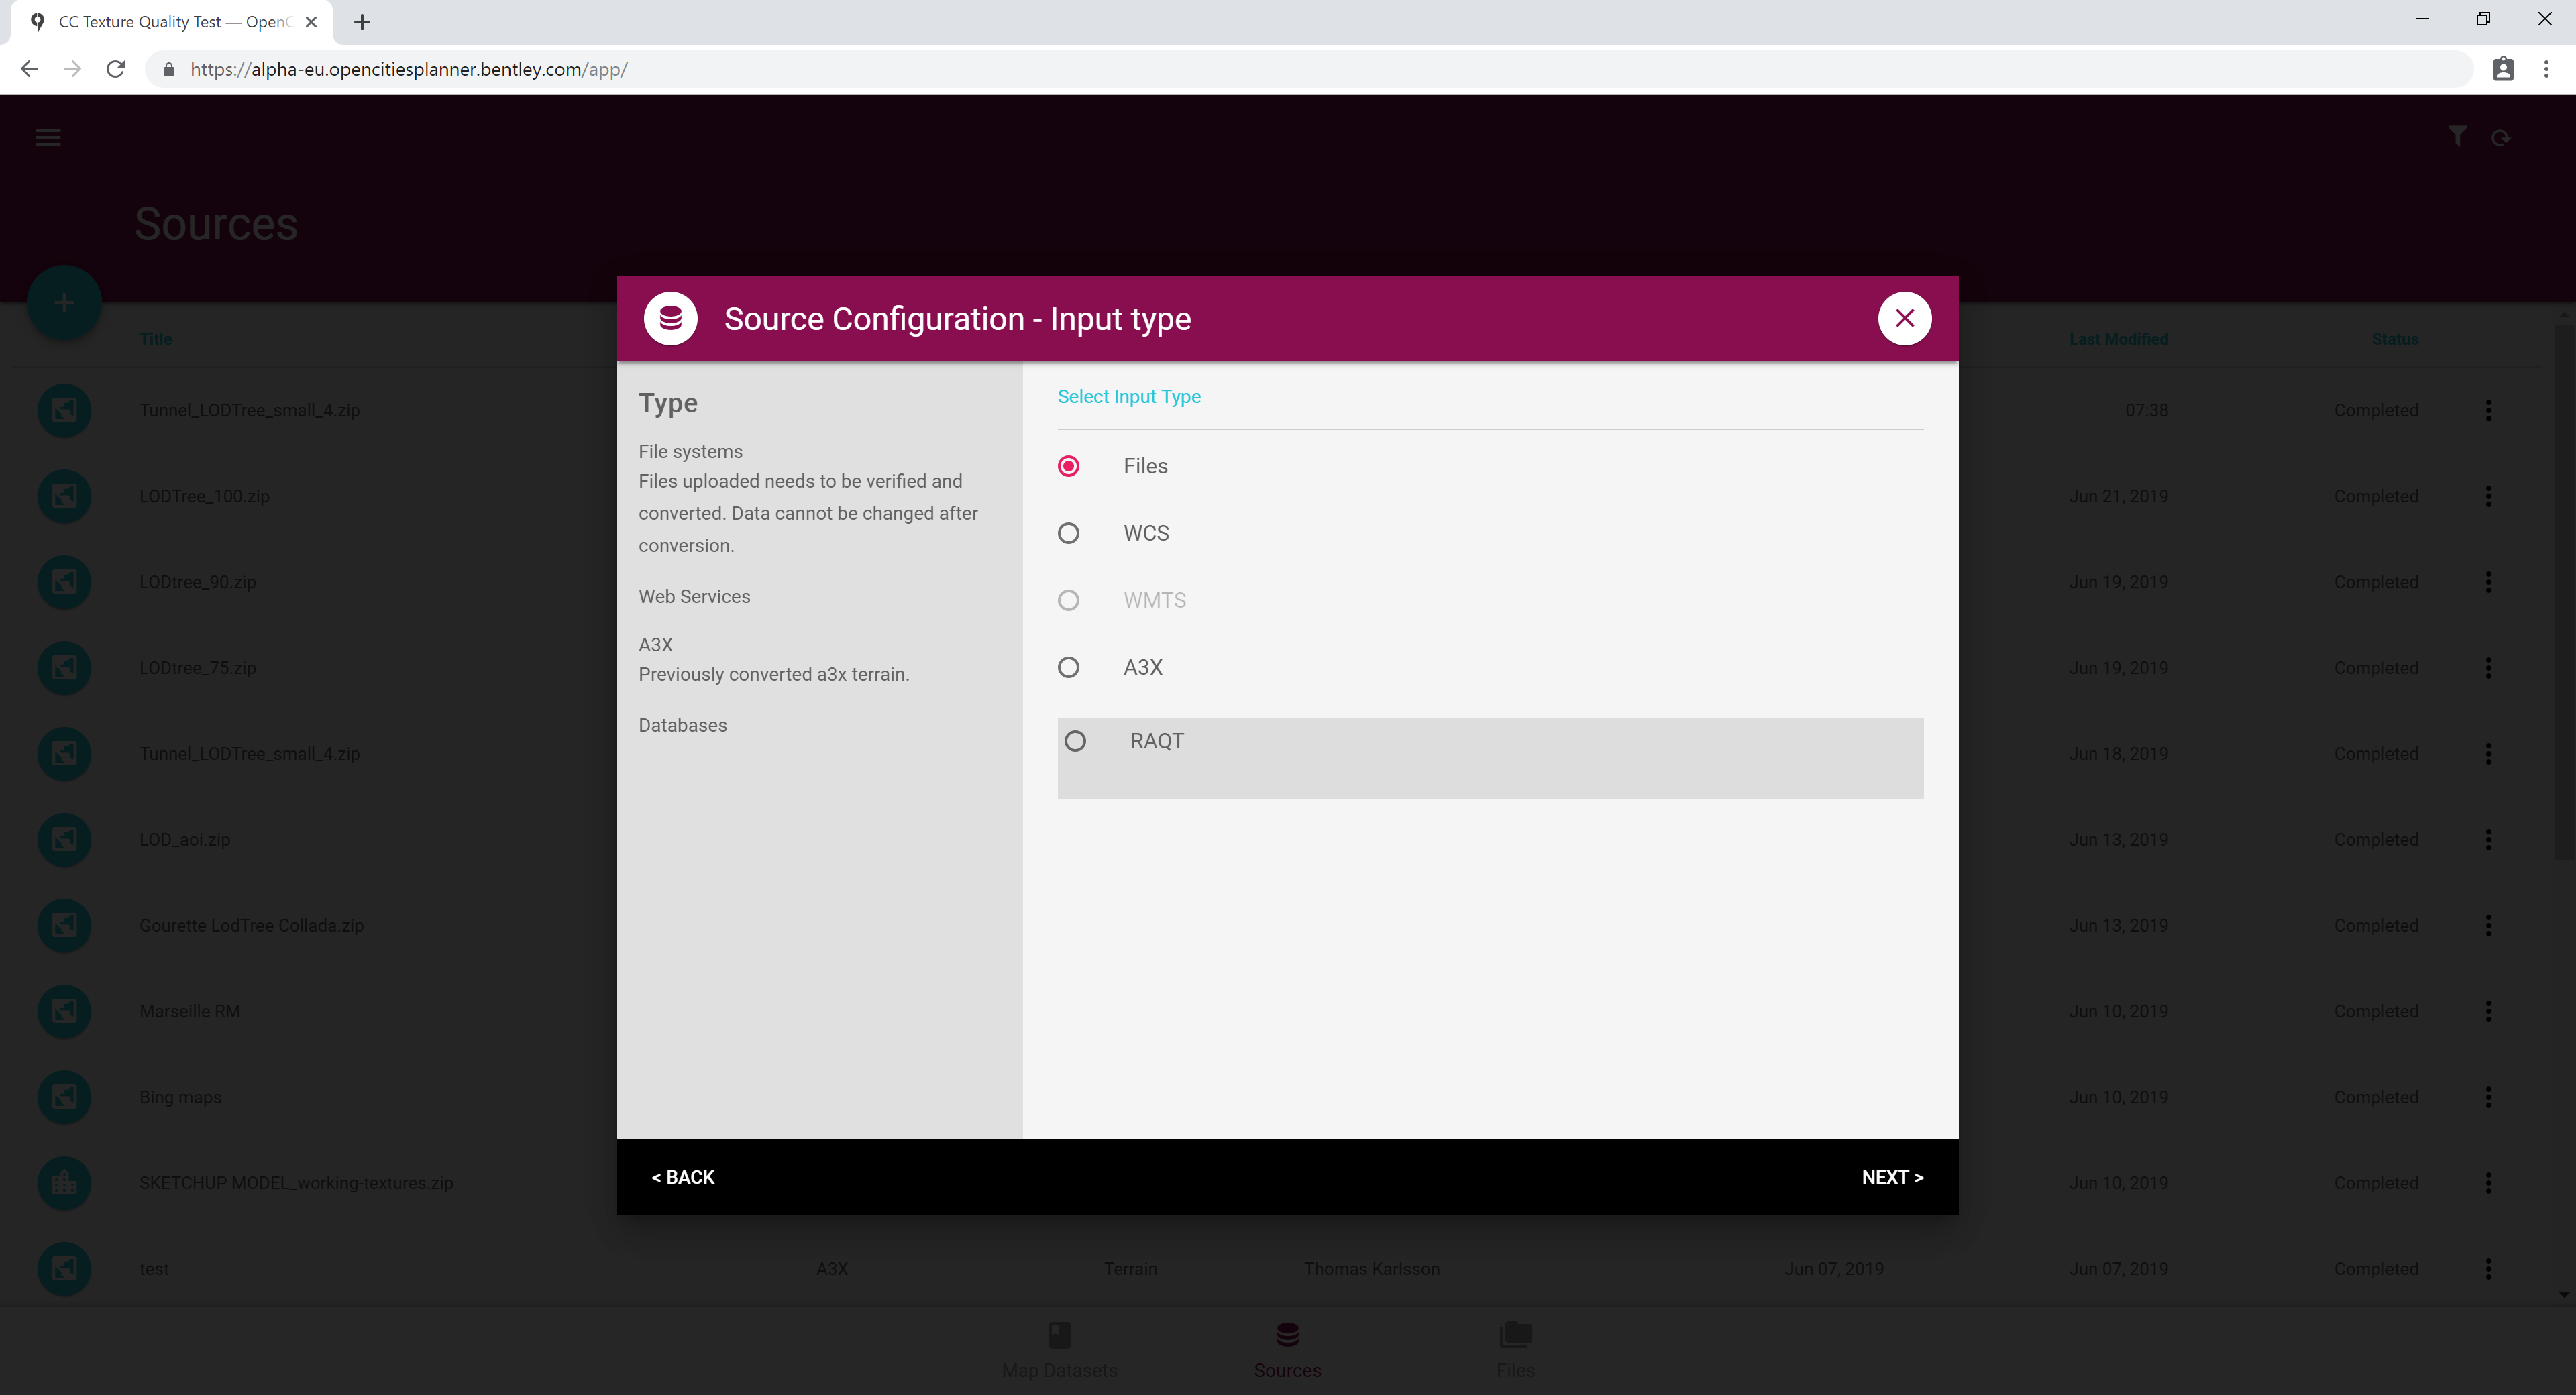
For DTM/DSM, create a Source and pick DTM/DSM as type. Give the source a name and enter the coordinate system that the data is captured in. If you’re using files, pick Files and select the zip file that you uploaded. Your files will be verified, and this will take a while. You can exit DataManager and come back to check the status in the Source-tab. When verification is done, click the vertical ellipsis icon and then Resume to start building the source.
If you’re using a WCS, pick WCS and then enter the address to the service and the coverage and version.
After that, configure the raster source. Create a new source and pick Terrain and Image raster as type. Pick files if you uploaded files, or WMS if you are using an image service. If you’re using files, pick the files you want to use and then hit Next to verify. Again, this will take a while. When verification is done, click the vertical ellipsis and Resume to start building the source. Build will take some time depending on the size of the input you are using. You might want to set the NoData fields if your input data contains nodata definition. NoData basically means that values that match the NoData setting will not be used in the rendering.
If you’re using WMS, enter the URL to the service, the layers you want to fetch and the version to use.
Creating a Dataset
Go to the Dataset tab and click the Create Dataset icon. Select Terrain and enter a name for your dataset and which coordinate system you want to use. Next, pick the DTM and the Raster sources that you want to use in this dataset. Enter the bounds, which would typically be either one of the sources bounds or the coordinate systems bounds. Select the rendering order by dragging the sources to the order that you want. When you’re done, the dataset is ready to be used.


