Creating Datasets from Reality models
Preparing
Export from ContextCapture (CC):
- Choose LOD tree export format
- Type: Adaptive tree
- Scope: Across tiles
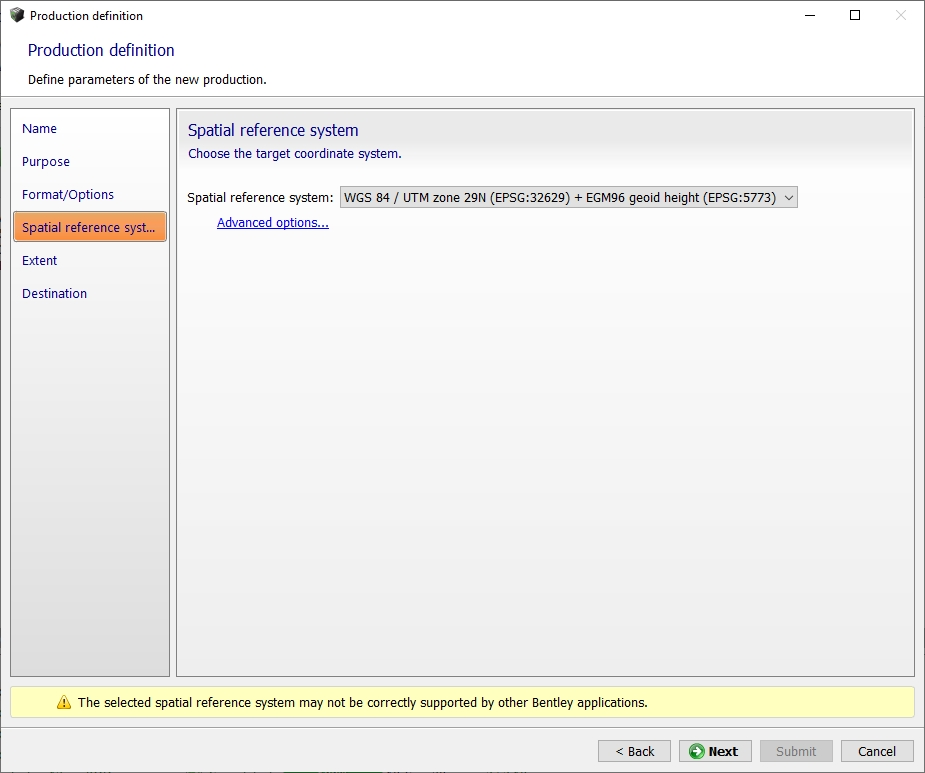
Your data can be defined in whatever height system that you want, as long as all height sources are in the same system. If you want to merge your own height data with Bing DTM, make sure to use an orthometric height system (also called geoid or ‘sea-level’) for the elevation, like in the screenshot below.
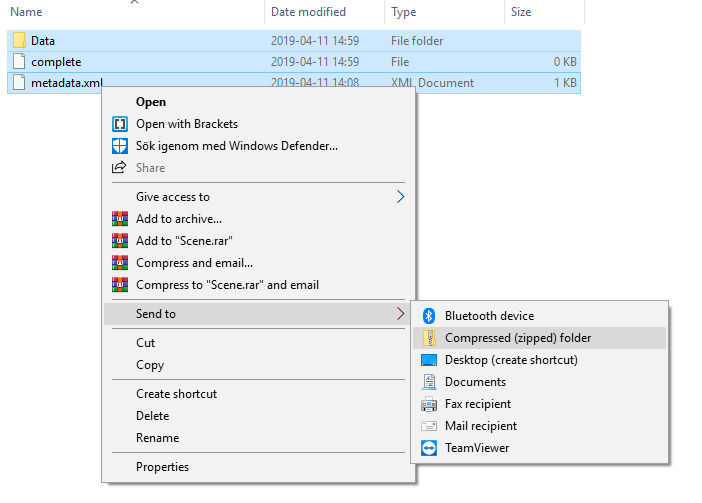
- Zip the exported Data-folder for easy handling
ContextCapture Console and Cloud processing
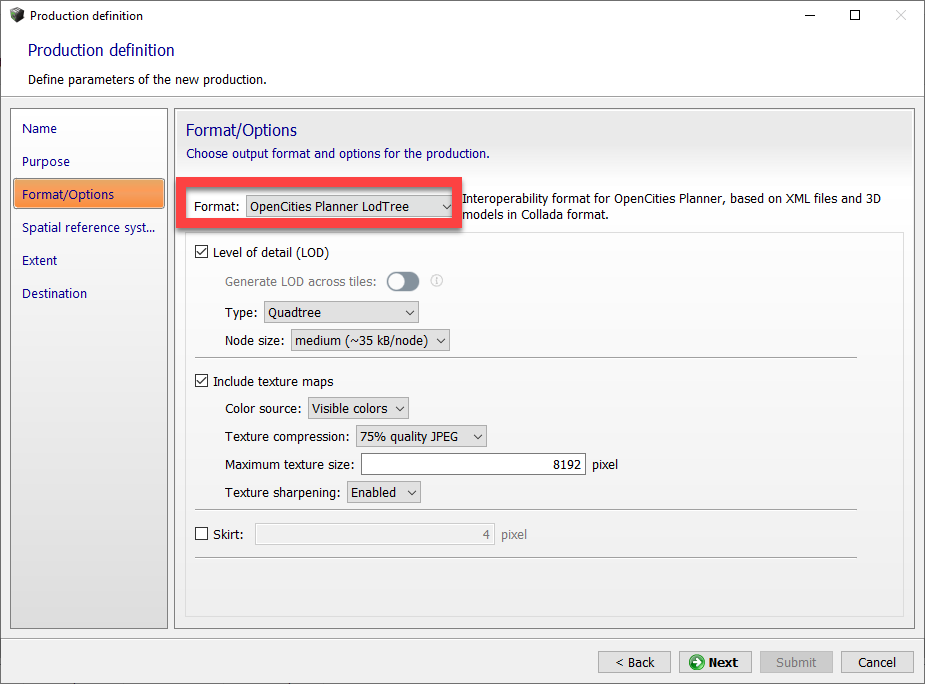
In ContextCapture Cloud, you have the option to output as an OpenCities Planner ready format directly.
Watch the video for more detail.
Creating a Source
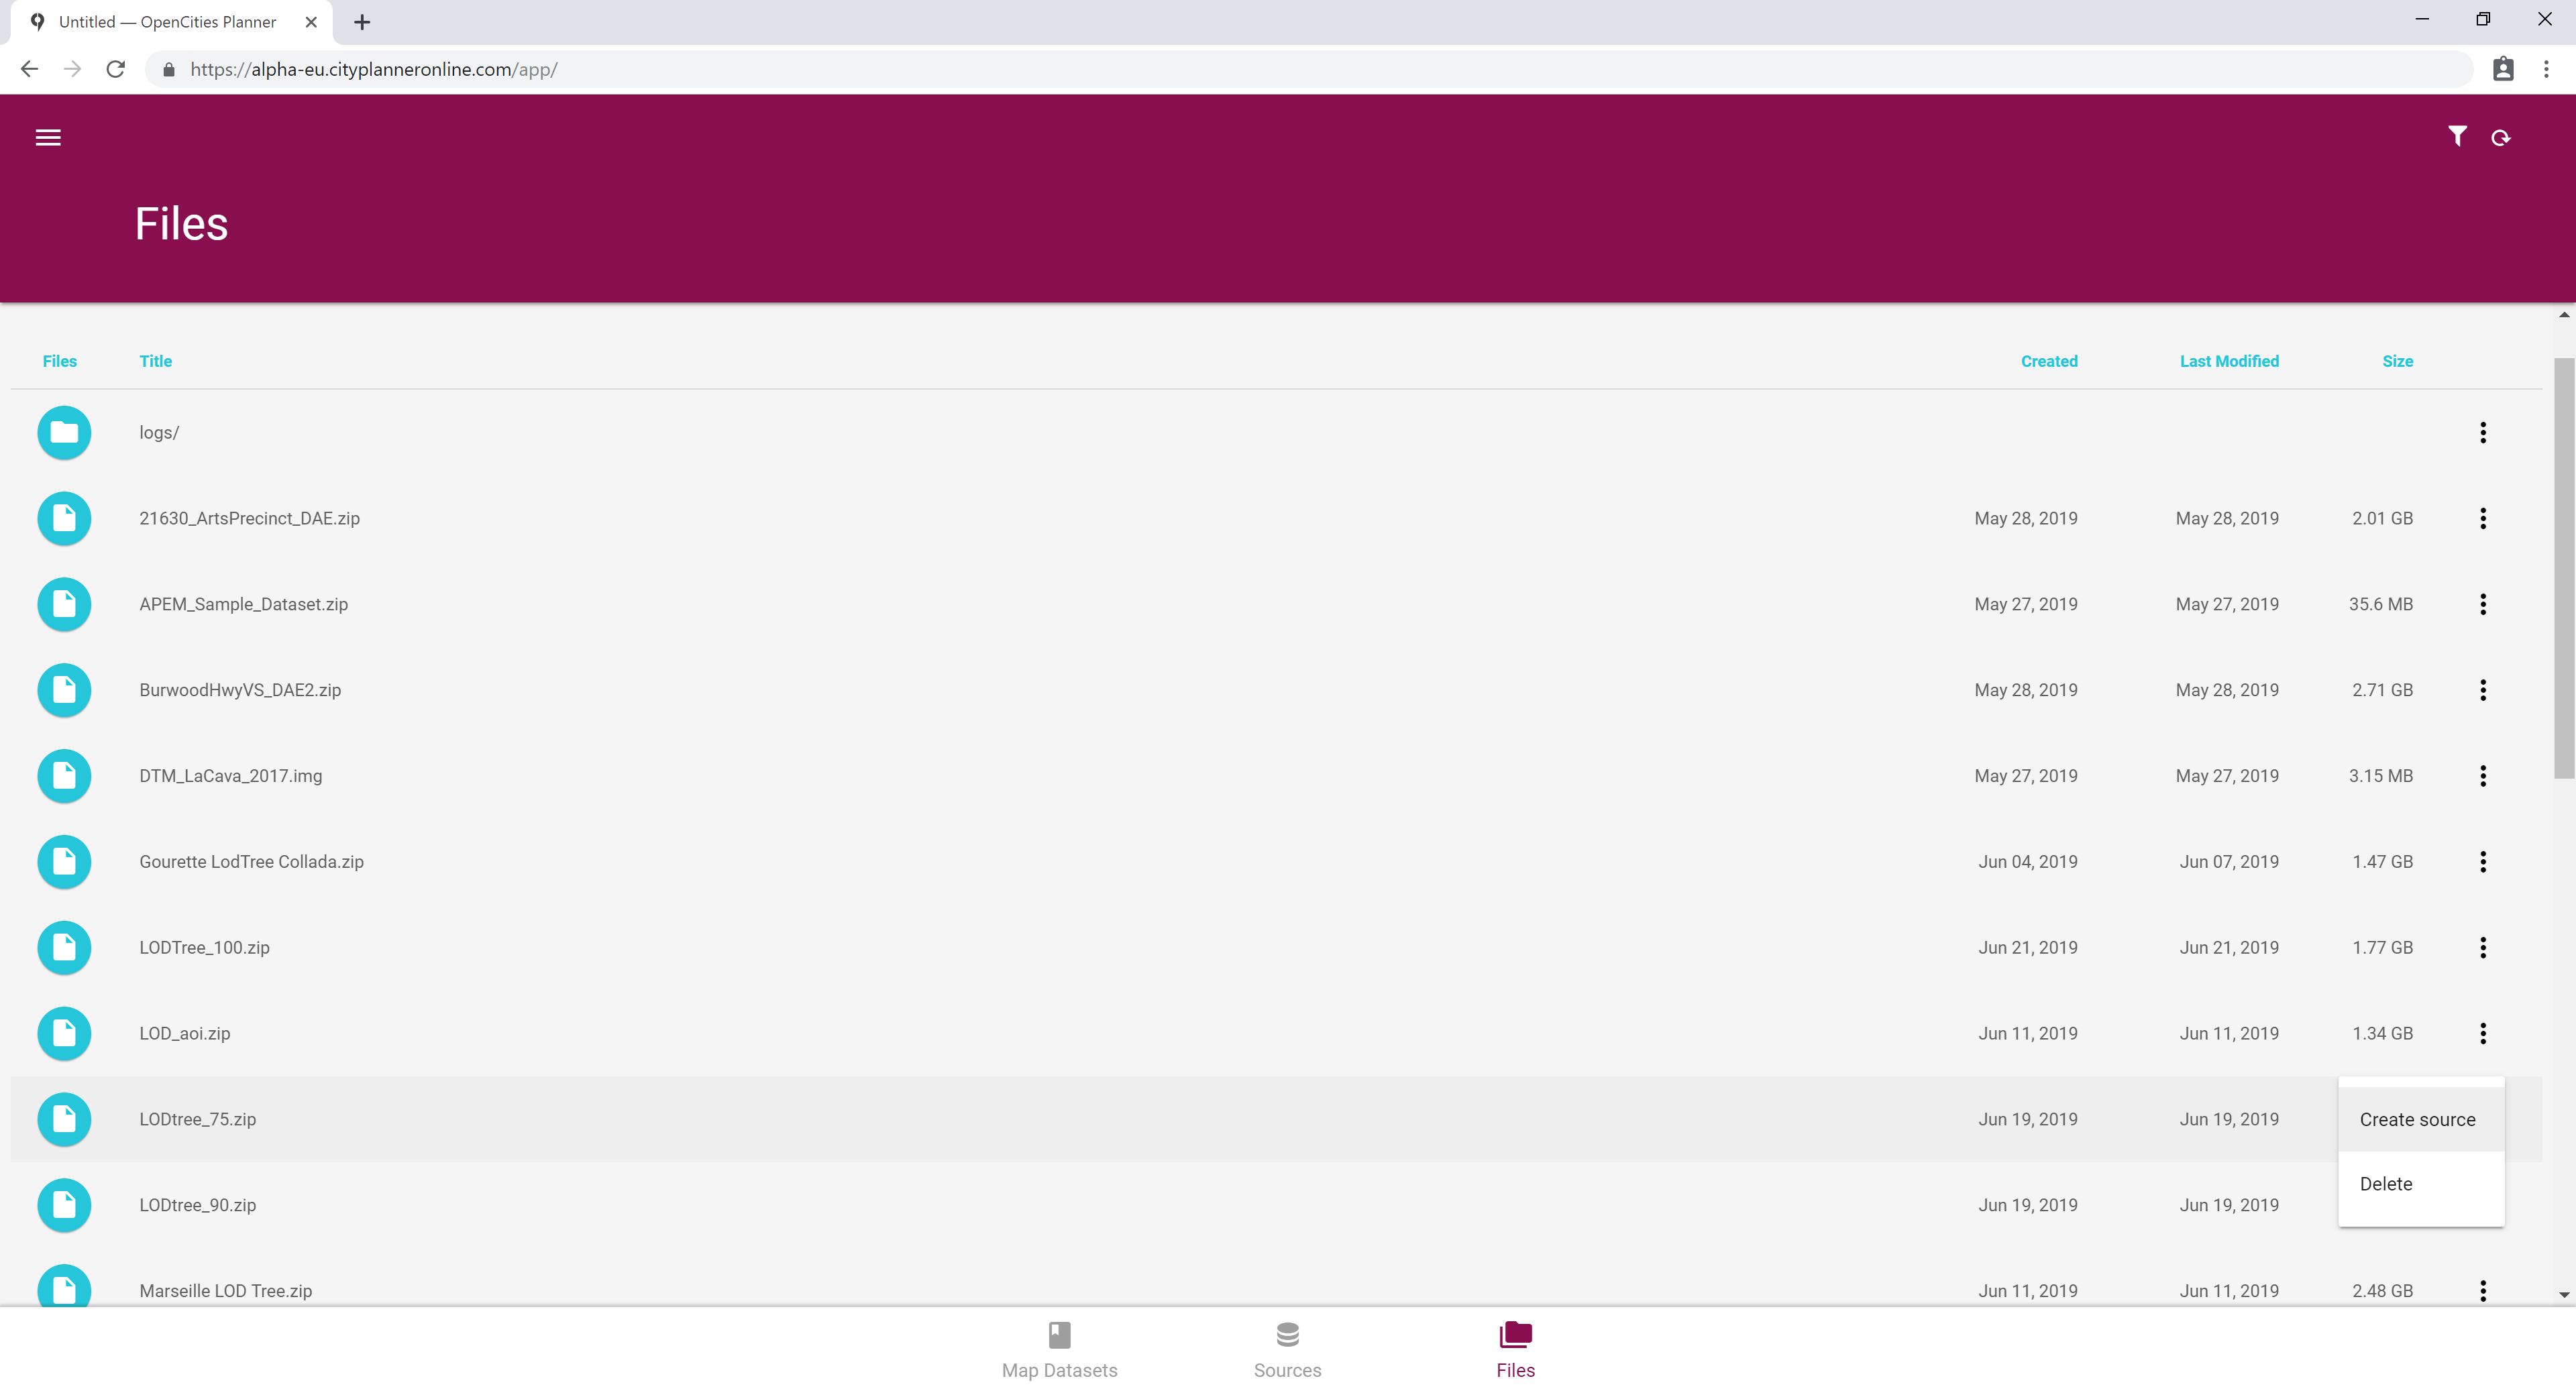
Drag and drop the zip file on the DataManager window.
Or, you can use the Azure Storage Explorer application with the SAS URL that is generated for your session. Note, it is only valid for your session and will expire so the next time you will have to use a new SAS URL. You can find the SAS URL if you go to Sources, Add Source, pick Files or LOD Tree XML, and in the step where you pick the files you want to use, you can see a SAS URL in the left part of the window.
After upload is completed, click the “Create source”-button or the vertical ellipsis icon next to the upload you want to create a source from.
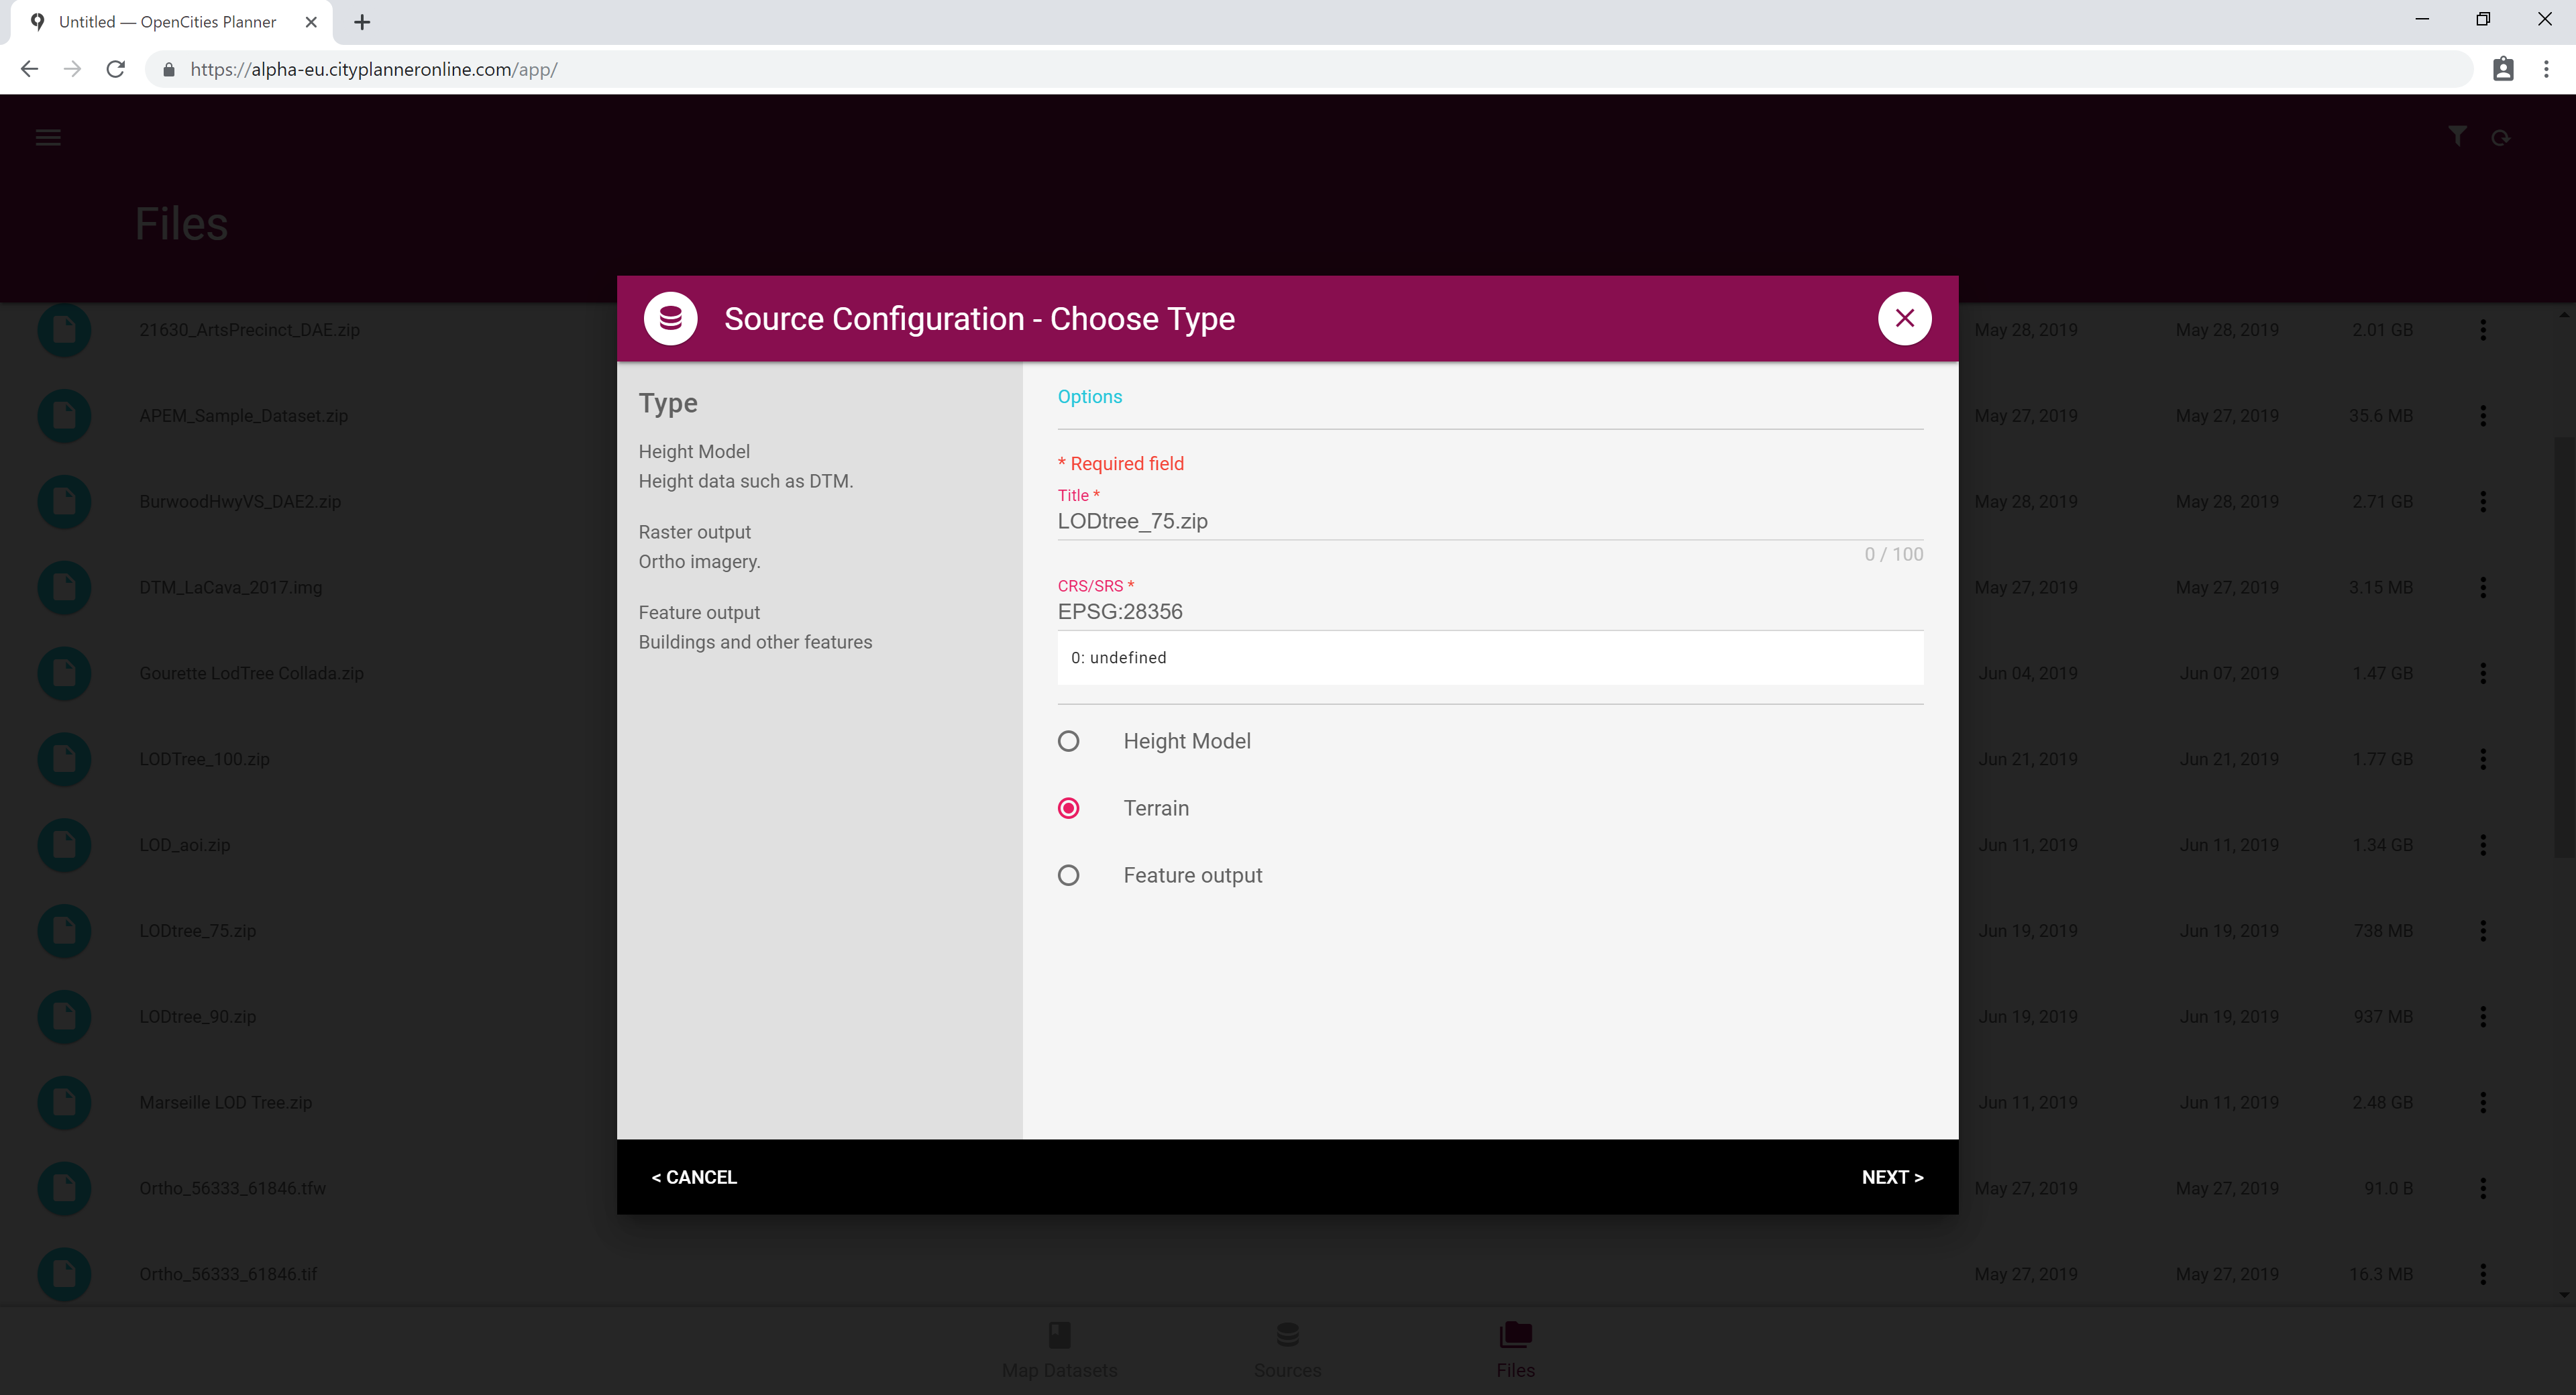
Give your Source a name and enter the coordinate system that the data is georeferenced in.
Pick terrain.
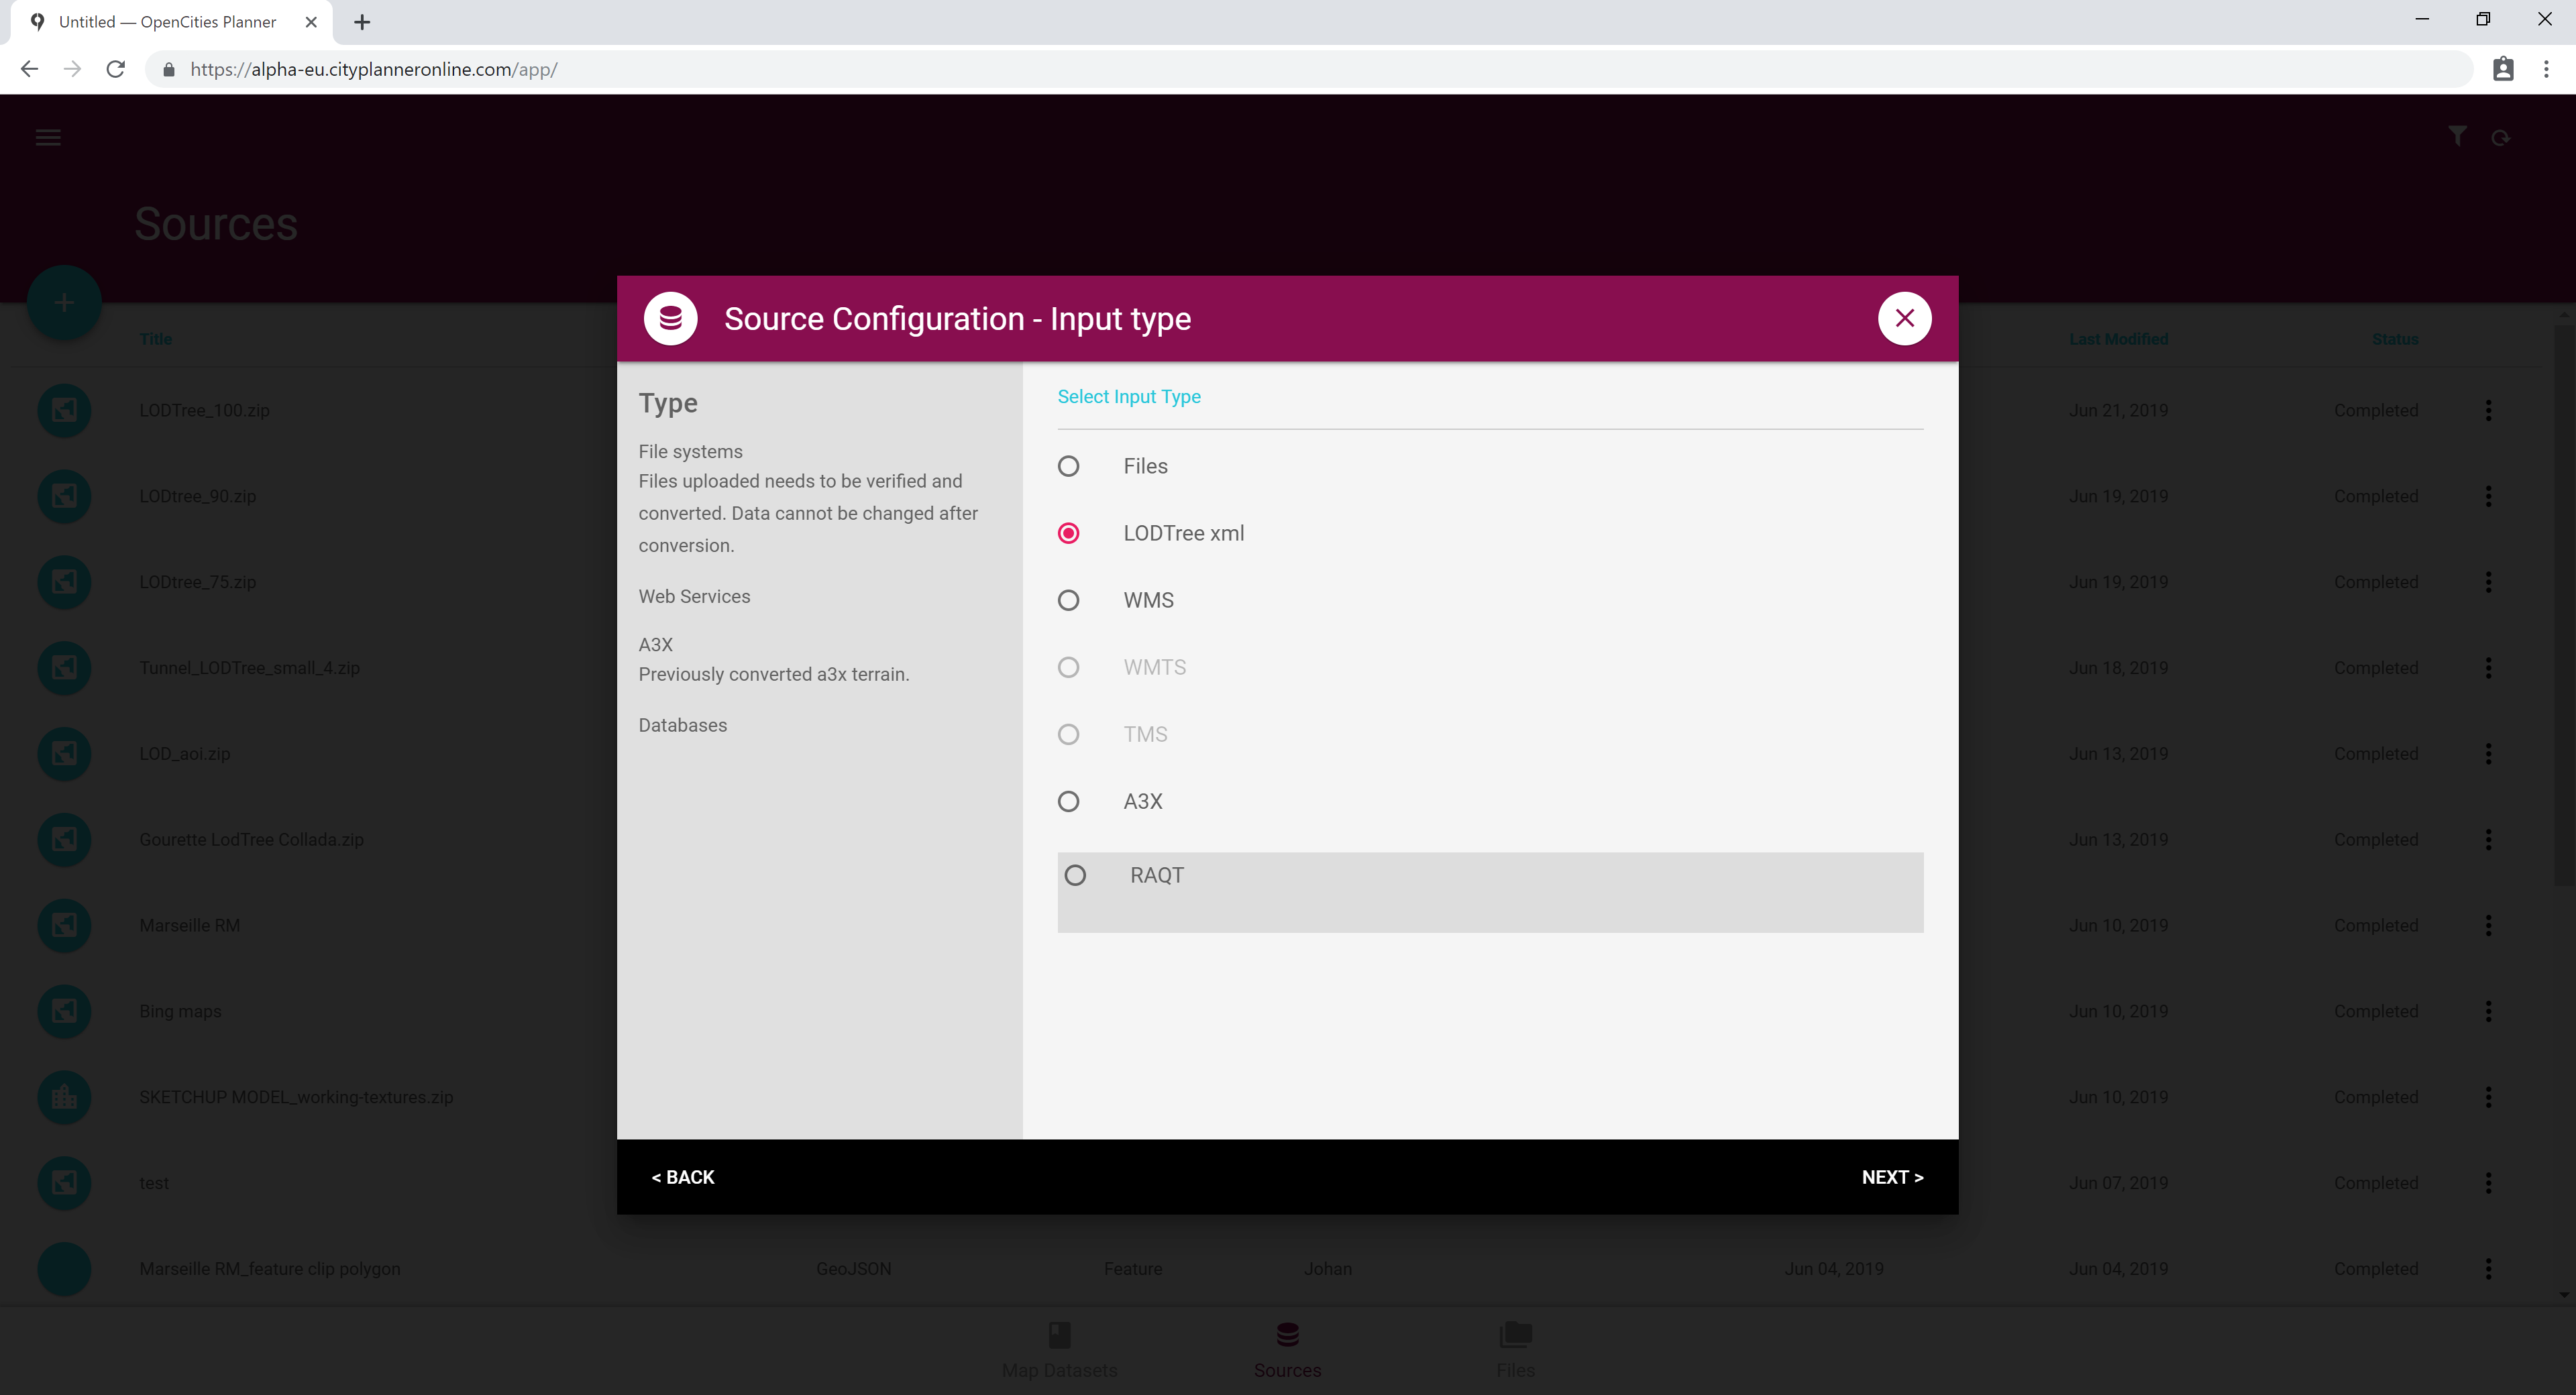
Then, pick LOD Tree XML as input.
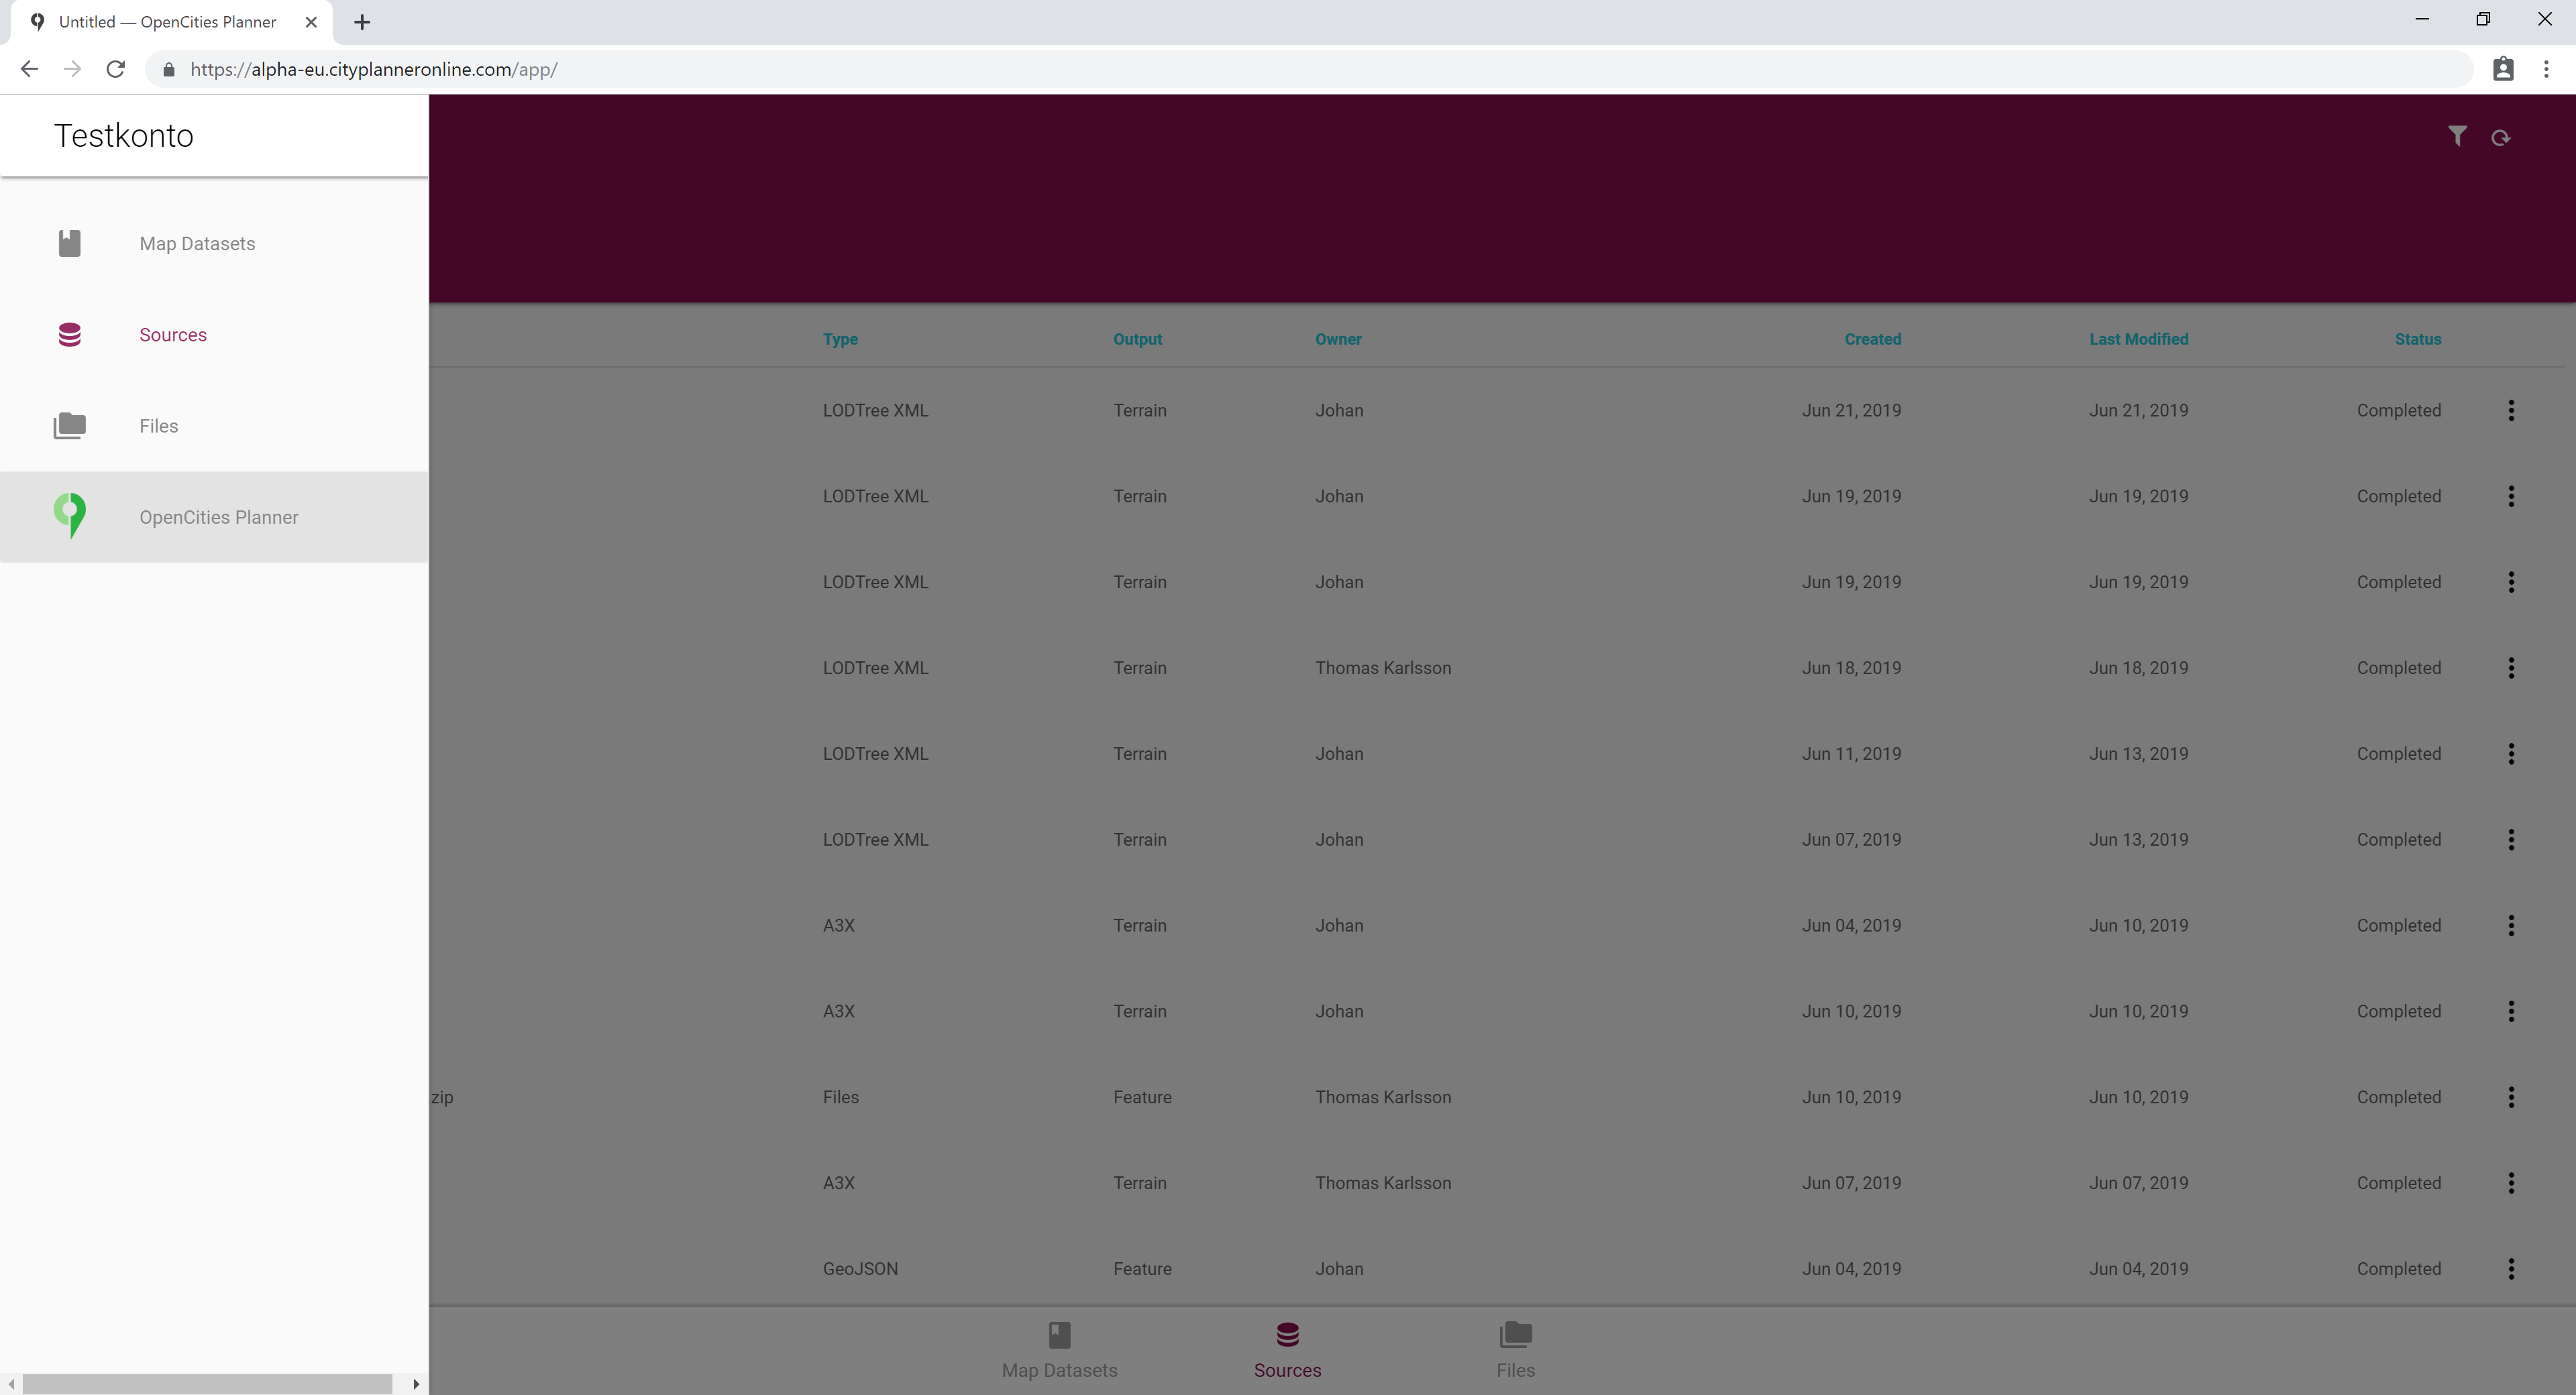
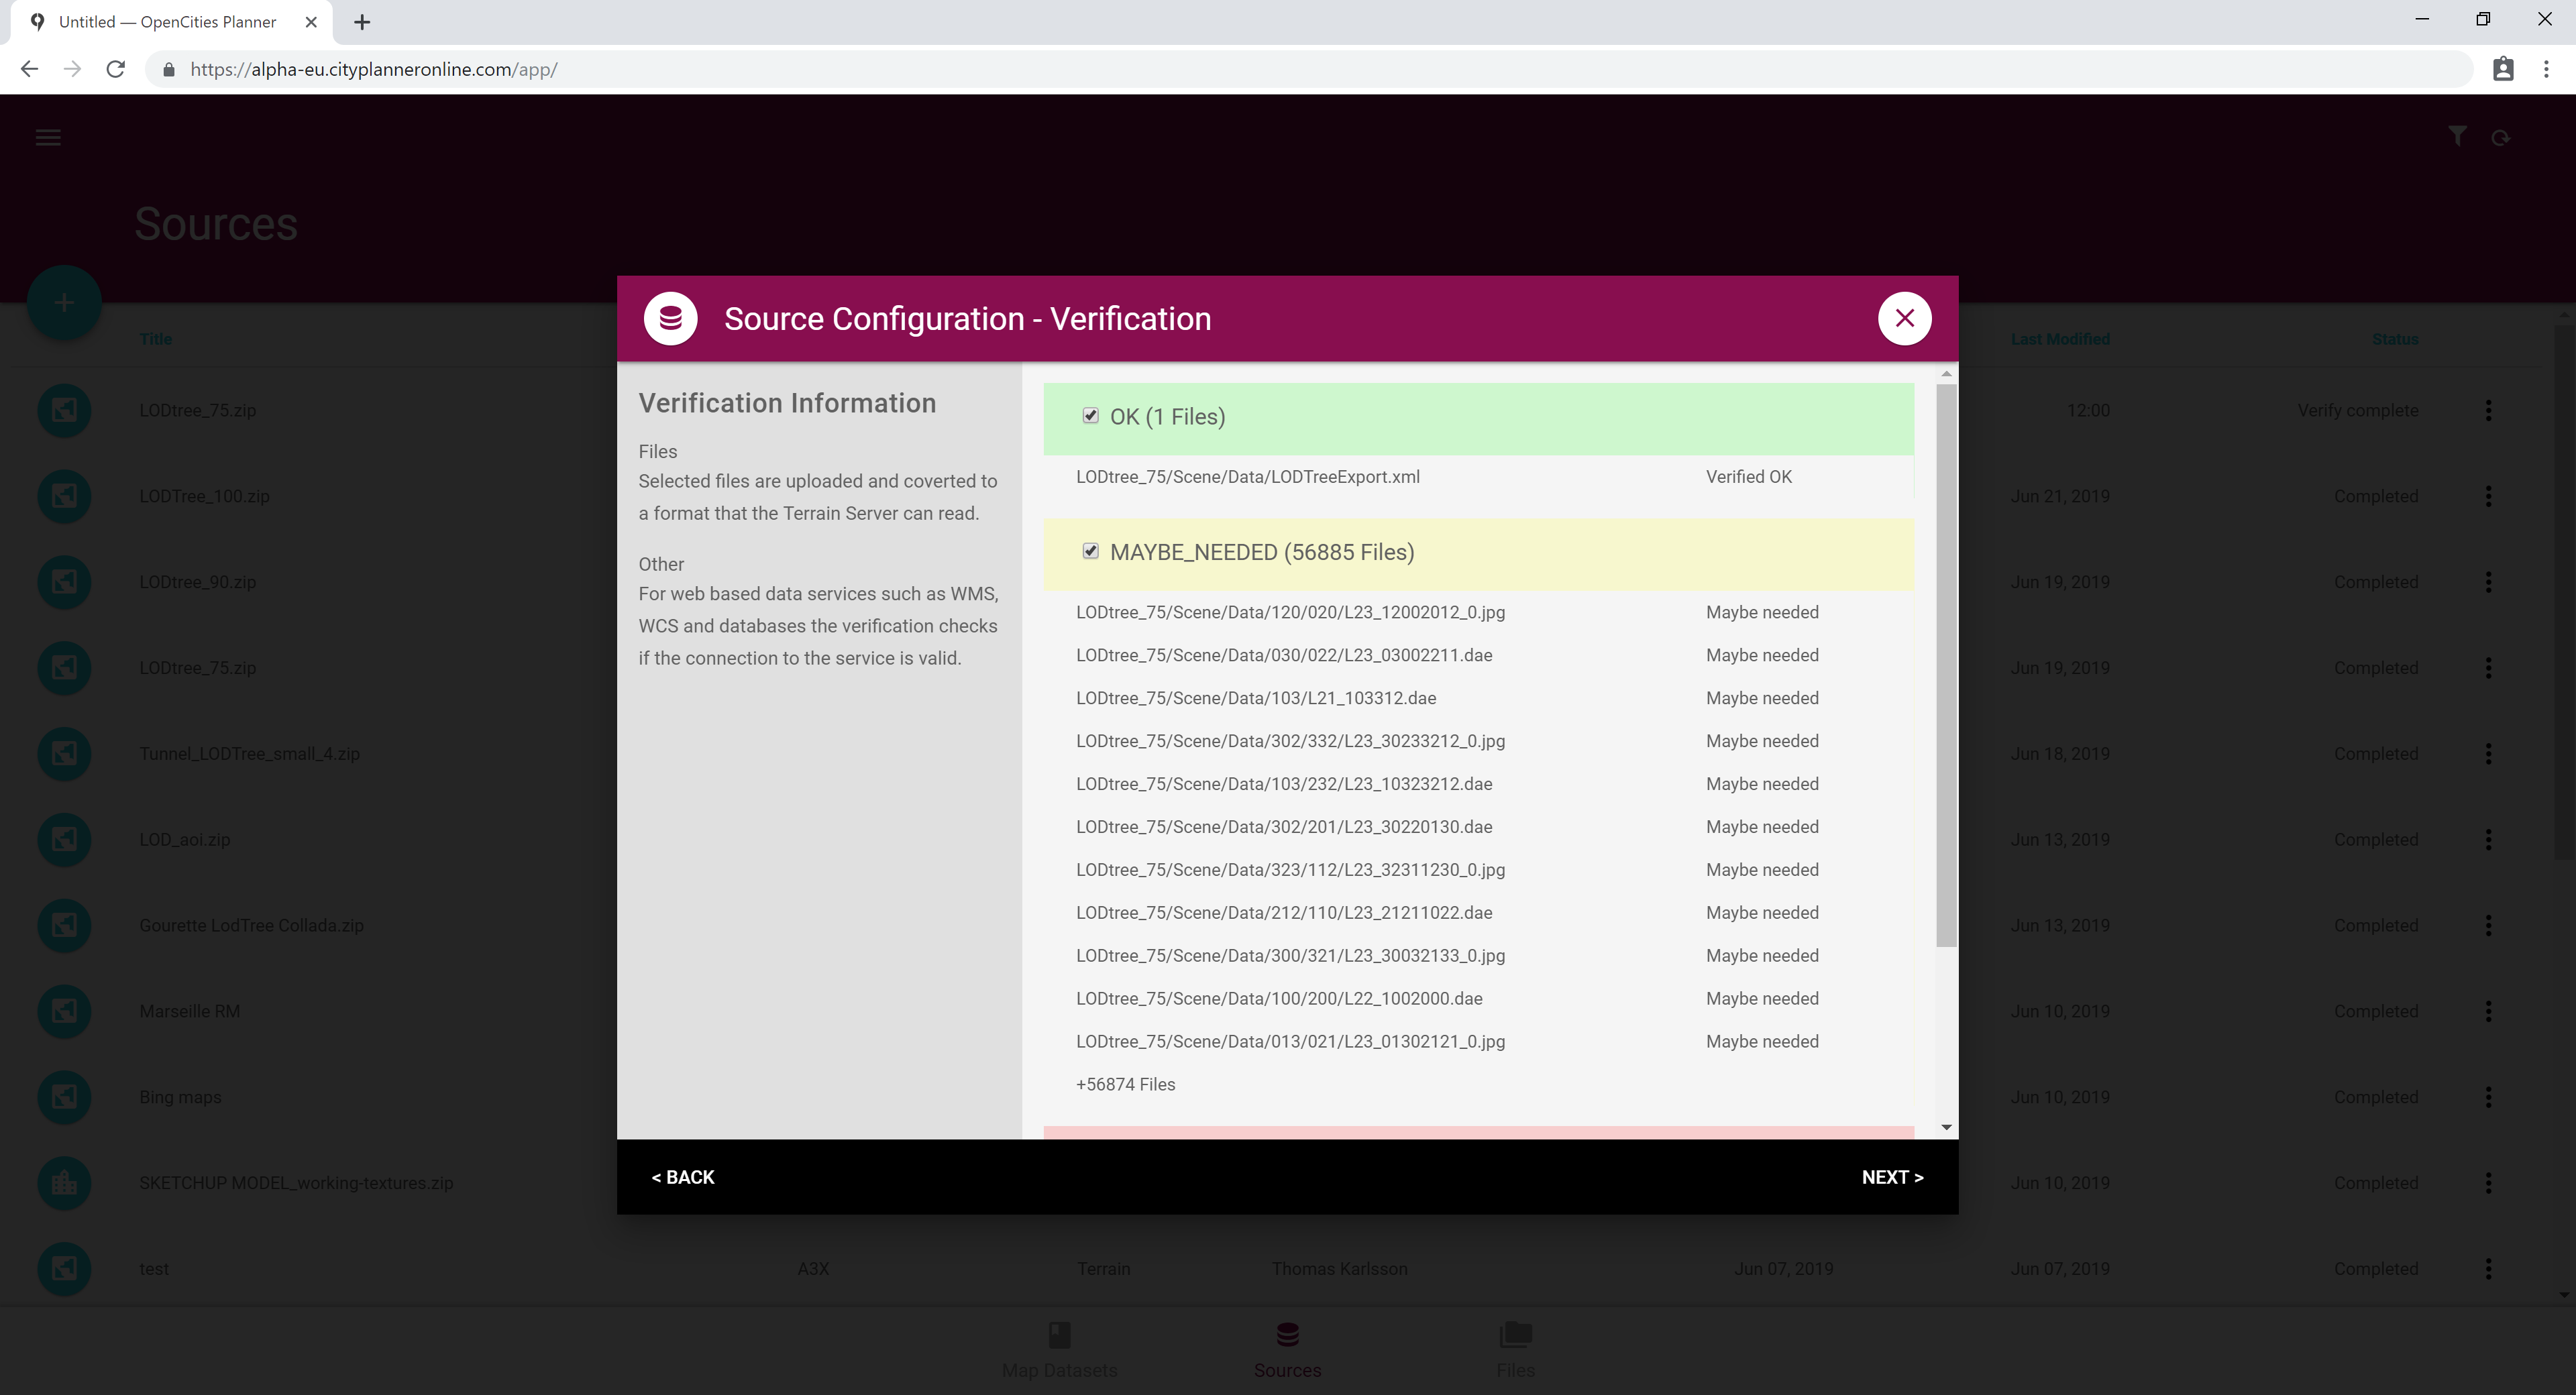
After you click next, the files you picked will be verified and this will take a while. You don’t have to wait for verification since it is done server side. If you log out and come back to DataManager, you can see the progress on your Source if you go to Sources.
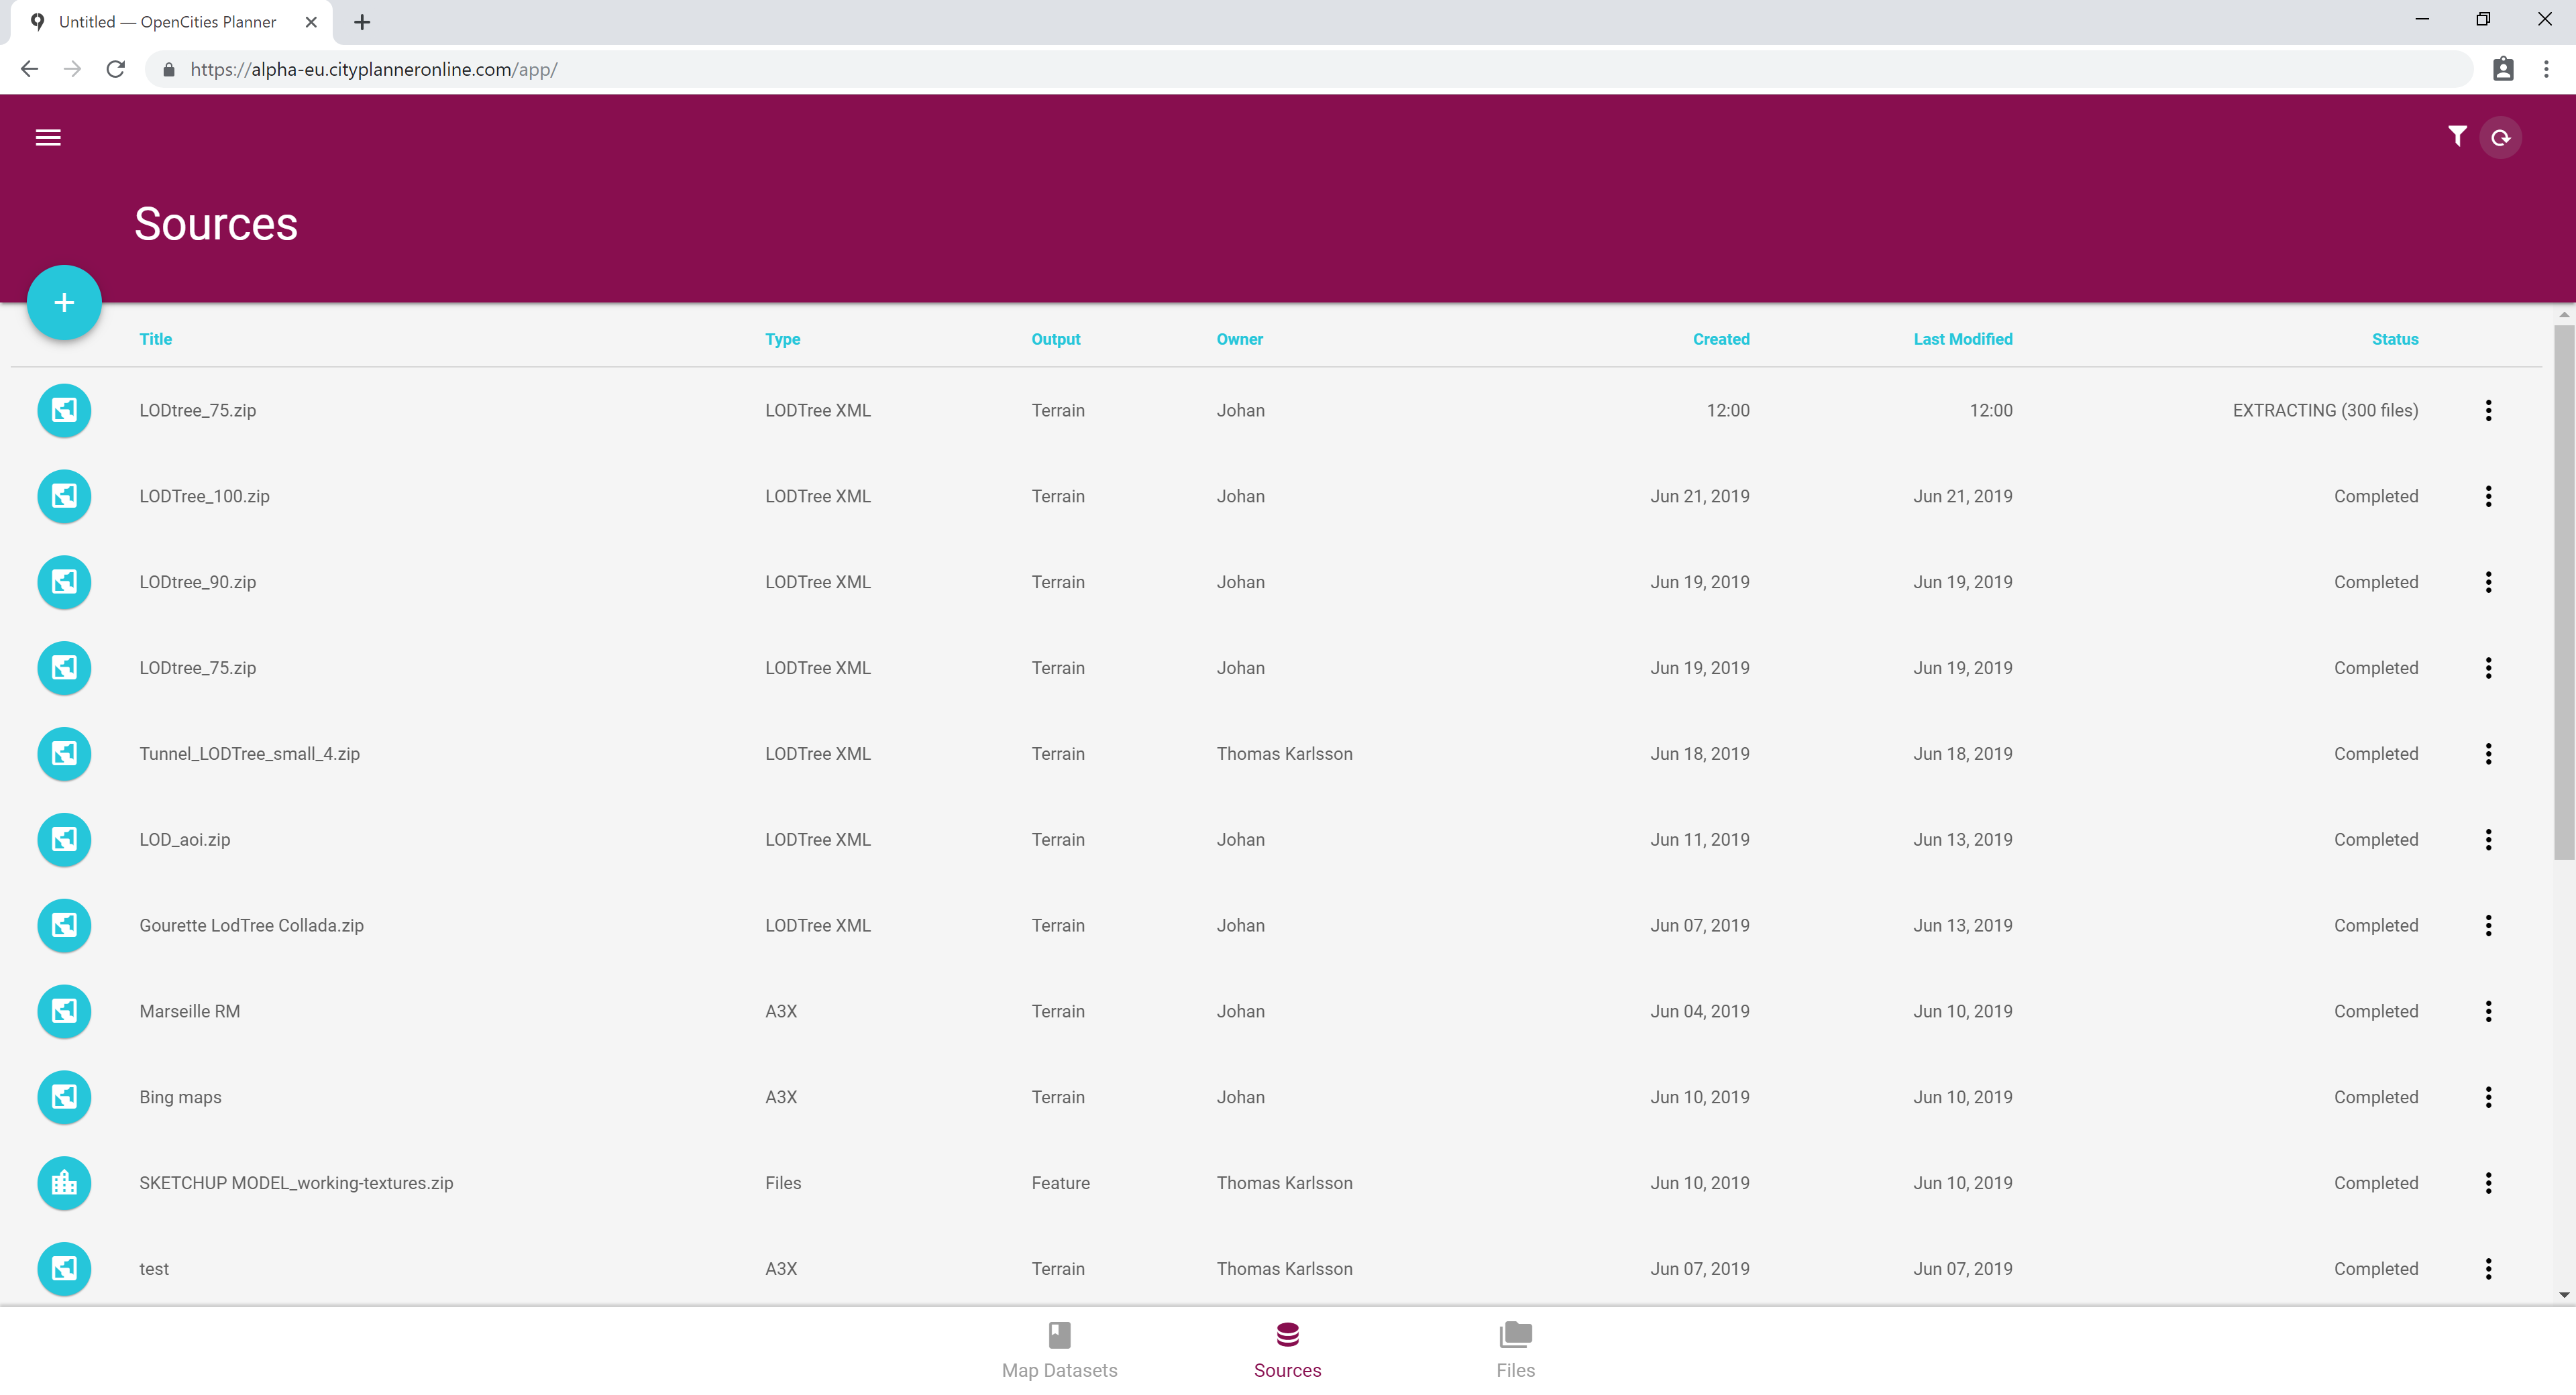
When the verification process is completed, it will show in the Status column. Click the vertical ellipsis icon and then Resume to continue. You will see a list of the files that will be used in the next step or an error message if something is wrong with the data you verified.
Hit Next to go continue. This step will prepare your data for streaming and will take a few hours depending on the size and complexity of your data.

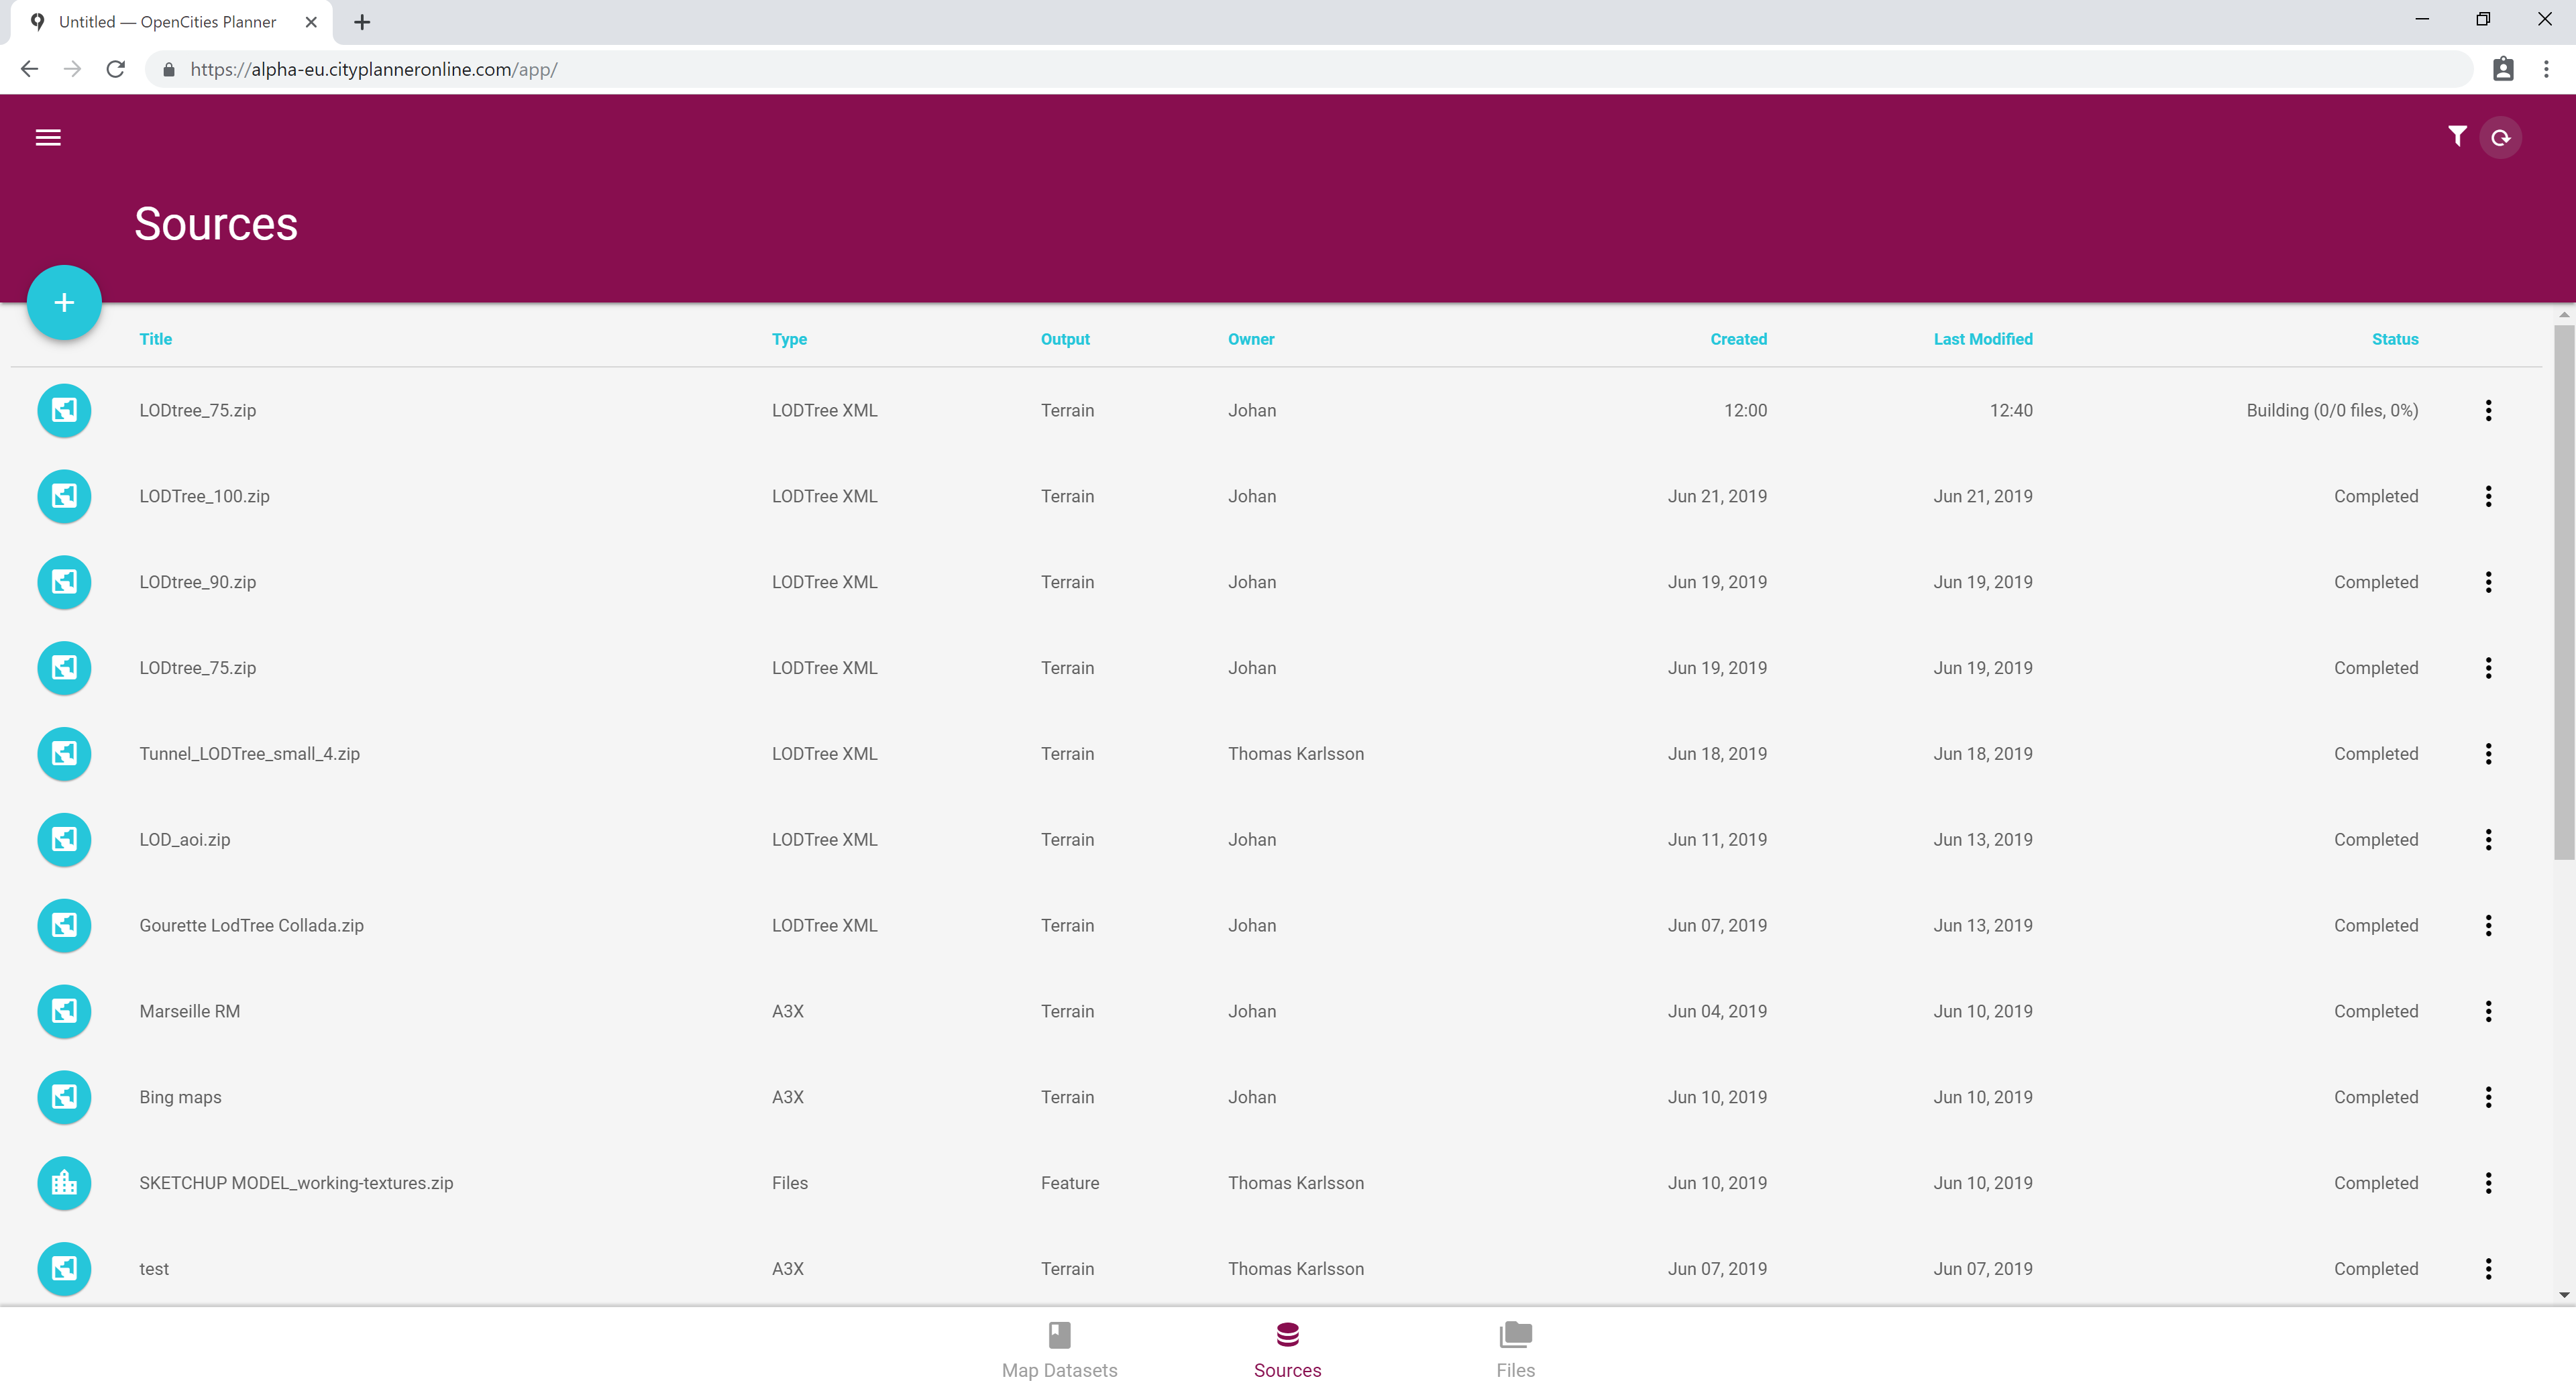
If you choose to exit DataManager and come back after a while, you will see the progress in the Source listening.
Creating a Dataset
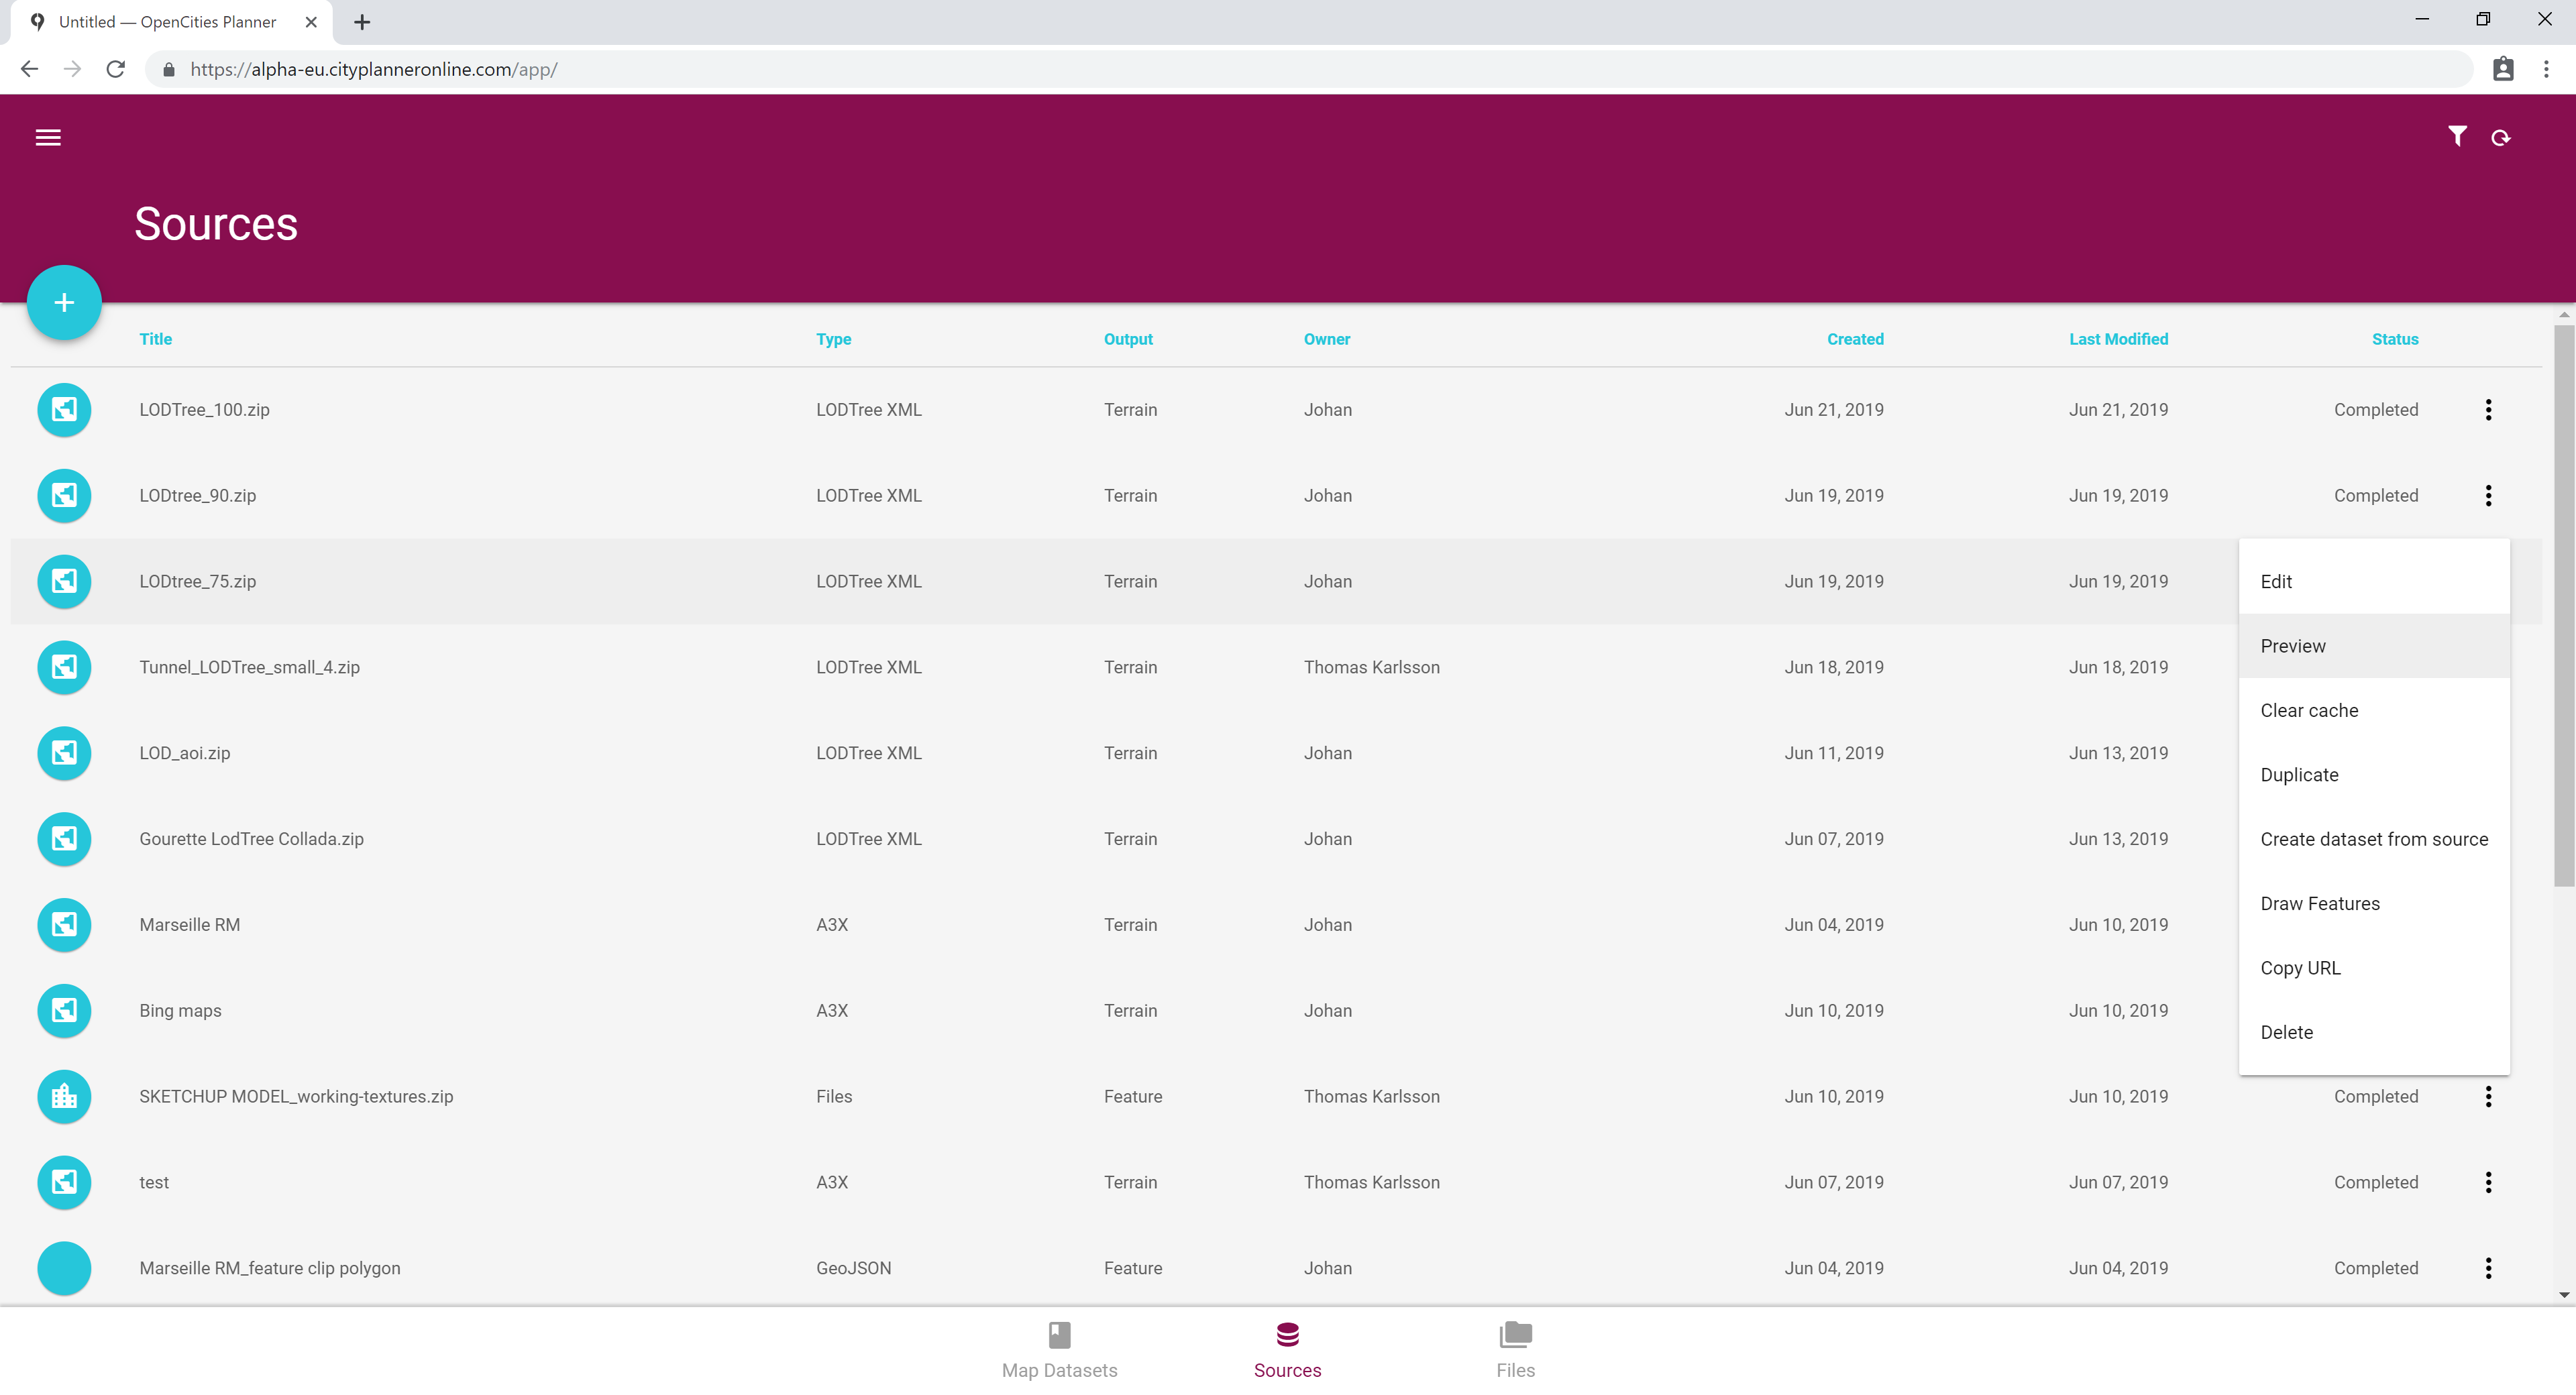
When the build process is complete, you can go ahead and create a Dataset or include your Source in an existing dataset.
To create a new Dataset from the Source, click the vertical ellipsis icon and then Create dataset from source.
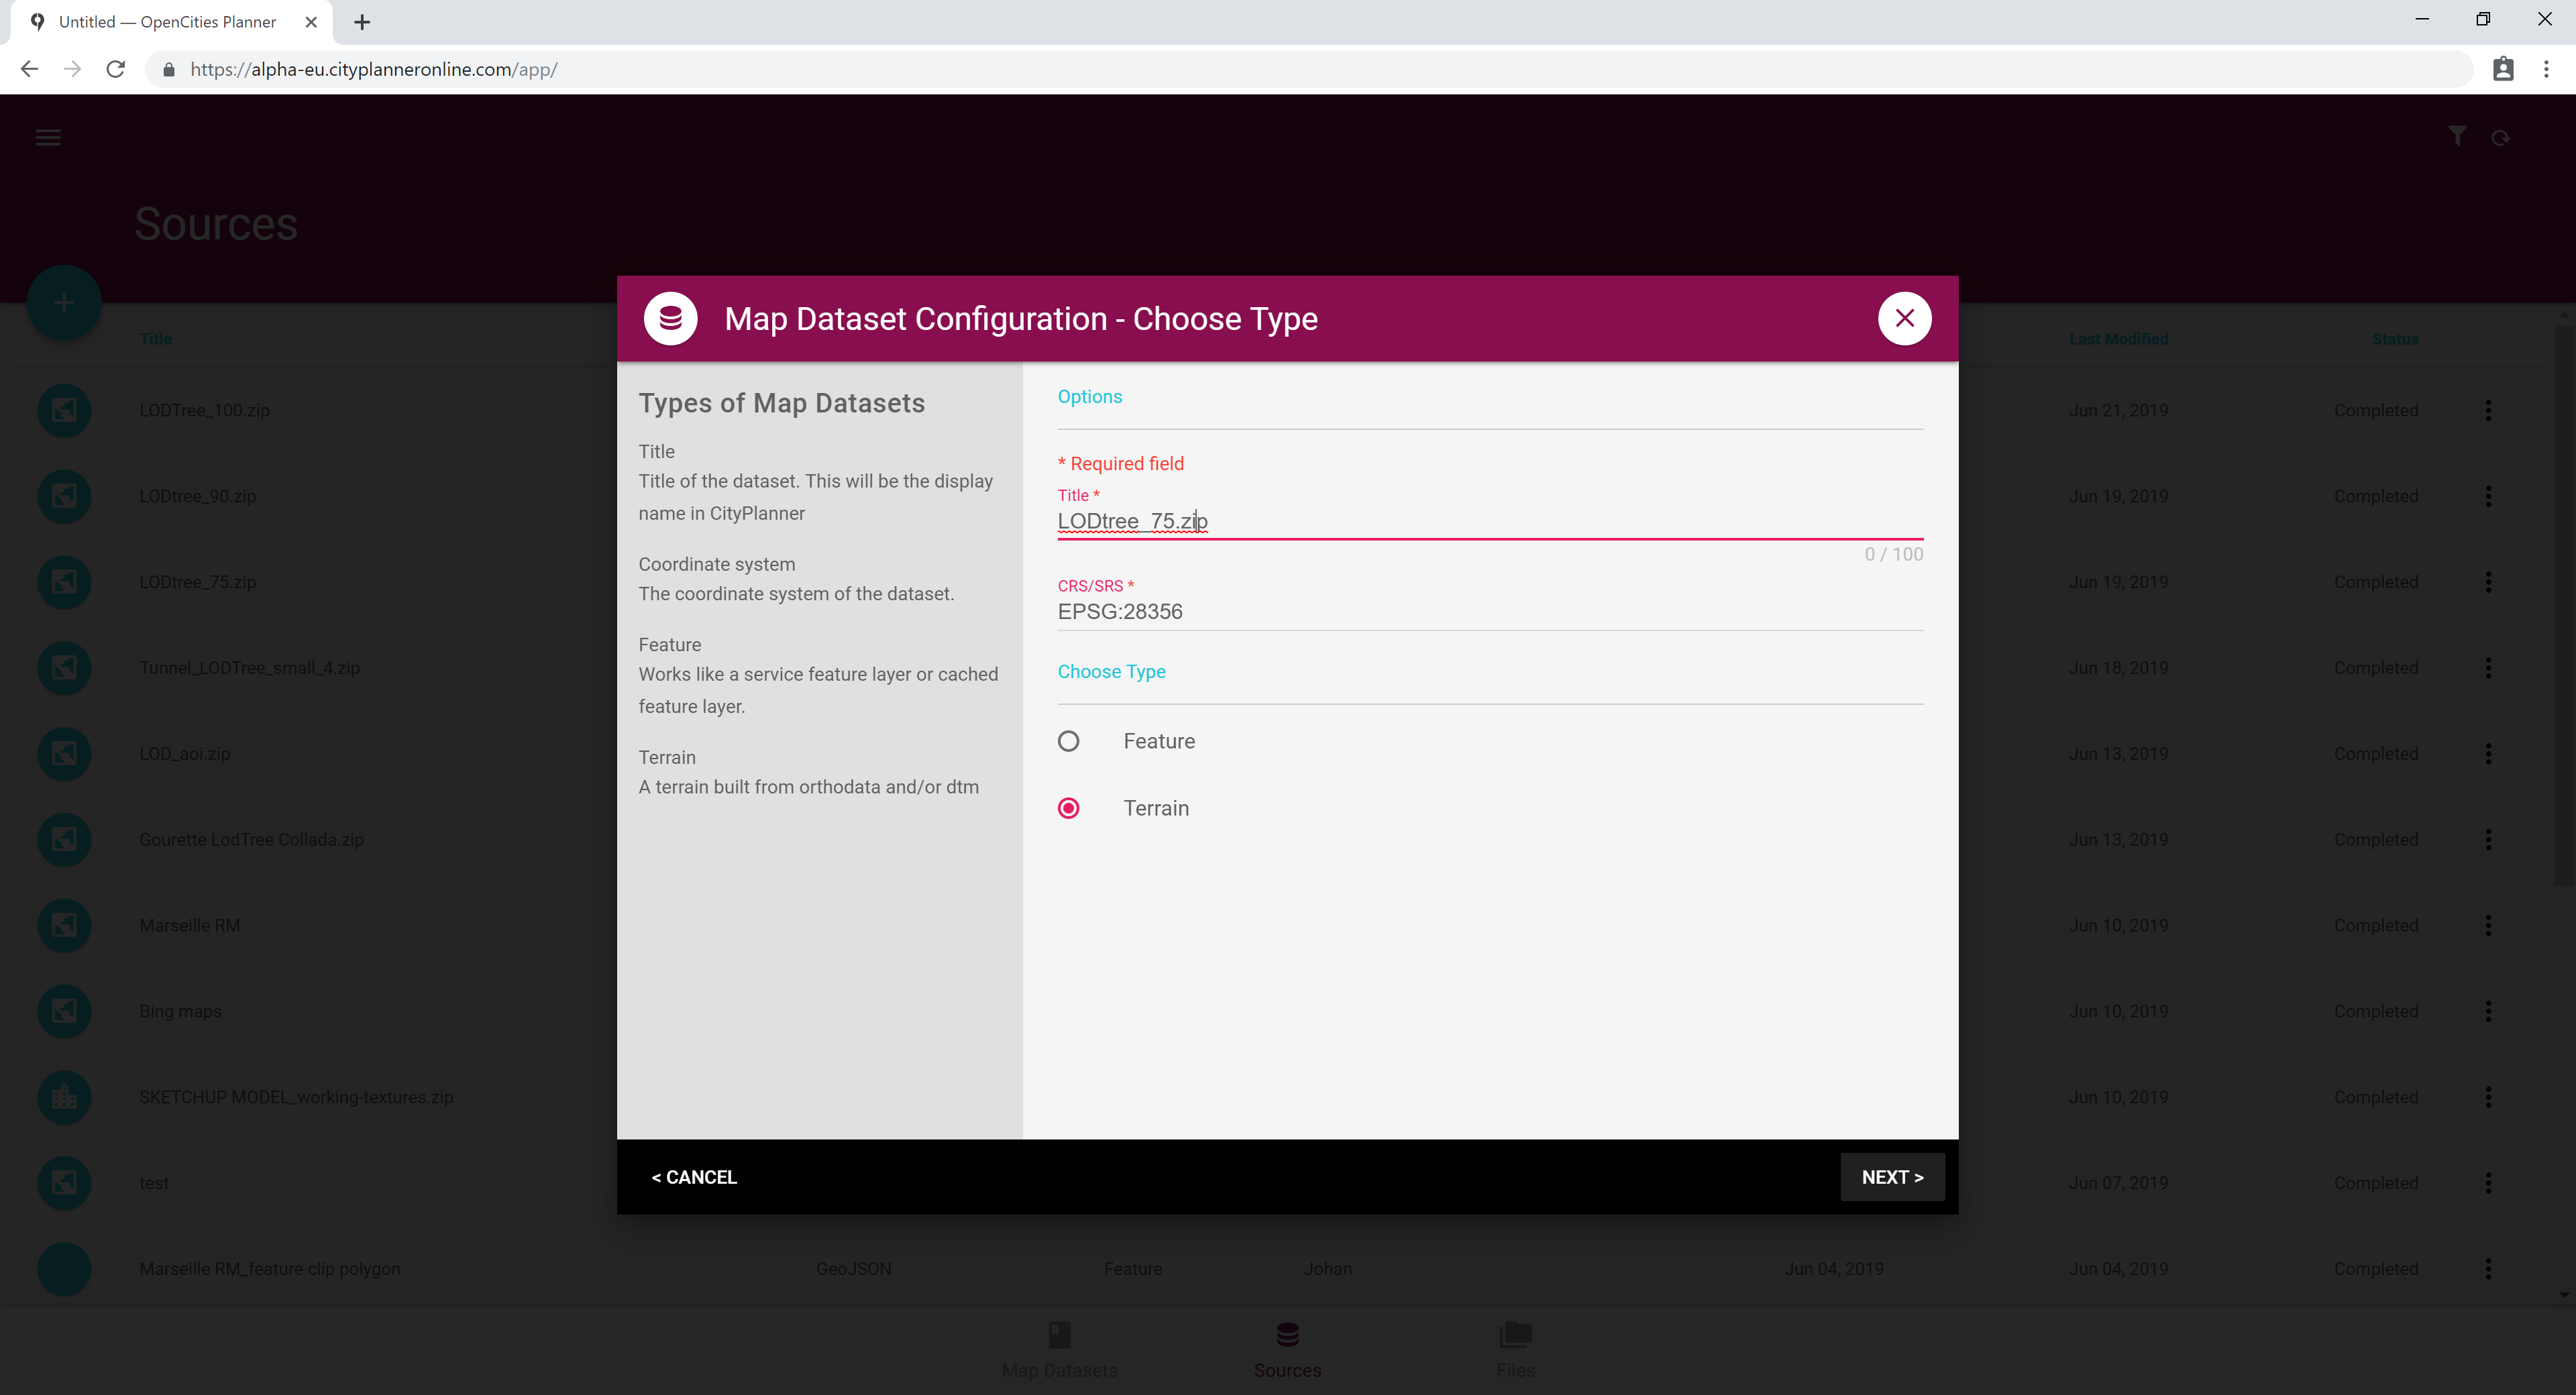
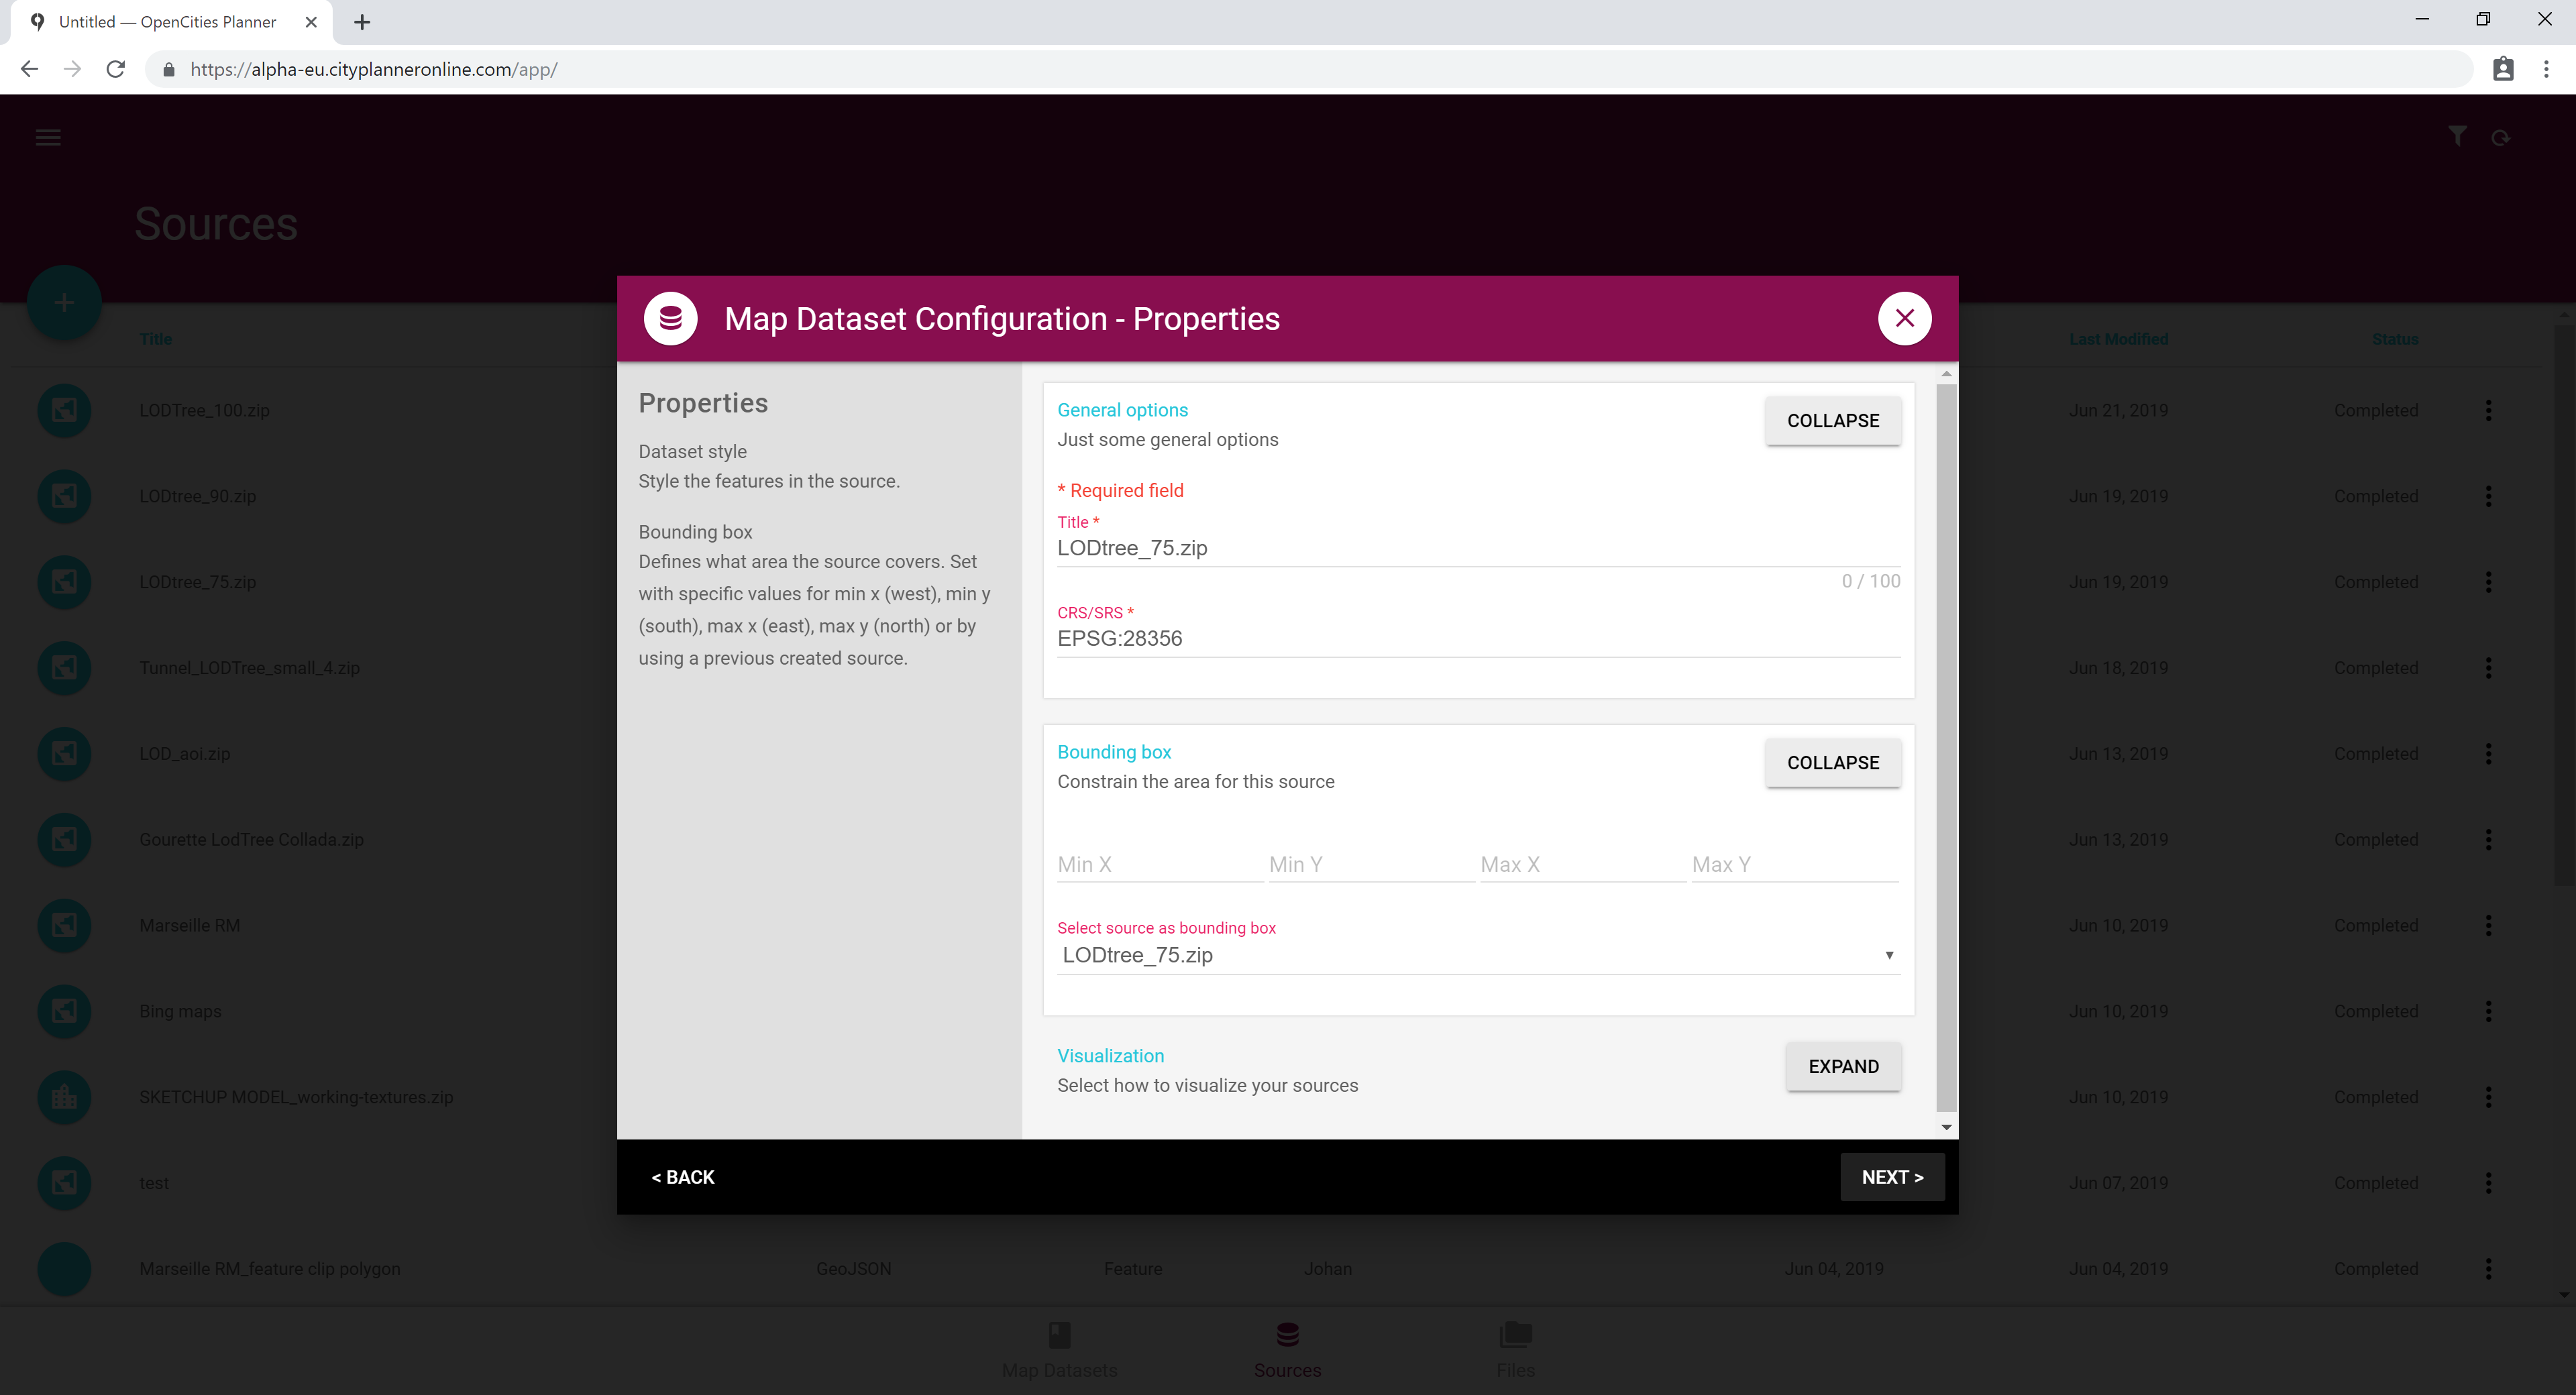
Give it a name, make sure the coordinate system is correct and that the type is set to Terrain. Click Next. If you want to include other Sources to the Dataset you’re creating, pick them in the list.
Click next, set the rendering order of DTMs and Raster sources if you’re including such source types.
Click Next again and set the bounding area for the dataset that you’re creating. This is typically either the source itself, or the bounding coordinates of your coordinate system.
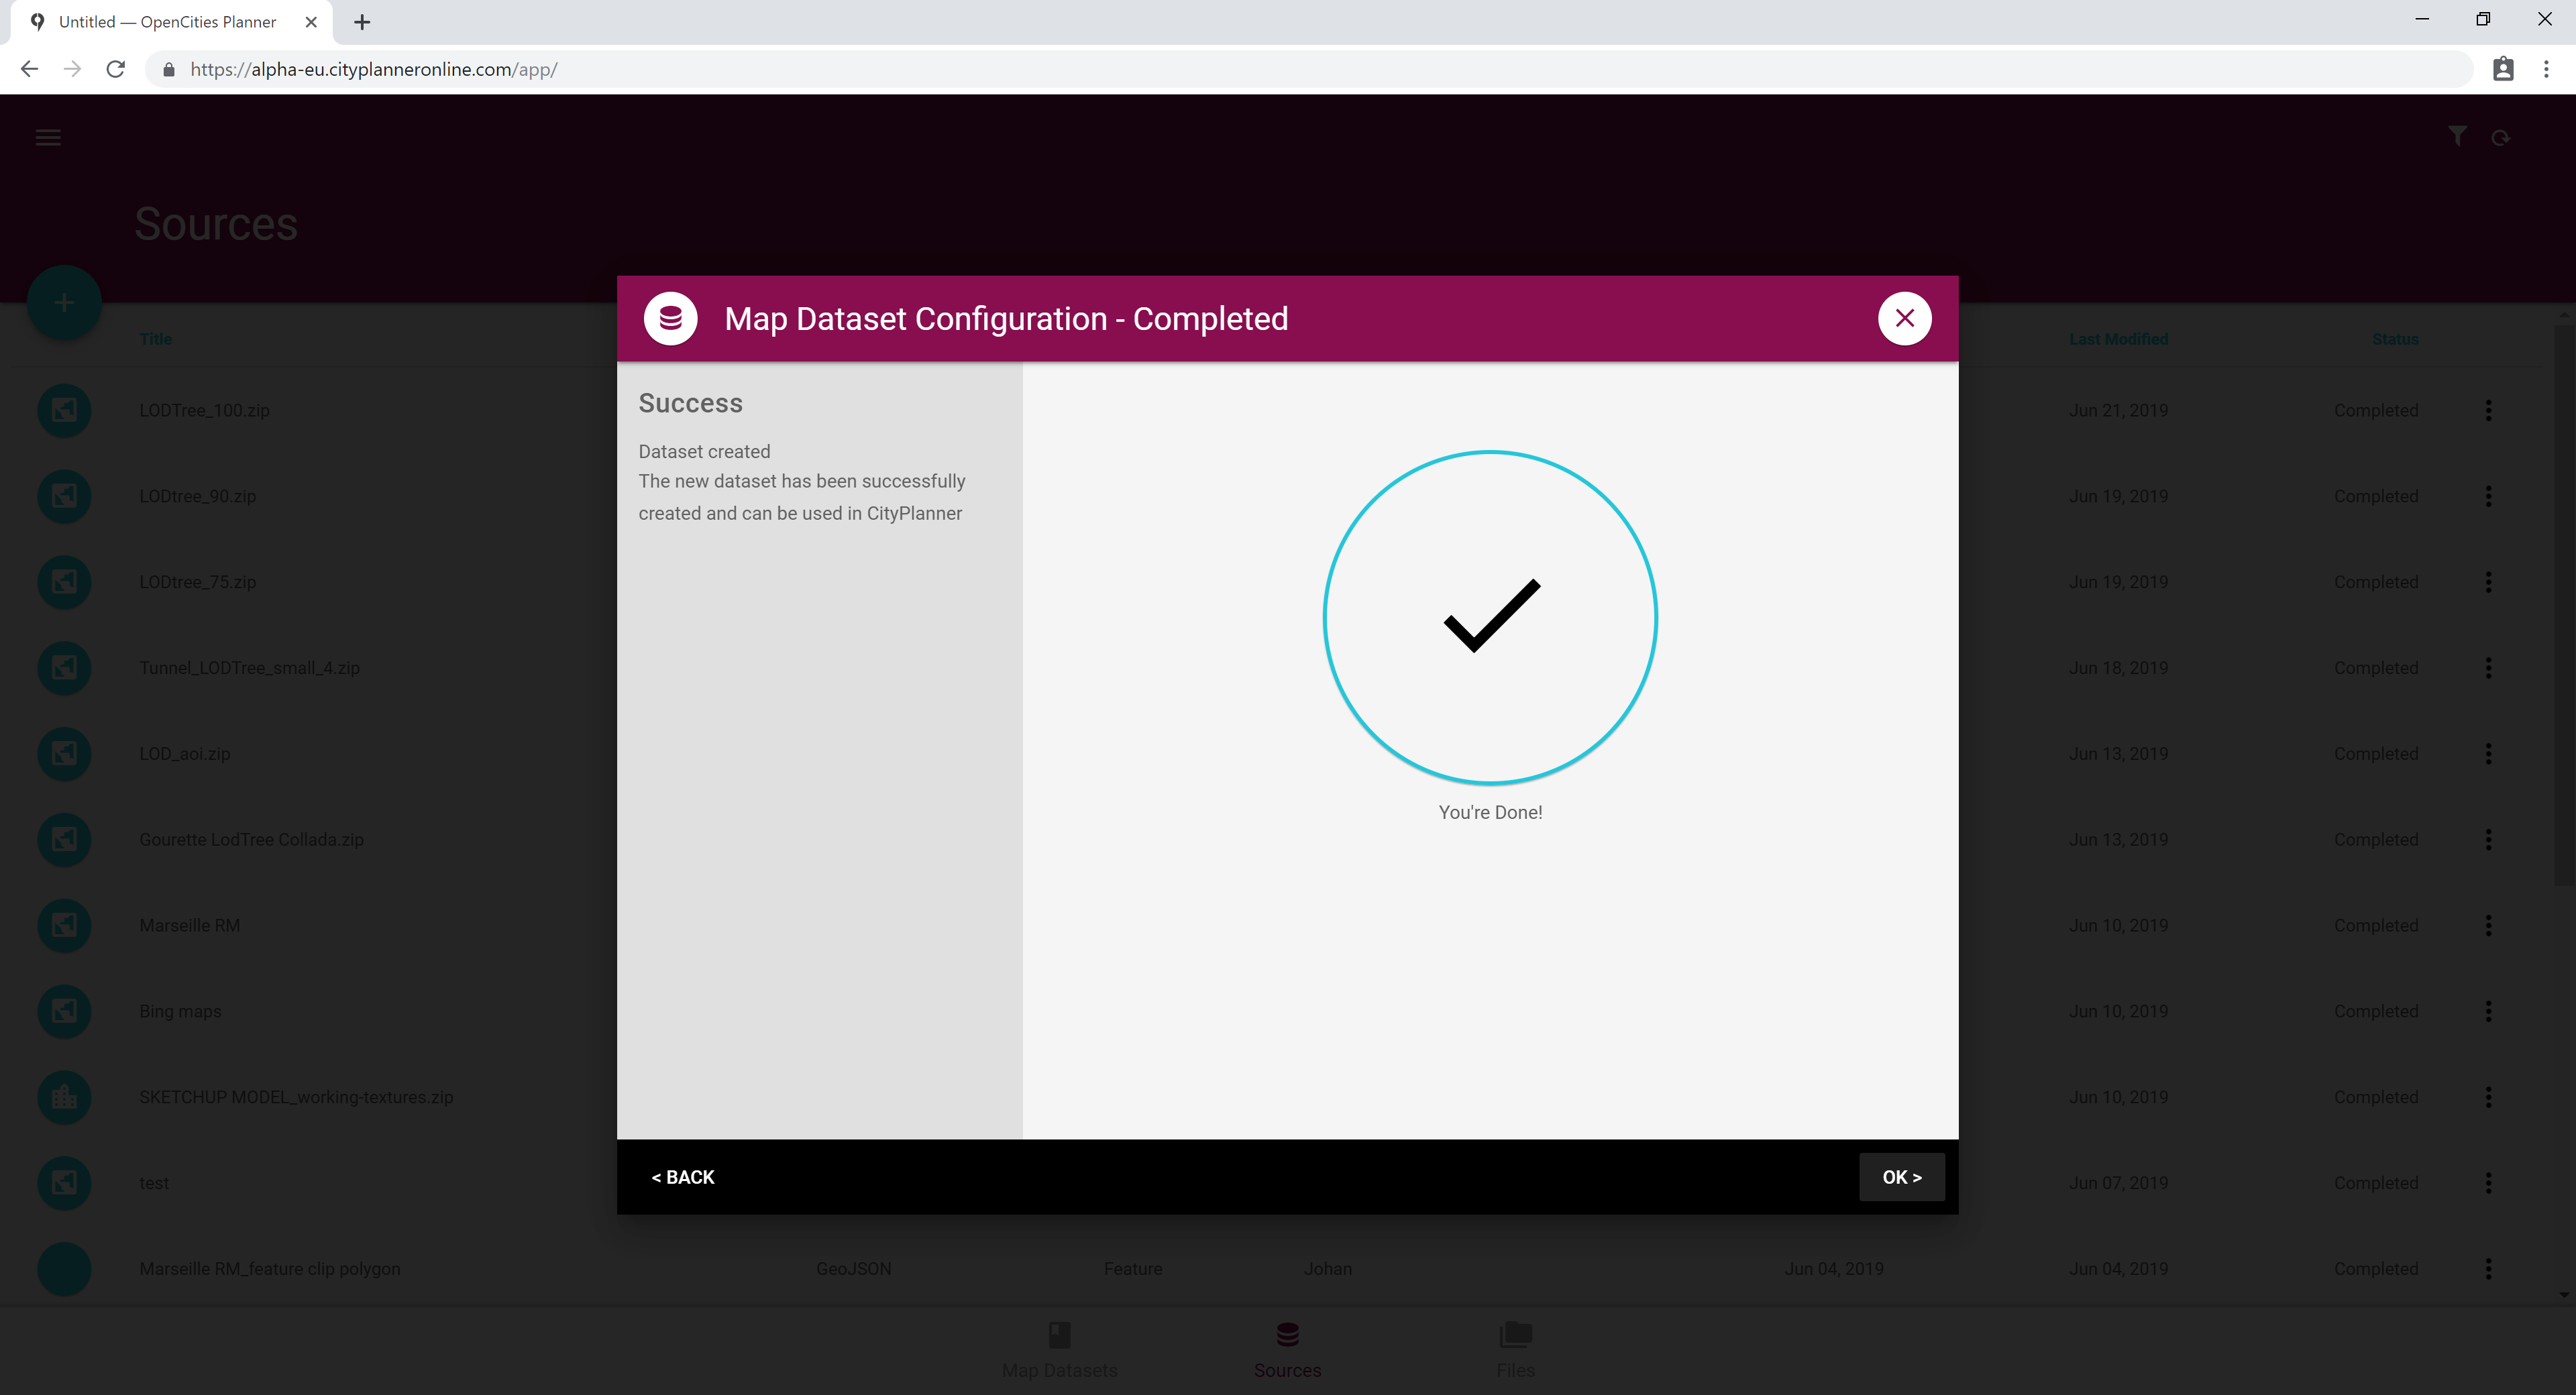
Hit Next and you are done. The dataset is ready to be used.
Exit DataManager and go back to the OpenCities Planner editor.