Points of Interest, or simply POIs, are used to indicate places in the 3D World – as well as convey more information about them. In this tutorial, we’ll learn to place and configure them.
Introduction to Point(s) of Interest
Single or Multiple?
There are two similar but different tools you can use to create POIs.
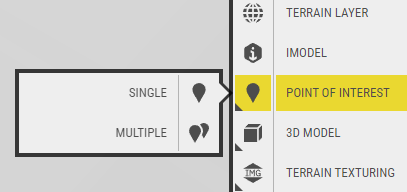
- Single – Create a single marker, before customising it.
- Multiple – Configure a template before creating multiple markers in the same style.
Single Point of Interest
Here is the process for creating a Single Point of Interest.
- Select Single on the POI Tool, the cursor will change to a marker:
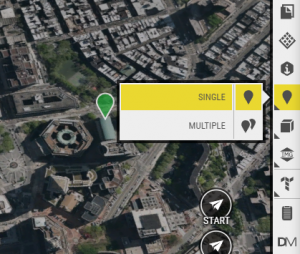
- Choose your position and single click on the map to select the location.
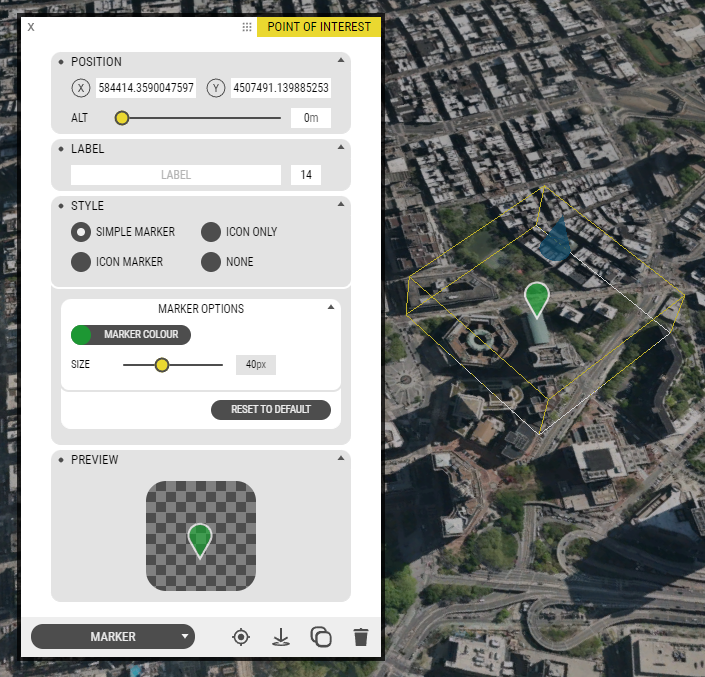
- A default style marker will be added to the map and the Properties Window will now appear:

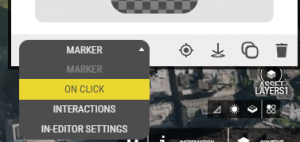
- The Marker ‘tab’ is the default, here you can customise the appearance.
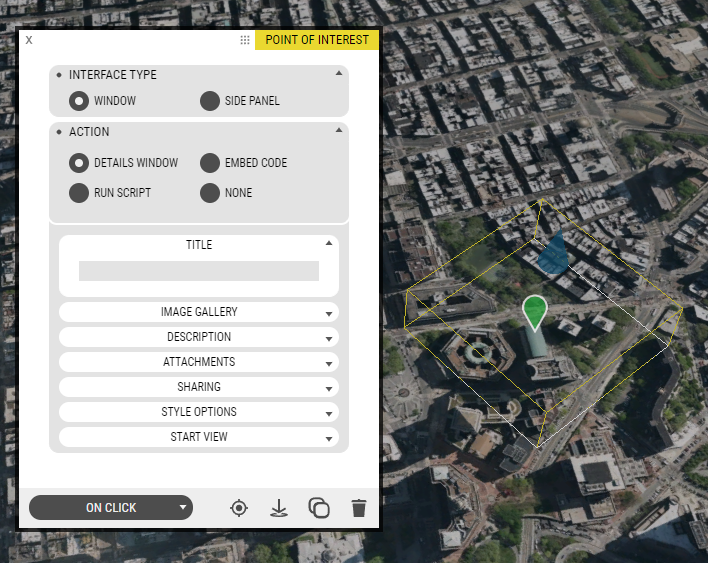
- Use the Tab Switcher in the Windows Bar to switch to the On click Window:
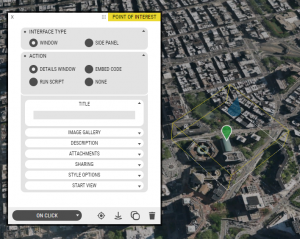
- On the On Click tab you can configure the information which appears in the POI’s pop-up window:


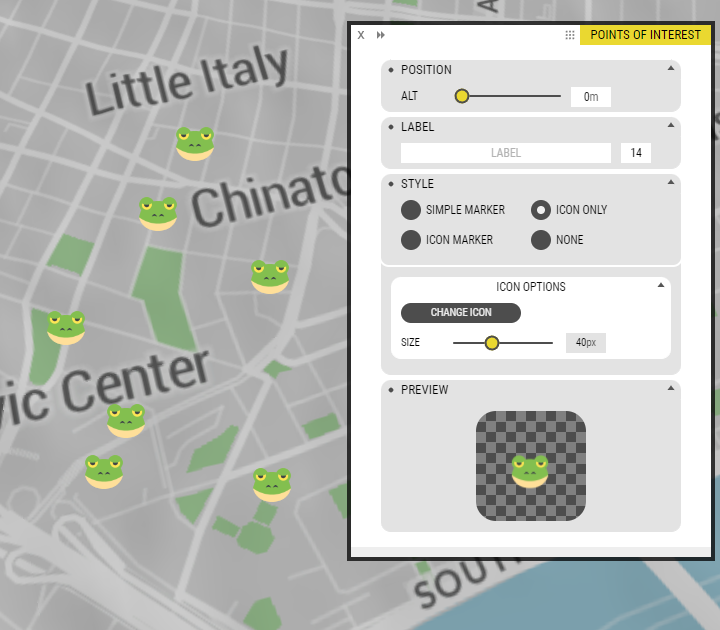
Multiple Points of Interest
The second POI creation option is Multiple Points of Interest.
With this tool, the workflow is the opposite. You customise the POI before placing it on the map. This allows you to create many POIs in the same exact style more quickly, eliminating the need to customise each one separately.
Tasks & an Example
Let’s try a use case for both the Single and Multiple Points of Interest tool. Find a city you know well on the map, they try the following tasks:
Task #1: Use the Single Point of Interest to mark City Hall. Give the marker a custom colour and/or icon. Add some information about your city to the Details window.
Task #2: Open the Multiple Points of Interest. Create a unique custom style. Click the map to denote the major parks in your town.
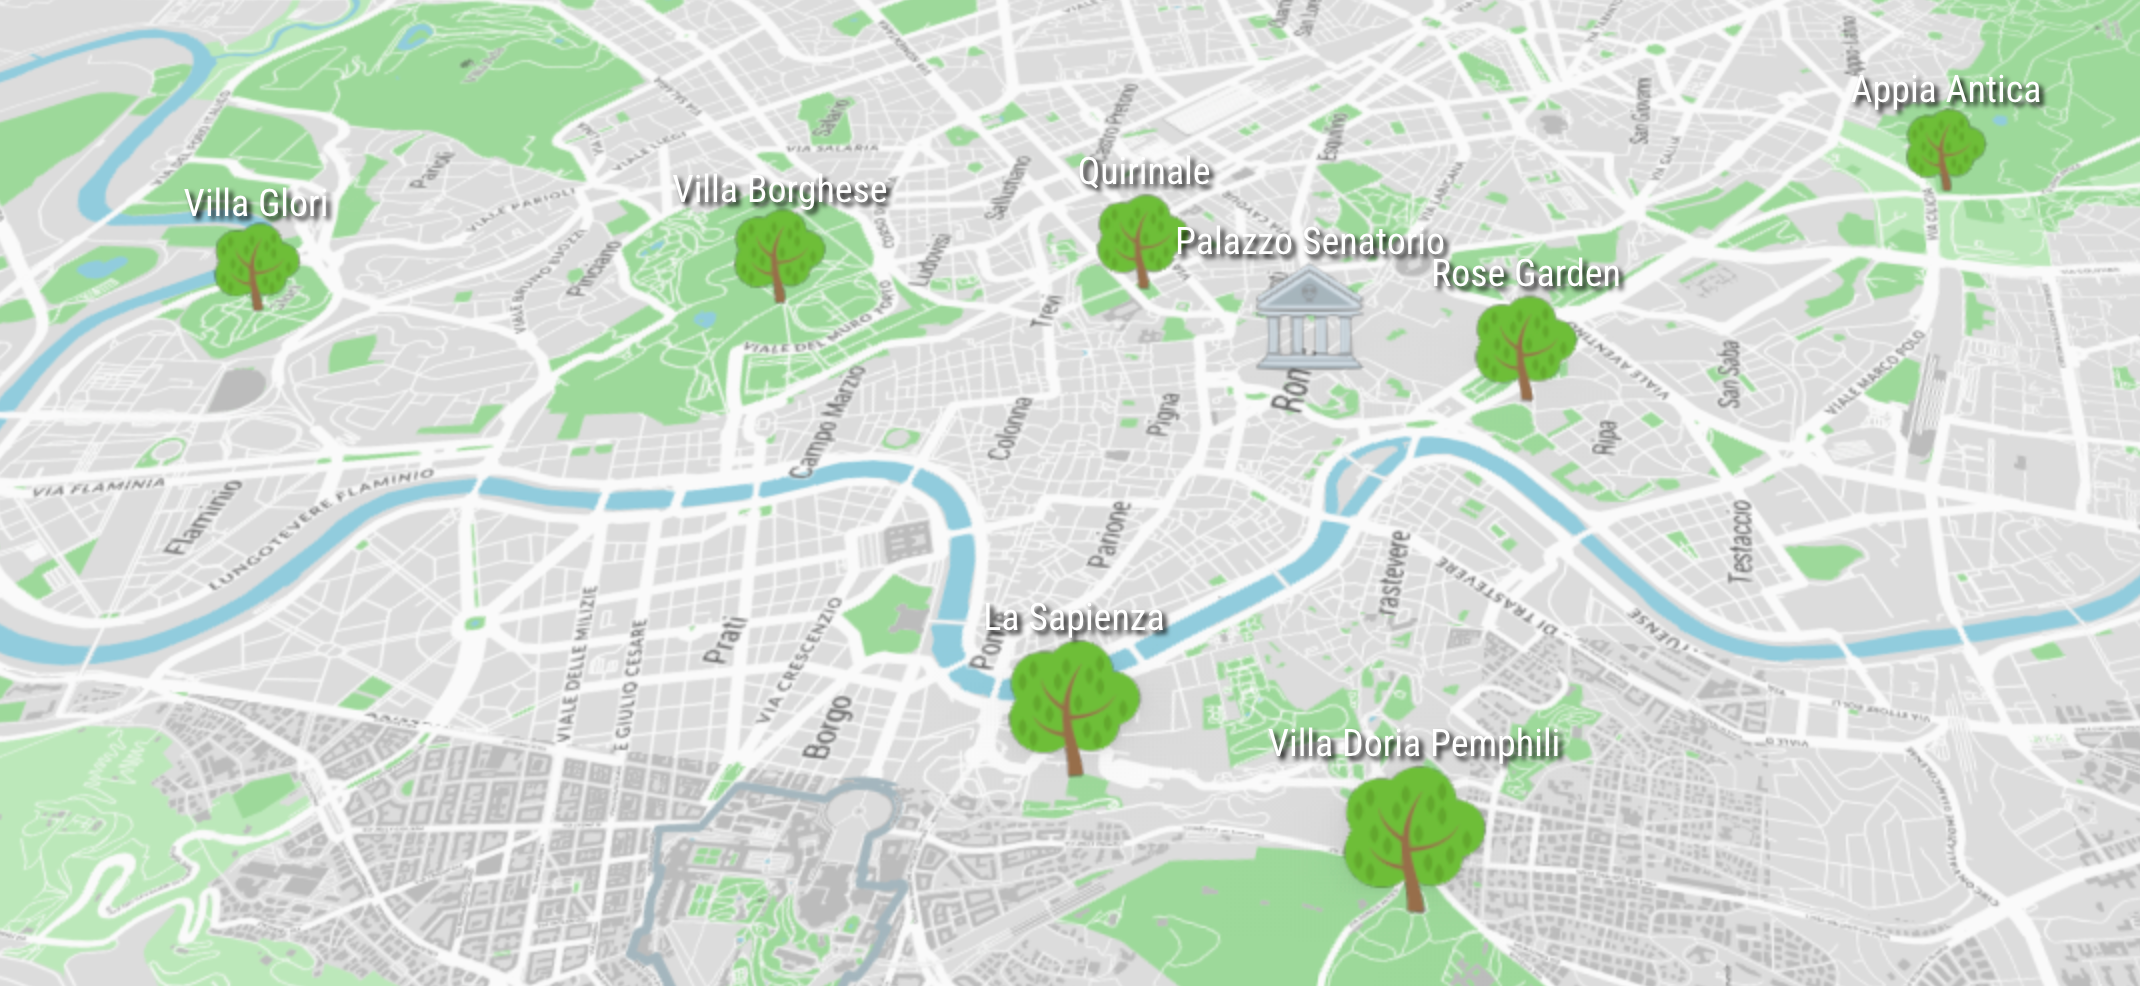
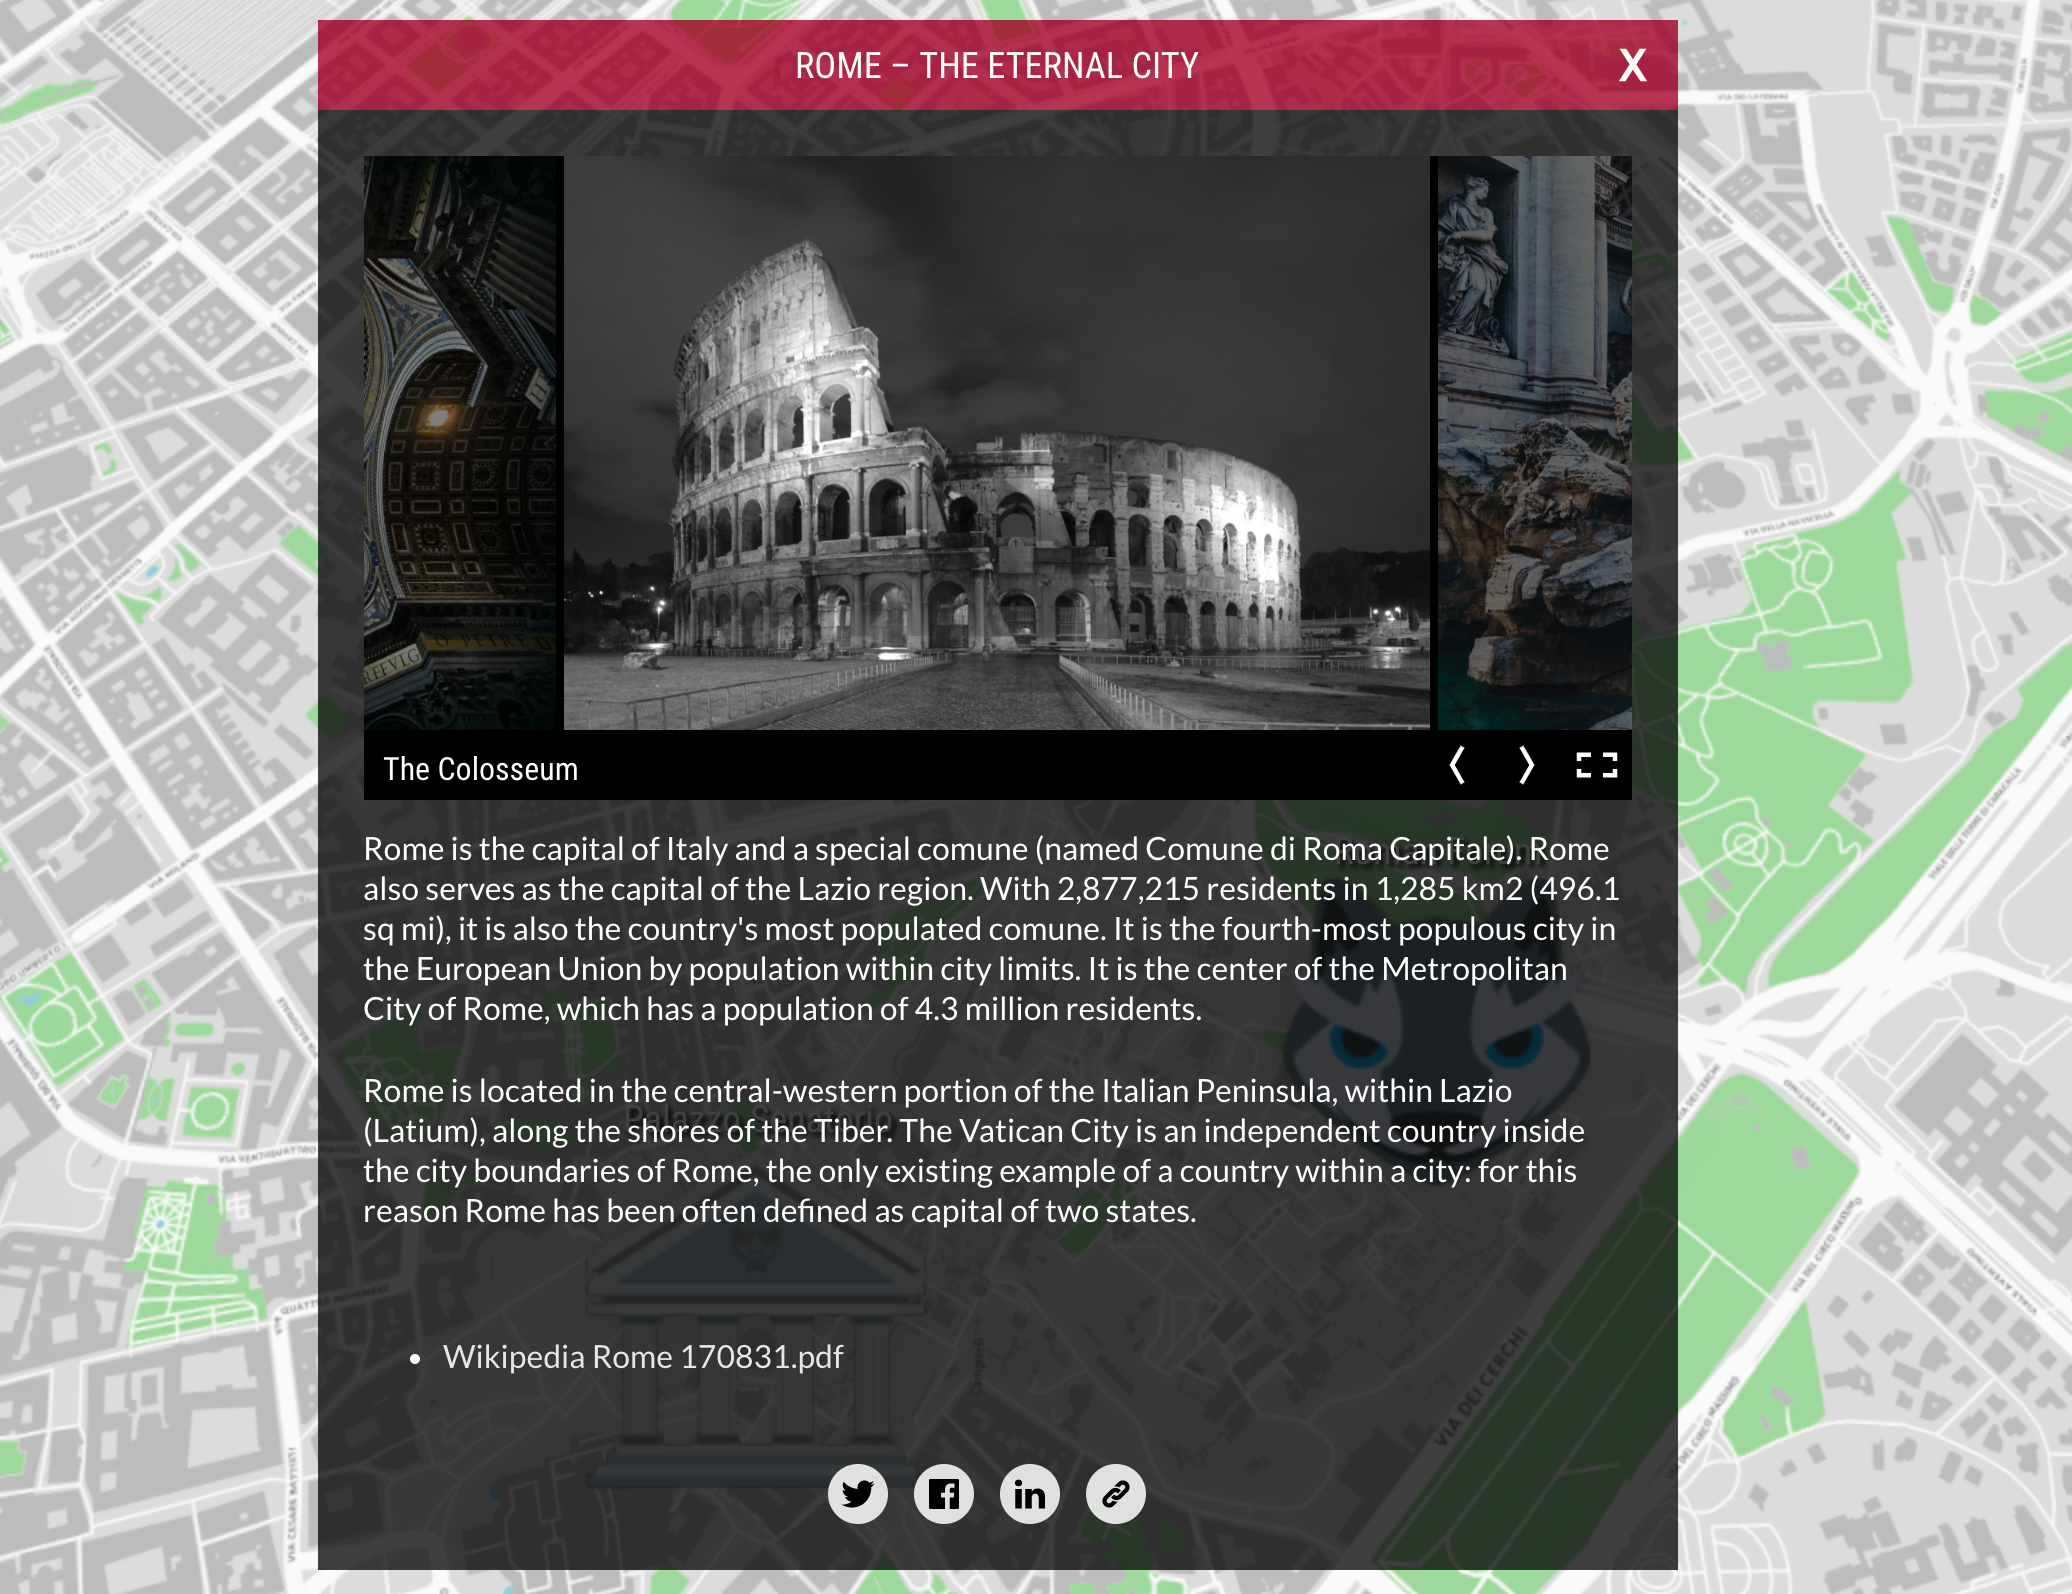
Visit beautiful Rome, Italy in our example;
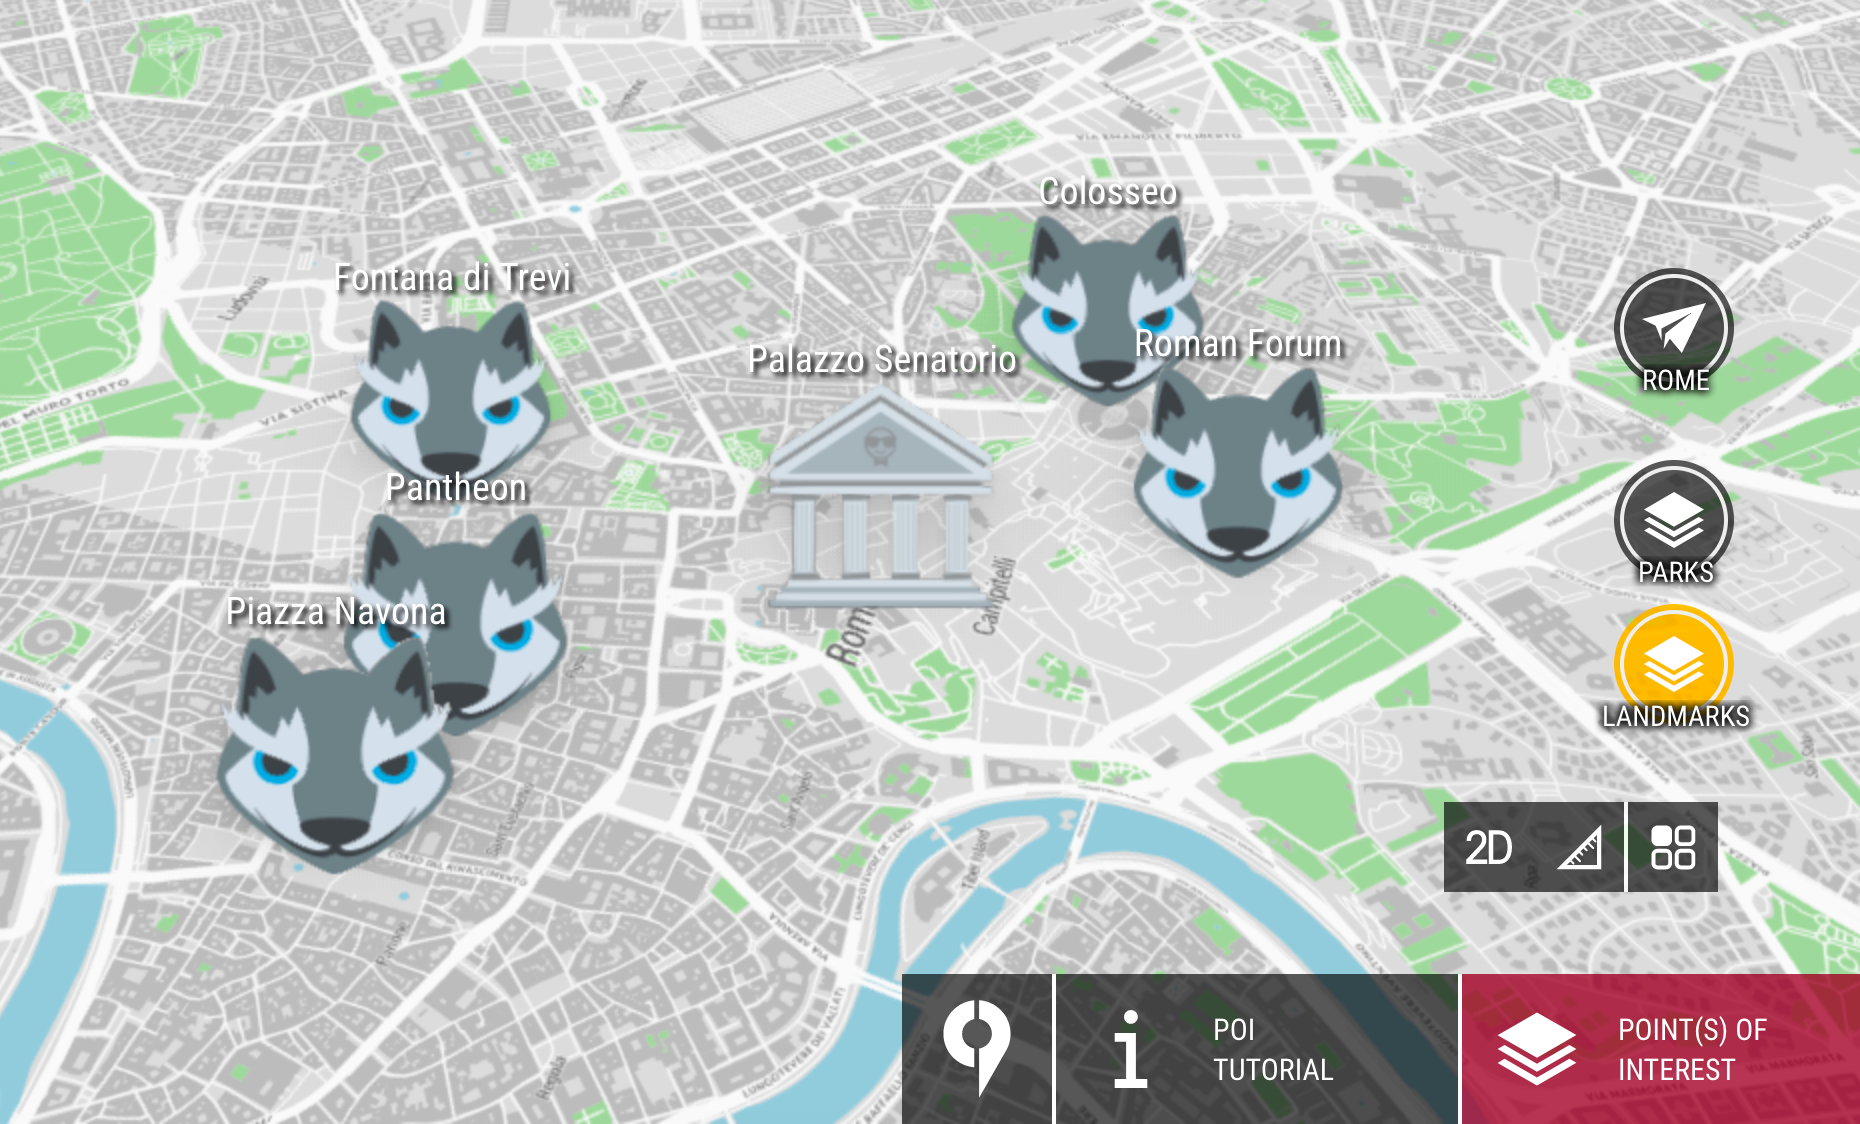
We took the tutorial a step further and created one layer with a few parks and another with some landmarks. If you’re up to the challenge, why not try to create something similar where you live.
Advanced Task: Create multiple layers, each with a thematic group of markers.