Project Info is a powerful tool for conveying information about your project and/or organisation. It functions as either a pop-up window or side-panel.
On this page you’ll find two tutorials. One for setting up a detailed pop-up and another to embed a website in the side-panel. We’ll also go over the pros and cons of each.
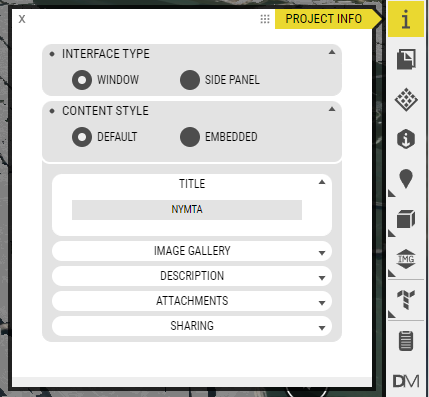
Get started by opening the Project Info window, as pictured above.
Full Sail Window
Window is the default mode for Project Info. Default Content Style means you can configure it yourself with OpenCities Planner’s built-in options. Let’s walk through the options:
Title – Straightforward, this text is used in the Window’s title bar.
Image Gallery – Click the plus to upload. Add more than one image to create a slideshow. Click images to add a caption or delete.
Description – There is a WYSIWYG text editor, so you can add headers, paragraphs, and style text. The Source Code button enables advanced use.
Attachments – Especially useful for PDFs!
Sharing – Toggle methods of sharing.
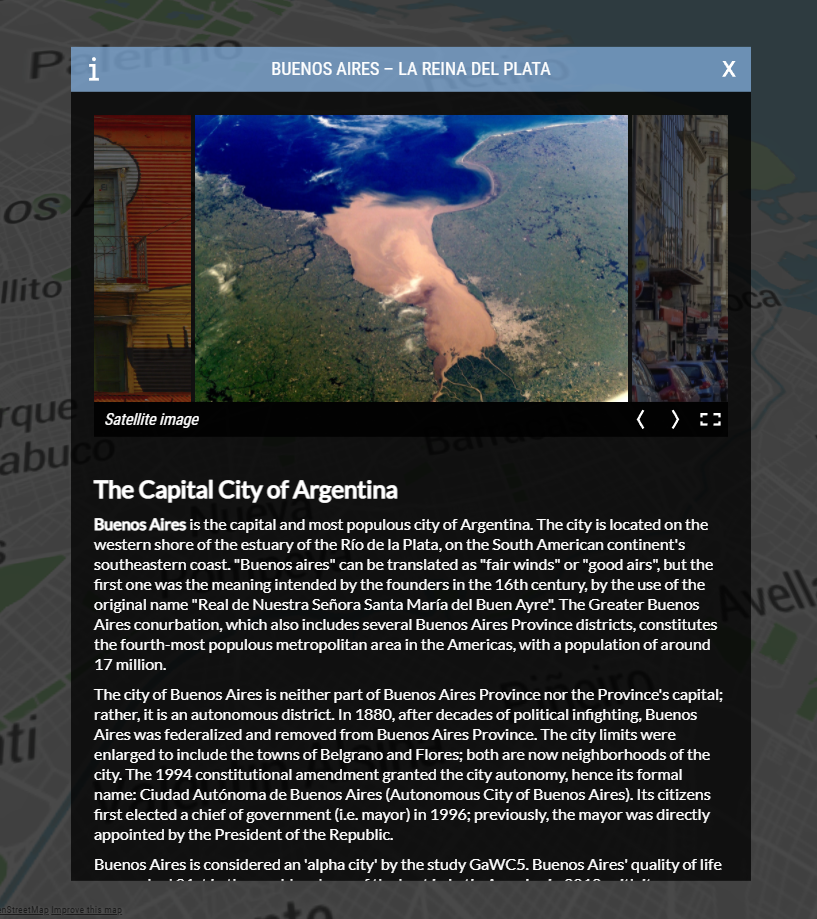
Pretty neat, eh? Here’s an example of a project which uses all of the sub-sections: Project Info: Window
Embedded Panel
All the same options apply, but let’s switch to a panel and embed a website. It could not be simpler, here’s how…
For Interface Type, choose Side Panel
For Content Style, choose Embedded
In the Text Field, paste a Website Link (or Embed Code)
Embedded Side Panel
Easy peasy, and very powerful! Here’s an example project to check out: Project Info: Panel
PROTIP
Project Info is on by default, but it can be disabled by removing the button from the ribbon. Sometimes less is more.