Here are a few easy tasks you can do to quickly give your project a unique and professional feeling
Masthead, Colour, & Typography
Upload a Masthead
The Masthead is a graphic you’ll find in the top left corner of Project View. Adding a Masthead allows you to instantly communicate your organisation or project to the viewer, as it is always visible.
First – you’ll need a graphic. If you don’t have your own, here is a sample file:
SVG is the preferred image format, here’s why:
Now let’s go through it step-by-step.
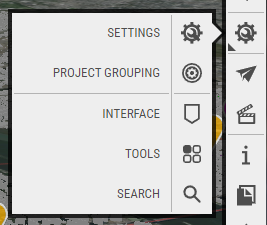
- Open the the Interface Window – You’ll find it ‘underneath’ the Manage button. The arrow at the bottom corner of the button indicates there are more options, so hover over Manage and the flyout buttons will appear. Click Interface.
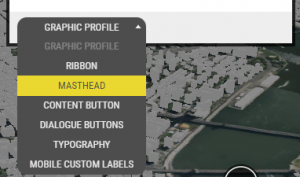
- Switch to the Masthead Tab – At the bottom of the window is the tab switcher. Click it and choose Masthead.
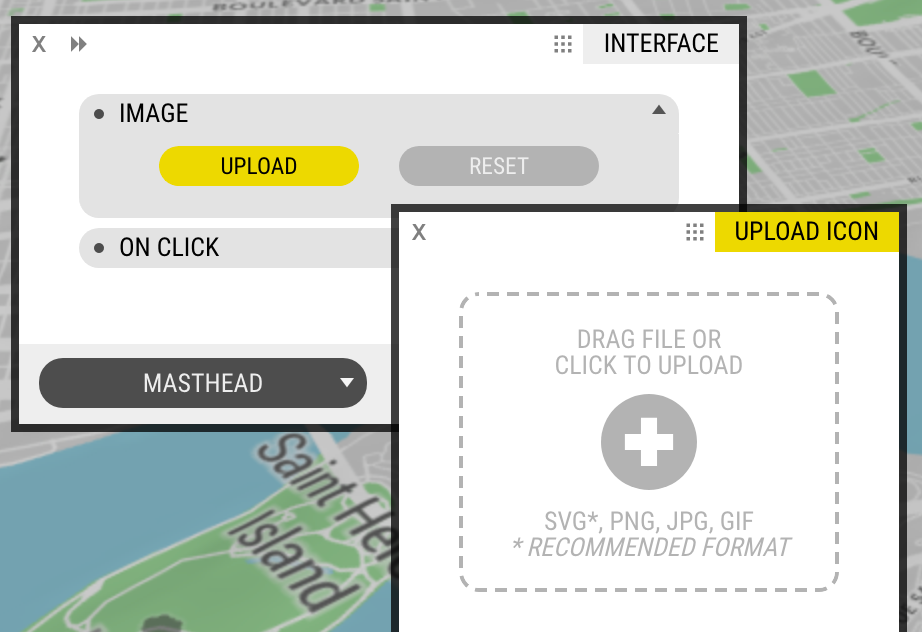
- Click Upload – A popup window will appear, which you can drag & drop your file on – or click to browse and find your file. Upload your image file.
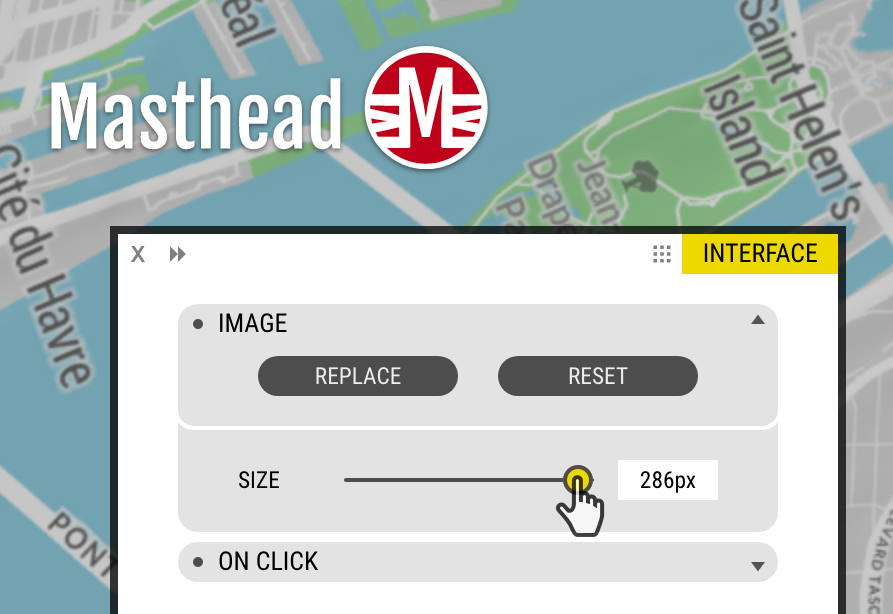
- Set the size – Does your file look too big or small? Use the slider, until it looks good.
Customise the colours
Setting a unique colour scheme makes your project stand out from the others. It can also be used for branding – match your Organisation or Project’s official palette.
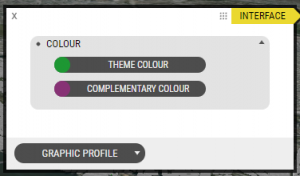
- Switch to the Graphic Profile tab – It’s the default tab in the Interface window, so if you closed the Window simply reopen Interface (under Manage).
- Click the Colour button – If your Project or Organisation has an official colour palette, add the RGB or Hex code. Otherwise, use the sliders and mix your own custom colour. Your changes are reflected live.
On Your Own
A few minutes have have gone a long way in making your project more visually interesting and memorable. You’ve also learned more about how OpenCities Planner works.
How does your project look? Here’s an example to compare it to, a project where we simply changed the colour and uploaded a masthead:
