Viewpoints are shortcuts to different camera positions in the 3D world.
Start View & Viewpoints
Working with Viewpoints
You’ll find the Viewpoints tool on the right side of your screen. Open it to get started.
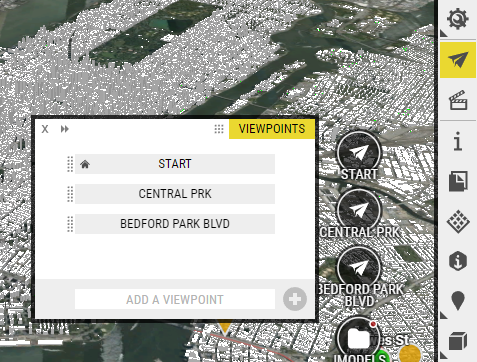
Creating Viewpoints is easy:
- Navigate to a specific position
- Set a label by filling in the input field at the bottom of the window (optional)
- Click the plus button in the bottom right corner of the window…
- … et voilà! You’ve made your first Viewpoint.
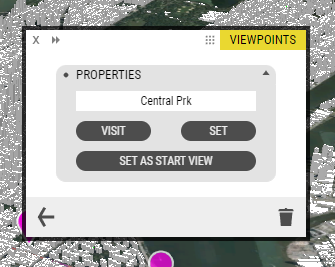
Setting the Start View
Start View is the camera position OpenCities Planner uses when a project is loaded. It is indicated by the house icon, in the main window.
Here’s how to switch which Viewpoint is used on load:
- Click a Viewpoint to edit it
- Click the ‘Set as Start View‘ button
Extra Tips
Here are a few more things you can try
- Rearrange – Drag and drop to change the order, your changes are reflected live in Project View
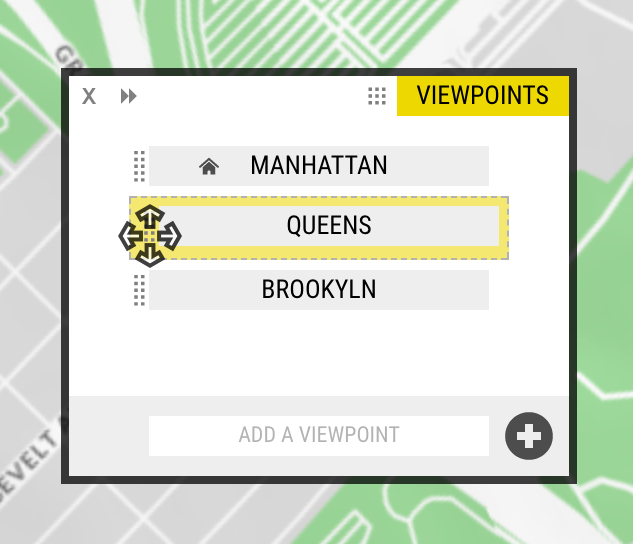
- Delete – Click to edit, then use the Trash icon in the bottom-right corner