When logged in to OpenCities Planner, you can interact with the interface as either a Viewer or Editor depending on the mode you are in. 

View & Edit Tools
View & Edit Tools

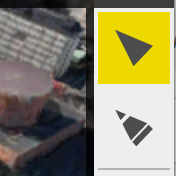
On the top of the Project Bar, on the right side of the screen, you can choose between using the View Tool or the Edit Tool.

When using View Tool, you interact with the interface as if you were viewing the published project outside of the Editor.

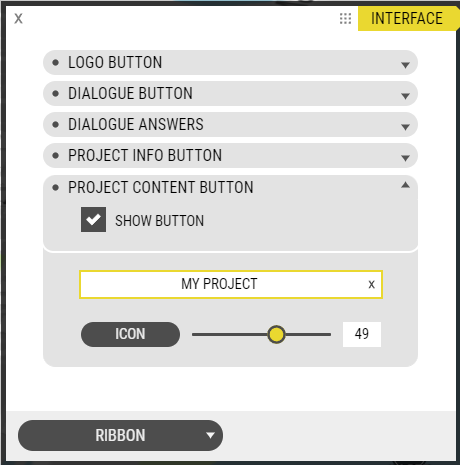
Switching to Edit Tool enables you to click-to-edit nearly everything in the map or interface. On click, 3D tools and/or properties windows will open so you can edit the element directly – while changes are previewed live.

PROTIP

When using Edit Tool, the cursor changes to a black pentip to help you remember which mode you are in.

Using Edit Tool

Here is an easy task to help you get started using Edit Tool

  1. Switch to Edit Tool
  2. Navigate to the Ribbon and click the Content button:                                                         Edit Content Button
  3. From the Properties window, edit the button label directly. Let’s change the label to “MY PROJECT”:
  4. Click the Icon Button to choose a new icon from the Icon Library. Let’s open the Categories section, and choose the house:                                                             
  5. Changes are previewed live. Make sure the size looks correct, use the slider if it appears too big or small. Your ribbon should look like:

Edit Everything

That wasn’t so hard, was it? Try using the Edit Tool to edit other buttons, as well as in-map objects once you’ve learned to create them.

You can also access various windows by opening them directly, once you’ve learned their location in the interface, or edit objects by using Object Manager. You’ll learn more about these features in subsequent tutorials.

PROTIP

Wanna use keyboard shortcuts? Press 1 for View Tool and 2 for Edit Tool.

Related Tutorials

Menu