Access the Bentley Connect Center, go to www.connect.bentley.com
If your iModel is placed in the wrong location, you need to reposition the original Revit file before creating your iModel, by following the steps as explained in this documentation.
Access the Bentley Connect Center, go to www.connect.bentley.com
If your iModel is placed in the wrong location, you need to reposition the original Revit file before creating your iModel, by following the steps as explained in this documentation.
Revit does not have to option to define a specific coordinate system*) and therefore locating projects in real-world conditions for iTwins is relying on the Revit Location Settings.
*) Revit can work with imported GIS files defining a surveyed location.
Establish site location and shared coordinates in Revit.
Example:
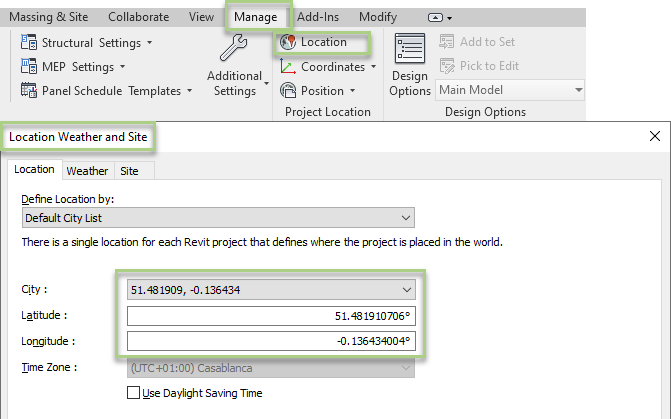
Lat / Long: 51.481915, -0.136461
Translated to UK**) OS grid: X(E): 529500 / Y(N): 177531 (metres)
**) refer to country specific coordinate systems for locations outside the UK.
Revit 2020 can now displays the Internal Origin which helps establishing the project location and Autodesk recommends not be more than 16km away from the Internal Origin.

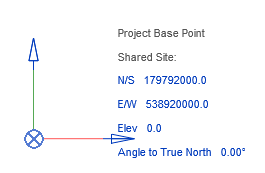
Revit Project Base Point with local X and Y values using a local coordinate system.
This set up will also ensure positioning of Revit files in AutoCAD at survey locations (OS or topographical surveys). It will also ensure that the geometry is not too far away from the internal origin, which often can lead to increased inaccuracy and results in persistent Revit warnings.
A quick export with Shared Coordinates to DWG and opened in MicroStation or AutoCAD can verify the location.
This is the most important aspect in order to successfully connect Revit files to iTwins. This setting isn’t too critical in a Revit only workflow but becomes important when a global positioning is required.

Location settings can be found and modified in Manage-> Location.
Please note: Any location / survey information must be verified by a qualified person.
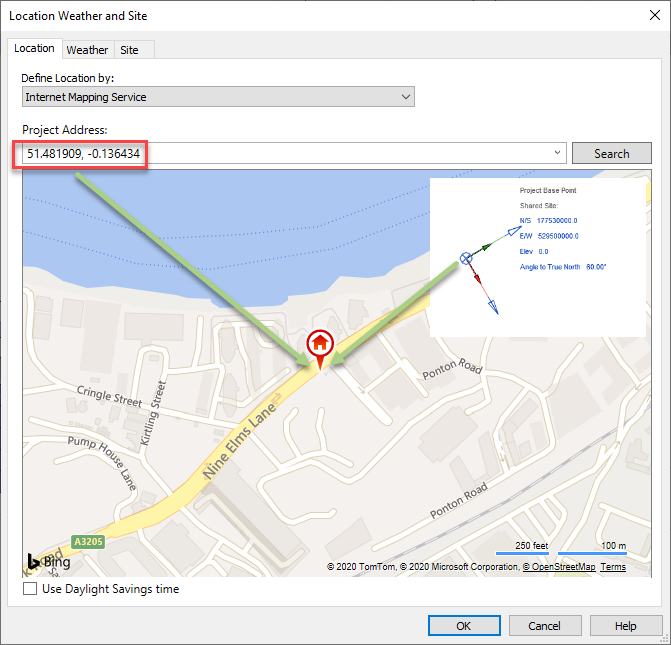
It is also possible to acquire the location through a GIS file created from AutoCAD. This requires the use and knowledge of AutoCAD and its geographic location settings. But in general, a location is selected on a map and then stored within a DWG file. This file can then be referenced into Revit file and coordinates can be acquired.
There are multiple Revit workflows available describing the setup and use of shared coordinate systems and location settings. To discuss all would go beyond the scope of this document and further advice can be found on the Autodesk website.
It is important to note that latitude and longitude will then be aligned to the Revit Project Base Point (PBP). The asset will be positioned with its specified Project Base Point matching the latitude and longitude.
This file has now the correct settings and can be positioned at its true location.
Revit files can be geolocated for iTwins using 2 methods. These do not require any non- Autodesk-specific workflows and are part of a general file setup.

The Revit file must use local grid (X / Y) coordinates applied to the project base point. If these are not set, consider using lat/long alignment instead. See link above.
For this to work, the ALLOW-REVIT-REPROJECT-SKIP feature must be enabled for the project. This allows a DGN or DWG to be used as a geolocation file loaded first. Revit then does no longer force set its coordinates. Without it, even a perfectly located project will be thrown off as soon as the first Revit file comes in.
To get this switched on, please contact Bentley, or raise a service request.
Ensure the Revit location is set to at least 100 miles away from the actual project location. Only then the connector will ignore any specified location. If this is not possible, please consider using the first method.
To set the location, a global coordinate system is required (i.e. OSBG, UTM, …)
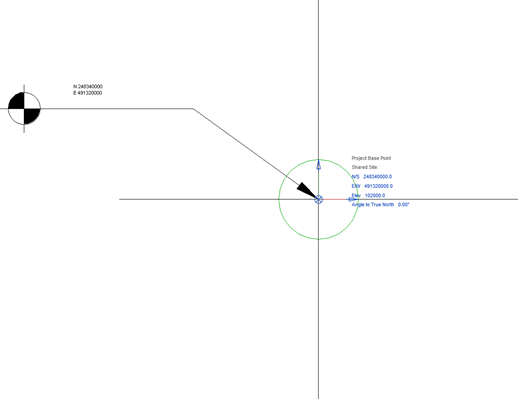
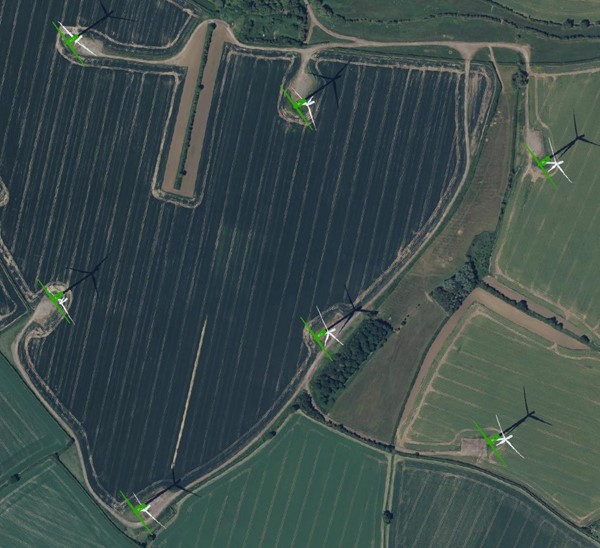
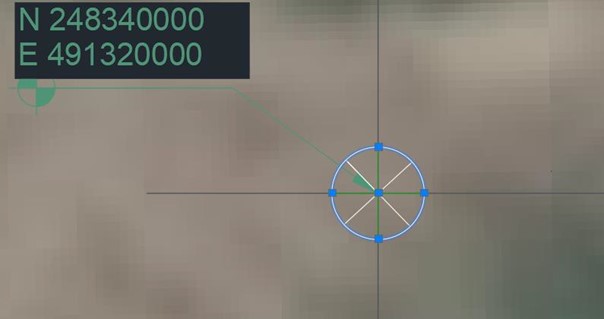
• In Revit, place a spot coordinate and / or a marker on the project base point. This will help verifying the location in C3D.
• Export a 2D DWG drawing with Shared Coordinates set.


Find the spot coordinate and the marker placed earlier in the Revit model and place a new marker in the C3D file – ensure it is the same location and it does not get moved.
Always connect this geolocation file first. It only needs to be processed once per iModel. A repeated synchronization is not required. The file can be reused for projects requiring the same global coordinate system.

Back to the iModel start page.