Masthead style guide
First things first – what is the ‘Masthead’ anyway?
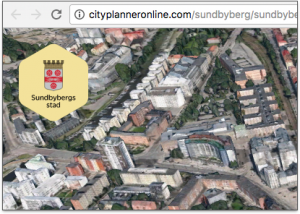
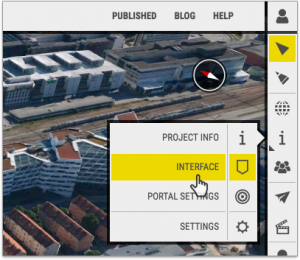
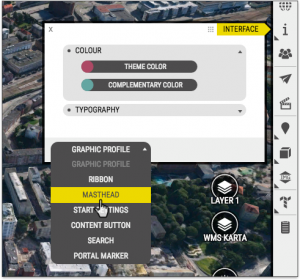
Masthead refers to the graphic used in the top-left corner of the OpenCities Planner interface. It is typically the logo of a project, municipality, or company.
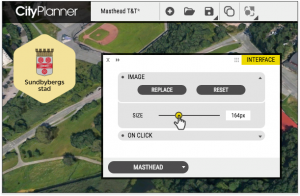
The Image Section options are quite straightforward, simply click the appropriate button to upload, replace, or reset the image. You can upload SVG, GIF, PNG, and JPG image formats.
Size matters
You can set a custom size for your image. In order to resize, use the handy slider or manually add a custom value.
Changes are made live in the Project View, so you can decide what looks best.
To click or not to click
You can even choose what happens when the image is clicked.
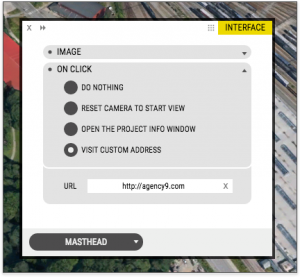
The options are pretty self-explanatory. ‘Do Nothing’ is the default, so if you do not actively change the setting nothing will happen when the Masthead is clicked. The choice is yours.
One small step for a OpenCities Planner user…
Now you have all the information you need. Adding the best Masthead you can is a small but important step in producing a high quality OpenCities Planner project.
