Explaining the Project View Interface
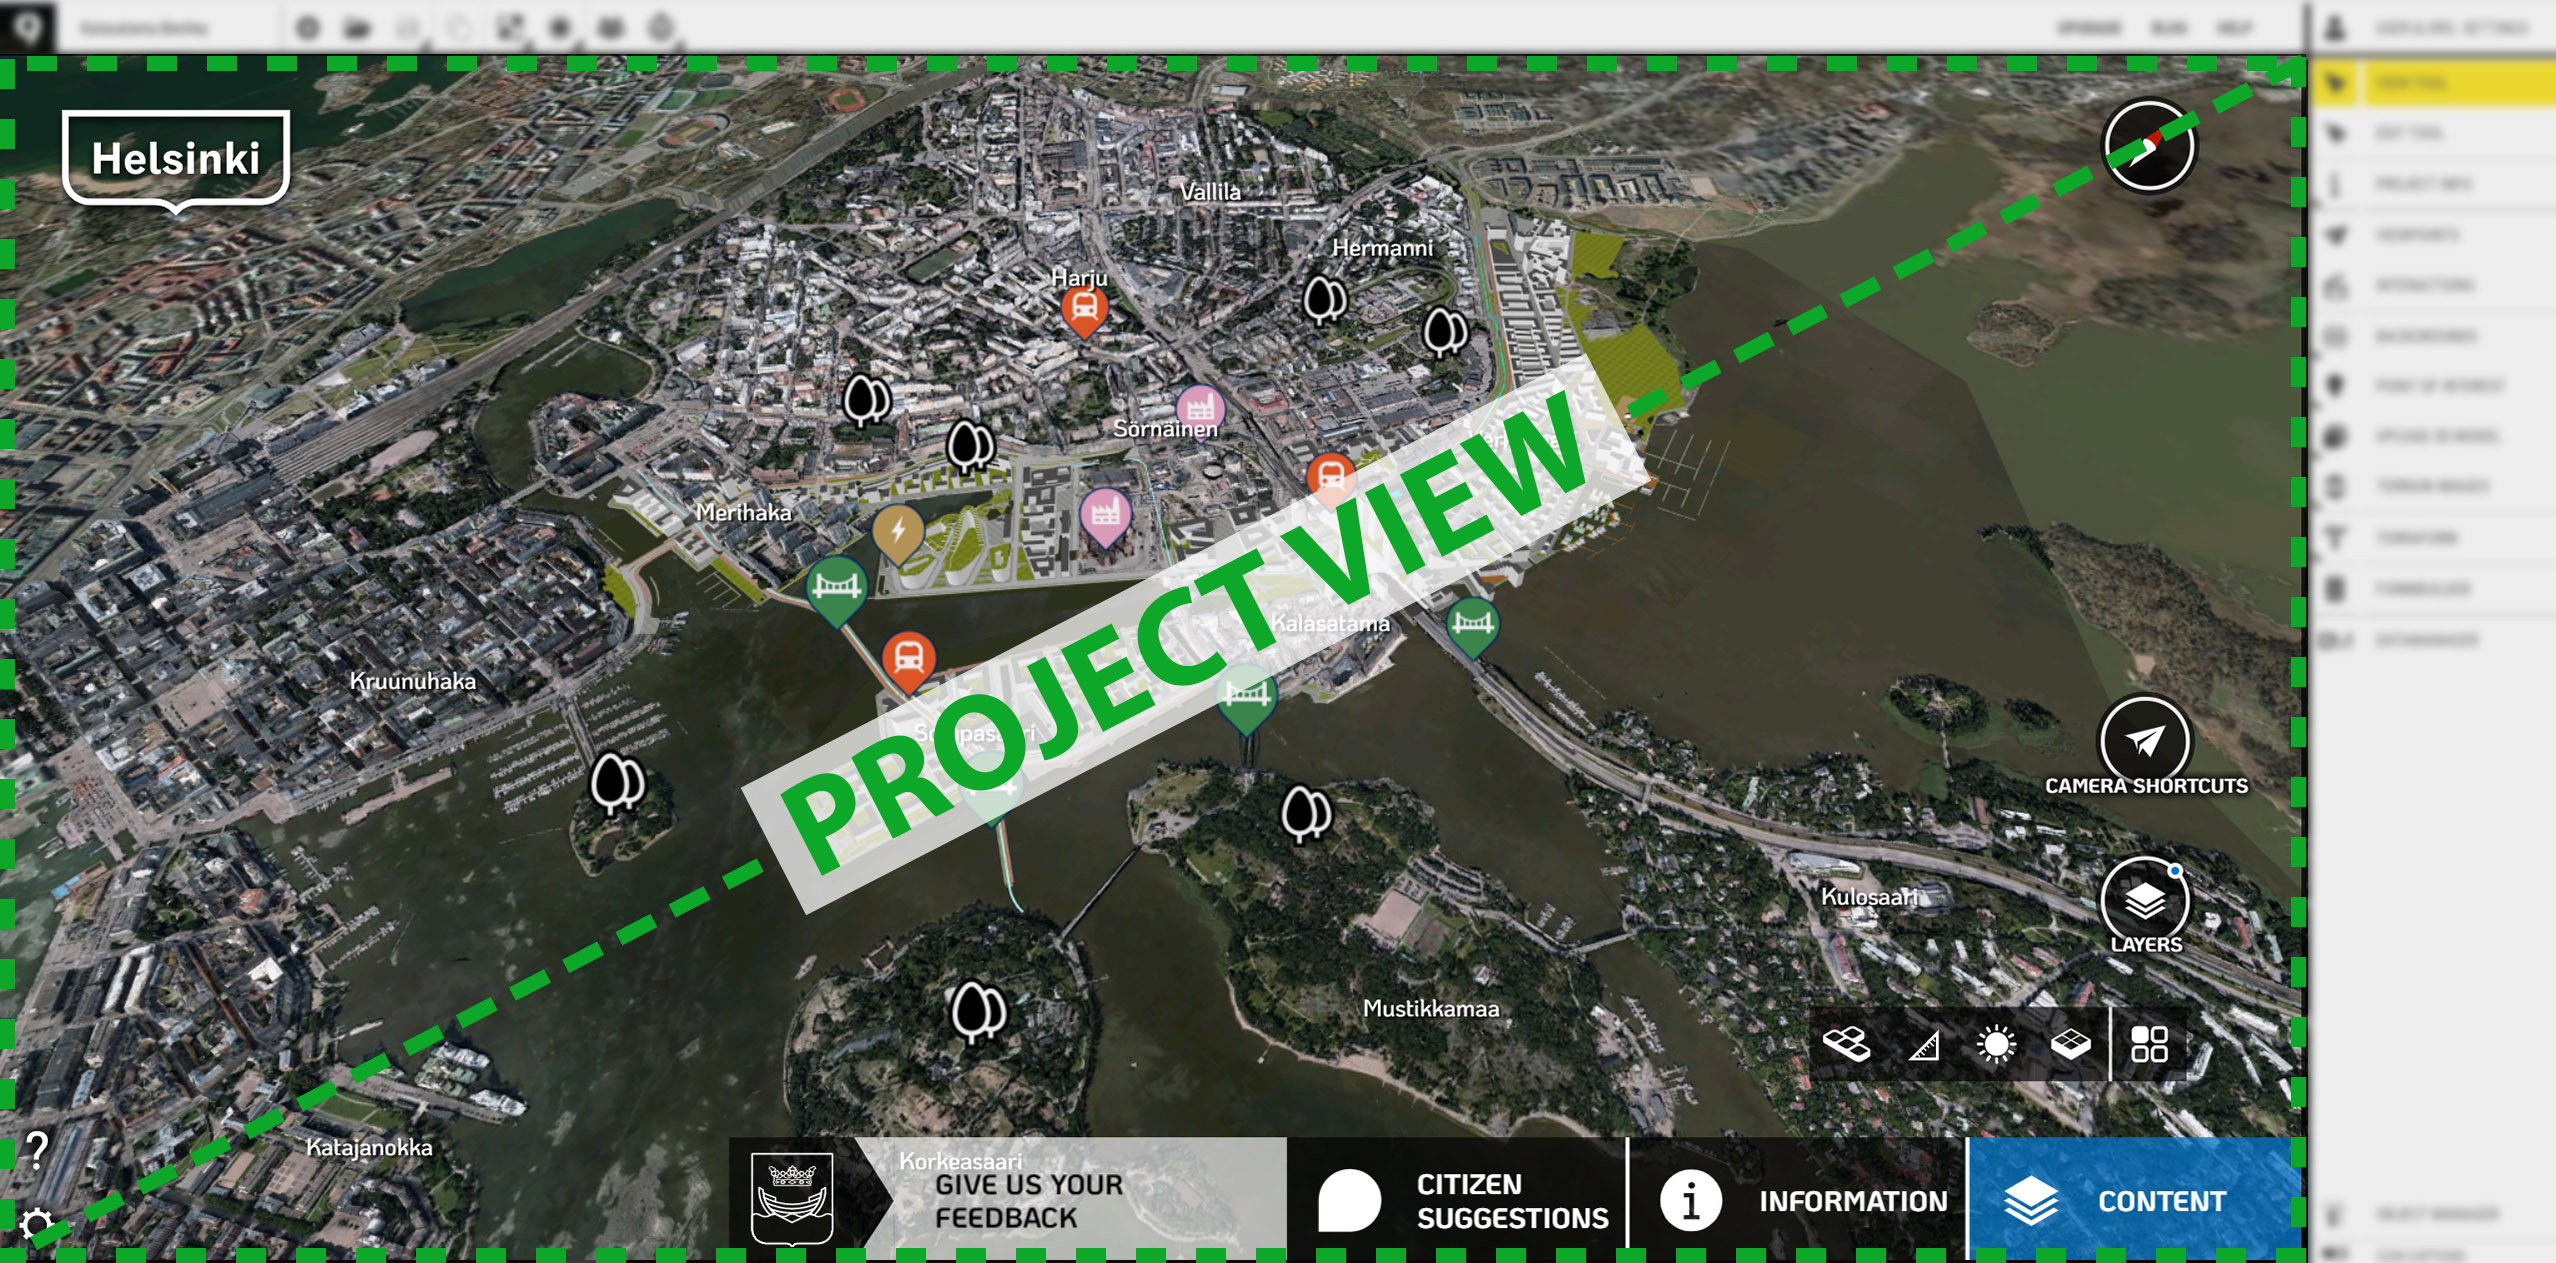
“Project View” is the published website, everything that is visible to the public excluding the Editor interface you see when you are logged in to OpenCities Planner.
Let’s run through the various parts of Project View.
Ribbon

Ribbon buttons switch between different parts of the interface. They include INFORMATION and CONTENT by default, while the Dialogue Form & Answer buttons can be added to Dialogue Projects.
The square ‘Logo button’ on the left side of the Ribbon serves two functions: Branding and hiding the interface. Edit it to add your own mark and/or disable the hide UI feature.
Toolbar

The Toolbar sits above the Ribbon, on the right side of the screen. This is where you will find useful tools such as View Mode, Free Flight, Measure, Sun & Shadows, and Transparency.
Click an icon to use or activate a Tool, most open a window with unique options and/or information.
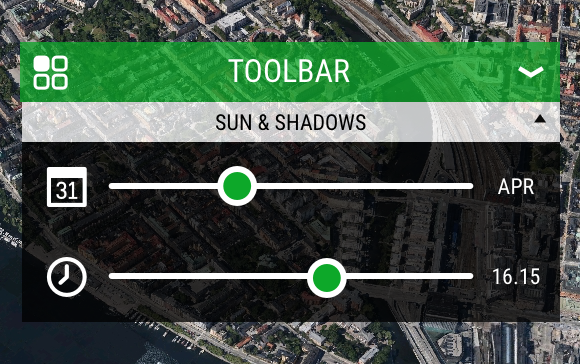
The Tool Window can be minimized and maximized. Use the arrow icons on the top right of the Window or left side of the Toolbar to toggle the state.
Common Tools
- Lock the camera in the top-down perspective with the 2D/3D Toggle button

- Enable the Free Flight mode to navigate using arrow keys and view direction with the mouse.

- Use Measure for tasks such as determining area, height, or the distance between places

- With Sun & Shadows, you can change the sun’s position based on time & date

- Transparency makes it possible to view subterranean structures

Content Buttons
The Content Buttons are large circular buttons located along the right side of the screen.
- Viewpoints are shortcuts to different camera positions – click them and fly some place interesting

- Layers contain different kinds of content – clicking a Layer Button toggles the content on and off in the 3D world

- Some Projects use Groups to organise Layers that belong together

Navigation & Graphics Settings
- The Navigation Icons on the left side of the Editor show simple instructions on how to navigate
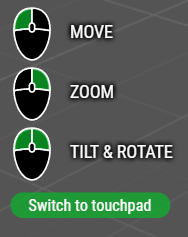
- The Graphics Settings Icon in the bottom left corner lets you choose a graphics setting that best suits your computer.