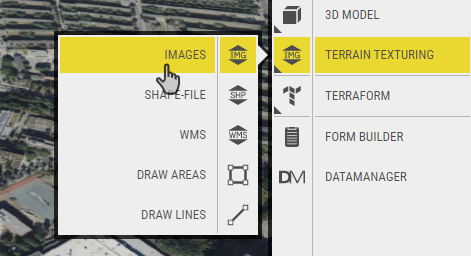
Terrain images are uploaded images that get textured on the terrain model. Useful to overlay smaller area maps or illustrations on the ground. File formats are PNG, JPG, and GIF.
- Uploading
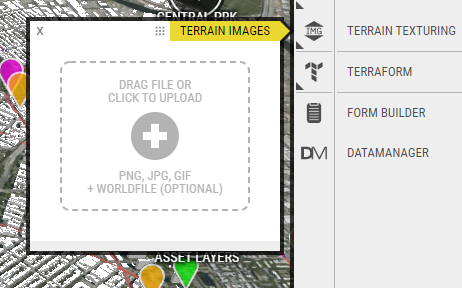
To upload, click the plus icon or drag and drop images from the hard drive on the upload window or anywhere in the project view. After upload, the image is selected and the properties window for the image opens.
- Geospatial
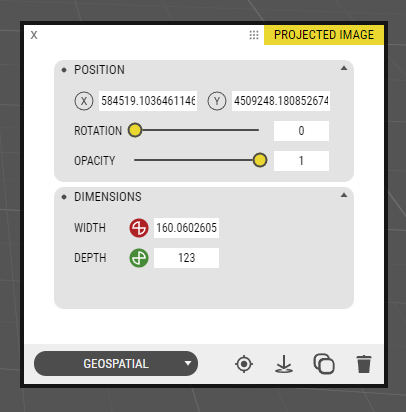
You can set the position, rotation, and dimension either by using the object tool in the 3D world or by entering values into text fields using the Geospatial settings page.
- Inspector
The inspector subpage shows the file size and resolution of the uploaded image. Try not to use too high-resolution images because it impacts the performance of the 3D rendering.

- In-editor settings
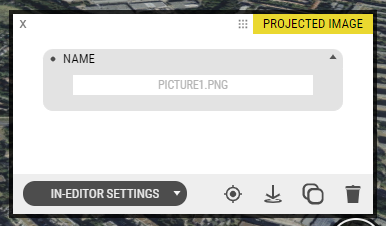
This simply affects how your object appears in Object Manager.
- Interactions
This tab lists all the interactions that affect this object.There’s also a Target link which creates a link that you can use to open the Details window for the point of interest from a web page. The link is HTML-formatted, so to use it in for instance the project window, you have to add it in Source code mode in the description field editor.
