In OpenCities Planner, you can create Projects and Portals. They are very similar but with a couple of important differences.
Project
A project lets you upload 3D and 2D content, use GIS web services and share with a team or publish it public for everyone to see. To create projects, you have to have Editing rights and a subscription for OpenCities Planner Online.
In the top bar:
- Project name – This is the current project that you are working in.
- New Project – You create a project by clicking the New-icon in the top toolbar.
- Open – Saved projects and portals are opened by clicking the Open Icon. This brings up a list of projects that you have access to. Open one by clicking on the name.
- Save/Save as – To save a project, click the Save icon or pick “Save as…” if you want to save a copy of the project.
Portal
A portal can use and present the exact same content as a project can. The difference is, a Portal can also include other Projects and Portals can be synced to a OpenCities Planner ShowRoom installation.
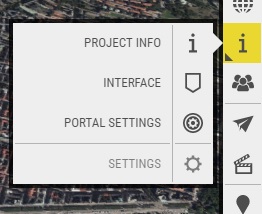
To turn a Project into a Portal, go to Portal settings and check the checkbox. From Portal settings, you can also customize the portal image and description for the ShowRoom startup interface and add projects to your portal. Note, projects that you include have to be published in order to show in a published Portal.
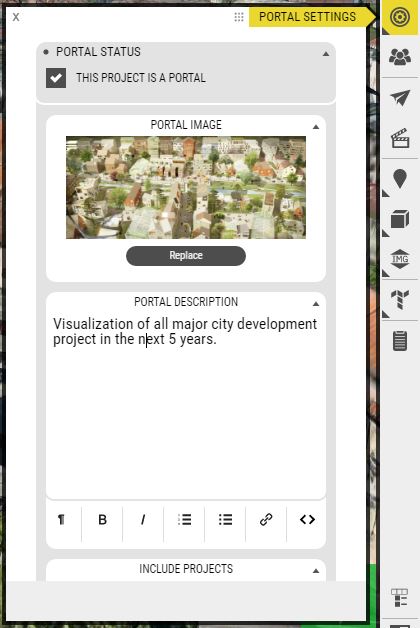
Customize image & description for the ShowRoom startup screen
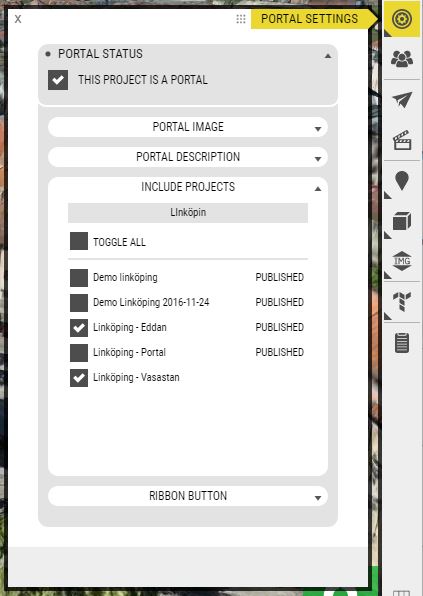
Pick the projects you want to include in the portal
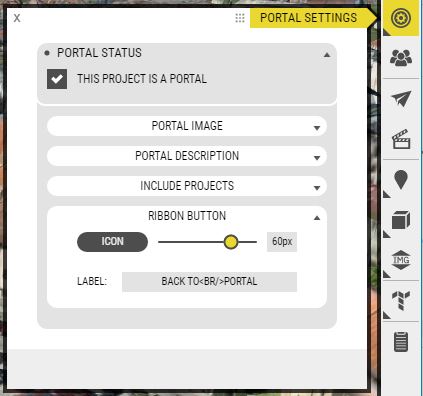
Customize the back-button which shows in the ribbon when users is in a child project
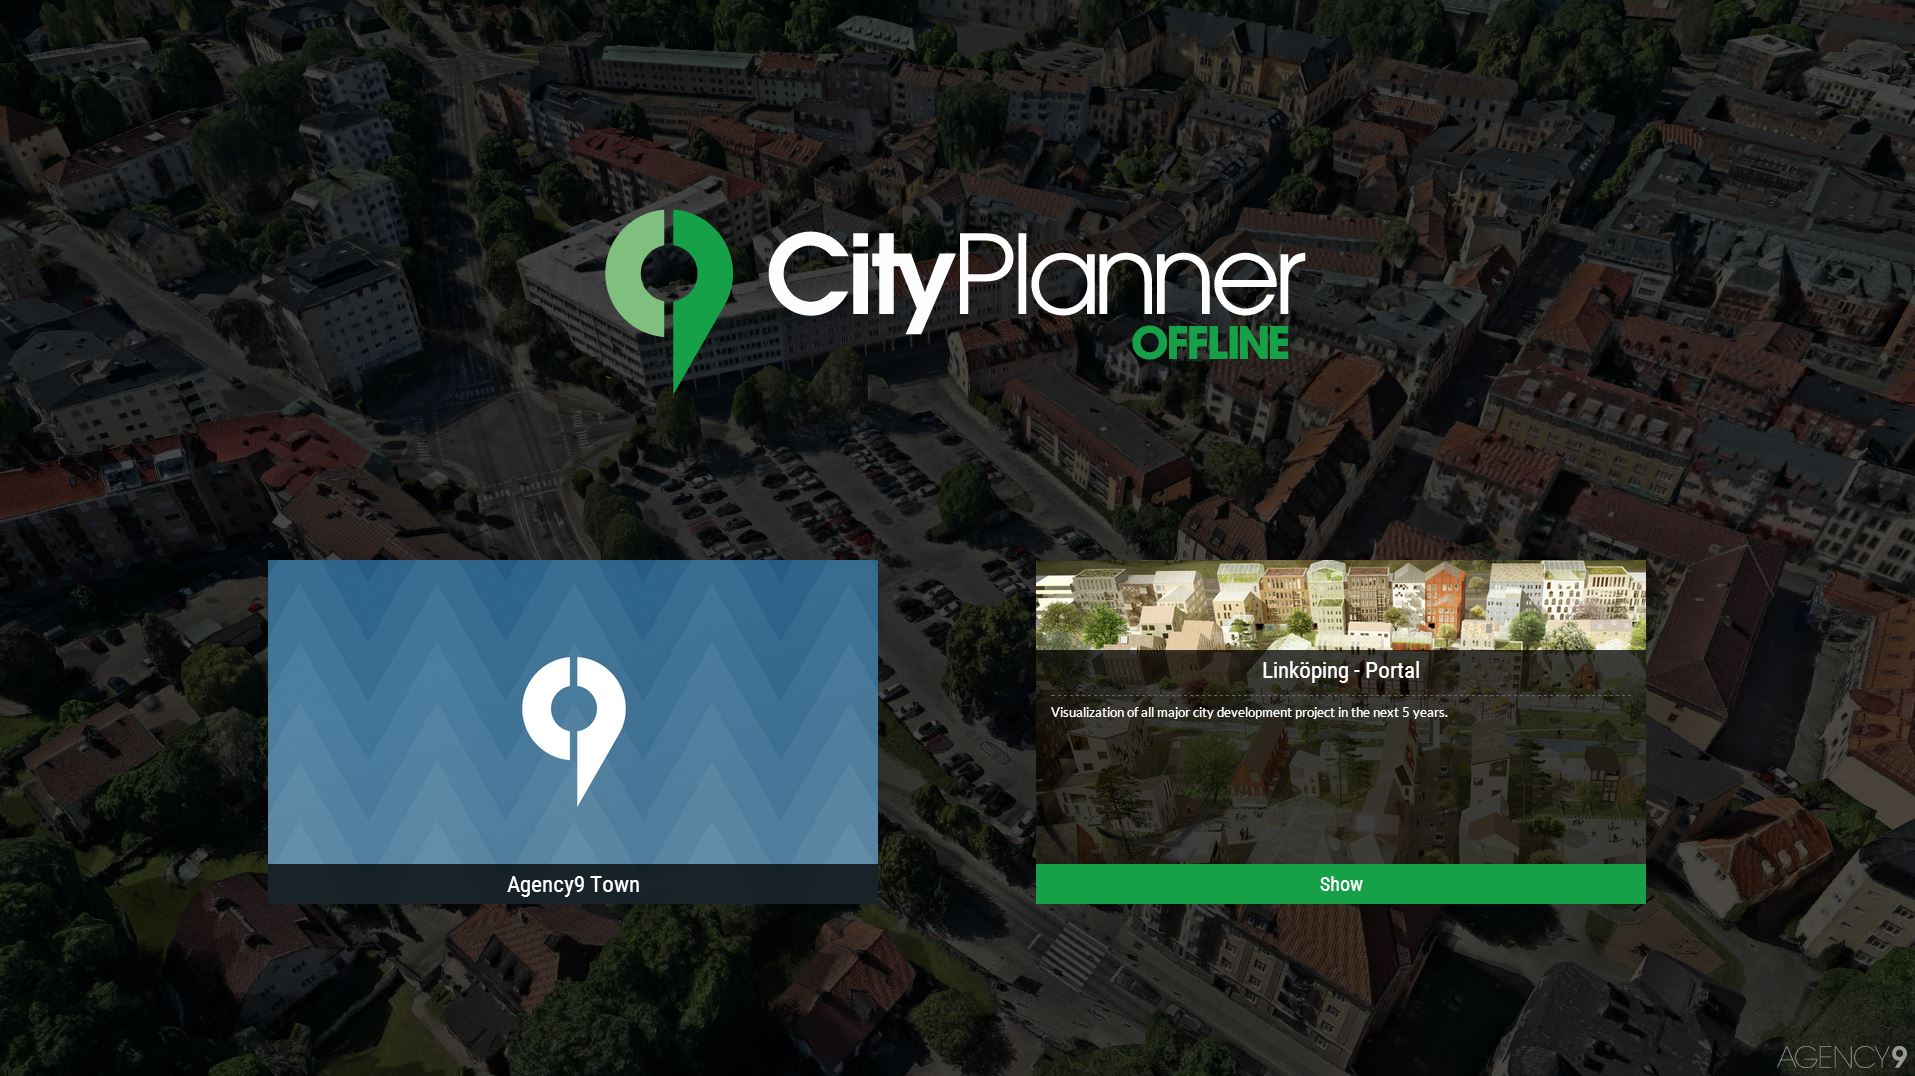
ShowRoom start menu with 2 Portals
Project Markers
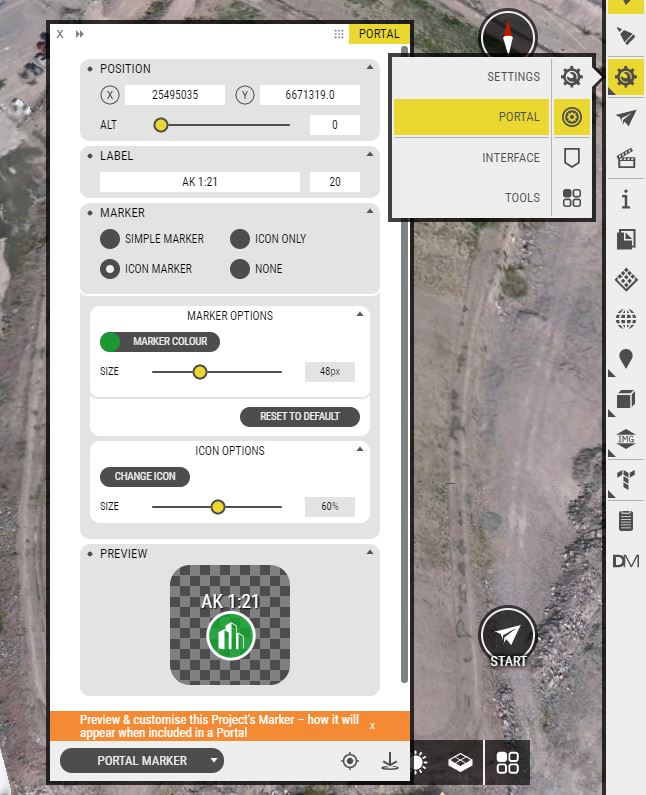
The project you include in a Portal will show up as markers. The markers have a default look but you can customize them. To set your own style for a project, open that project and go into Manage, Portal, and then Portal Marker.
By default, the position of the marker will be based on the start view of your project. If you want to change the position of the marker, click the Place icon at the bottom of the properties window and then click where you want to place it.
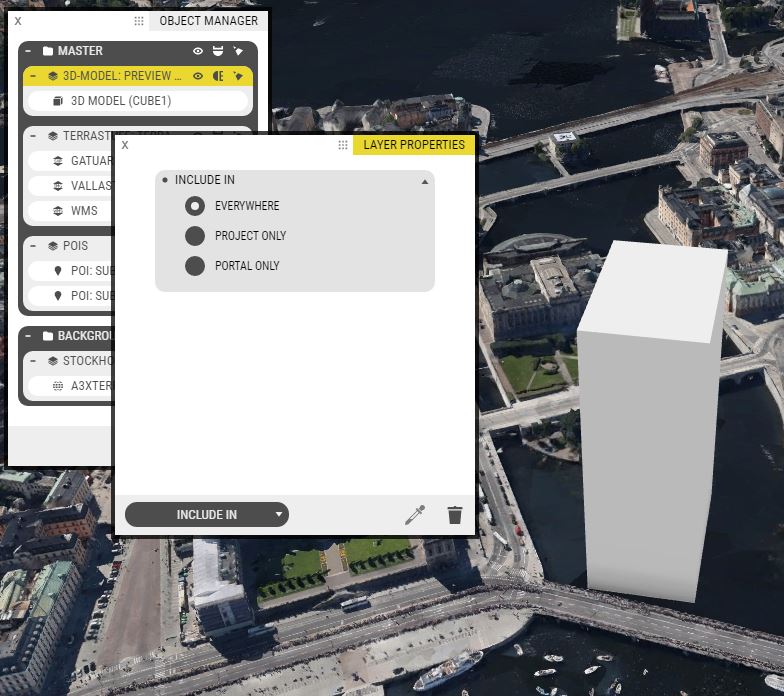
Include in group/layer setting
The Include in setting is useful if you want to show content from a sub project in the Portal view. For instance, if you want to create a preview effect of a project in your portal you can create a layer in that project and set it to show in the portal view only.
Add a fade in interaction and you have a pretty cool effect when the user navigates closer.
This setting is found under “Include in” subpage of a group or layer properties window.