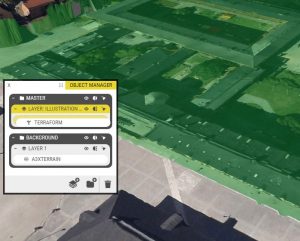
This tutorial will explain how to manipulate objects in 3D-city and terrain models.
- Buildings that are part of the 3D-city model and created as individual objects – such as OpenStreetMap 3D buildings – can be hidden individually in your project.
- If the 3D-city model is created as ‘photomesh’, the buildings are part of the terrain data. You can still hide them, but you will need to use the Terraform tool.
Hide buildings and trees using Interactions
Open the Interactions window, then click the Add Interaction button.
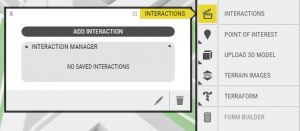
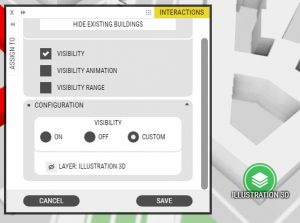
Give your new interaction a friendly name and select Visibility.
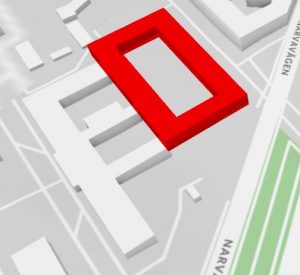
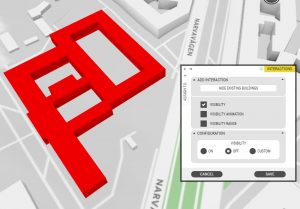
In the map, click the buildings you want to hide. You can even select multiple buildings and add them to the same interaction. Be careful, the terrain can also change visibility via Interactions, so be sure not to accidentally click it! Read more about how Multiselect works.
If you want the buildings to always be invisible, select the Off option. Otherwise, choose Custom in order to manually decide the visibility status for each Project layer.
If you want to create a “before/after” scenario, use Custom and select a Layer for the “after” illustration. That’ll make your selected buildings visible whenever the layer is not active.
Modify terrain or hide buildings in photomesh with Terraform
To modify terrain, use Terraform.
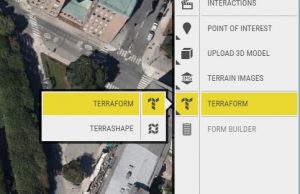
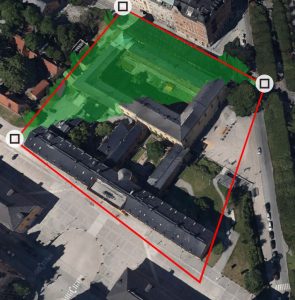
Begin by drawing a polygon to create the area you want to terraform. Click the map to create nodes and double click to complete the polygon. Next, select the altitude you would like to depress or elevate your polygon to. You can also customise the colour and opacity.
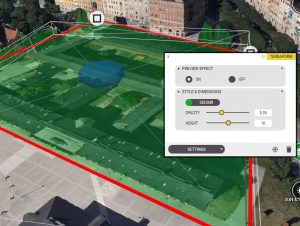
The Terraform tool creates a new object in Object Manager. From there you can move the terraform object between Layers, duplicate, and so on. It functions like a normal Object.
Protip: If you want your Terraform to to always be visible, simply drag it to Background in Object Manager. Voilà, your Terraform is now static. Nicely done!
