Export 3D is a tool which can used to create smaller 3D scenes you can send to others or work with in external 3D applications
Export 3D: Basic
Every step you take…
Export 3D is the first tool of the Export Group in the Top Bar.
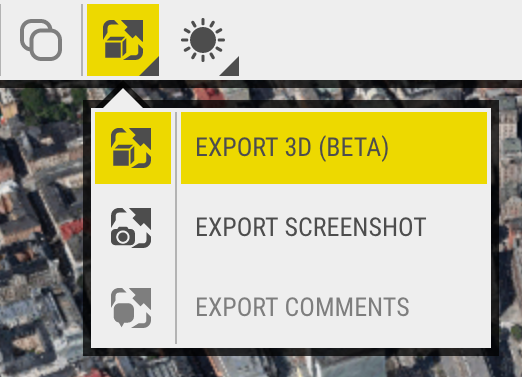
Don’t be shy, Open it up! Now we can walk through the most important options and steps for exporting a 3D area.
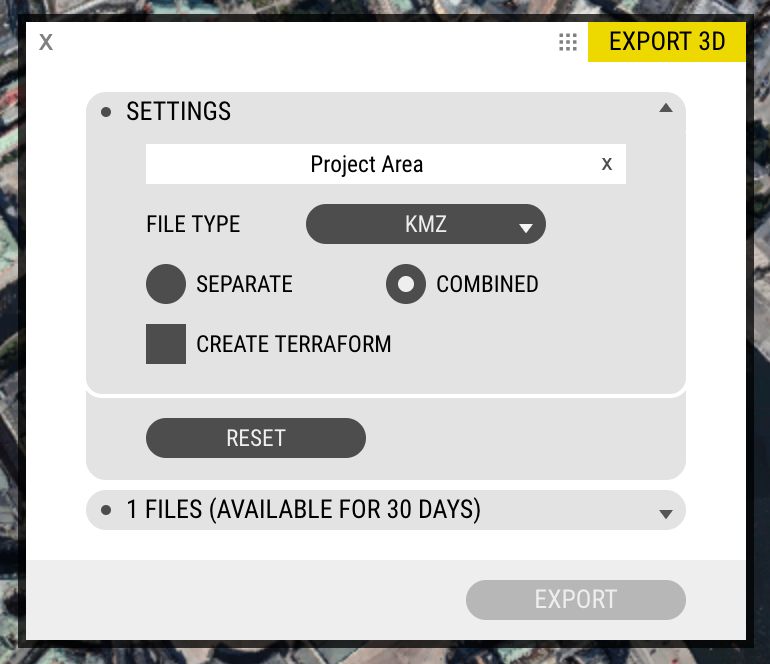
- Title – Choose a unique name so as to best keep track of different files. They’ll appear in the File Section for 30 days after creation.
- File Type & File Options – For advanced users. See the OpenCities Planner reference for more information.
- Create Terraform – Check this option if you’d like the exported area to be replaced with a flat terraform upon creation. This can be useful if e.g. you plan to edit the area and re-import your changes.
- Reset – Resets the nodes in the map. Everyone needs to start over sometimes!
…every move you make…
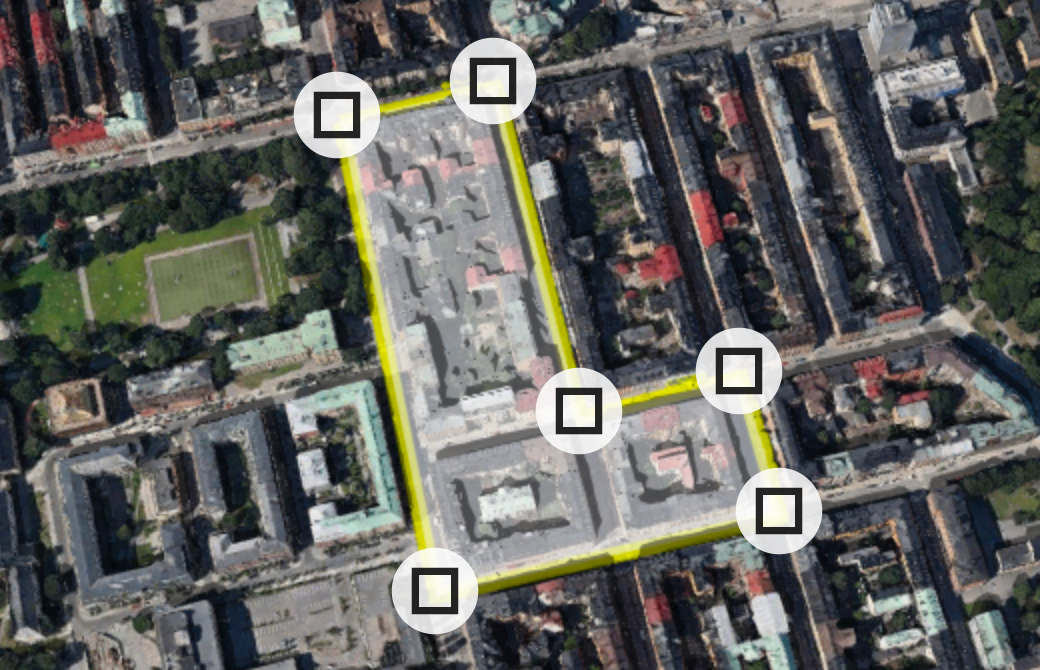
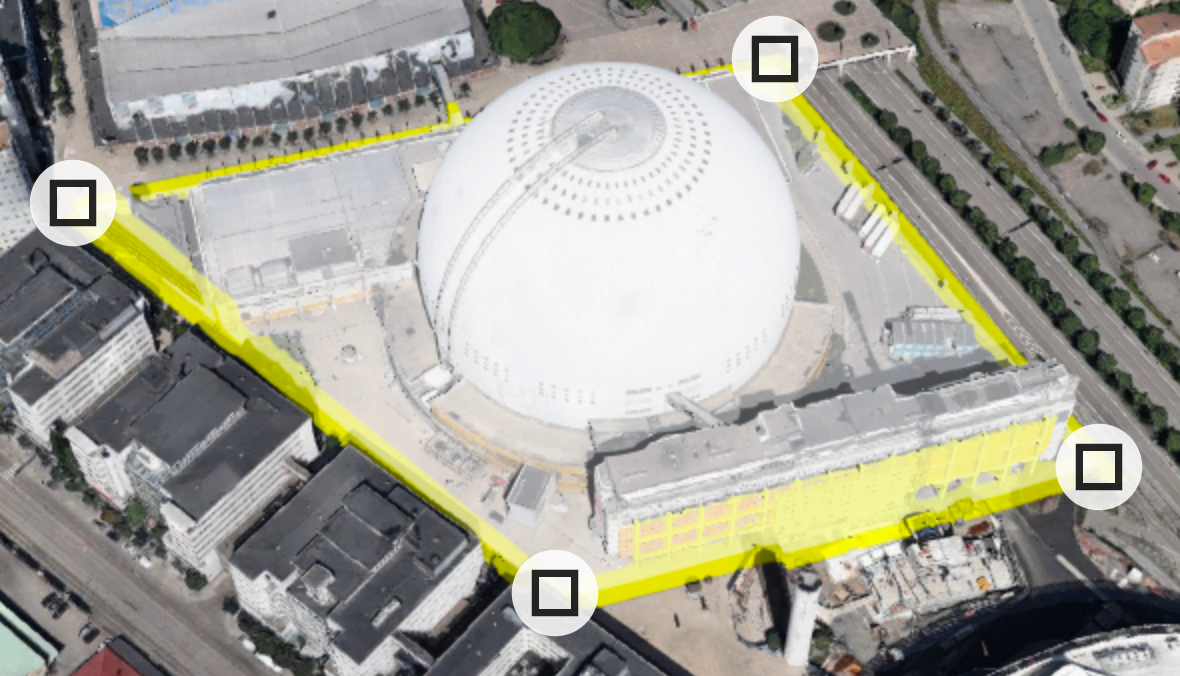
Now that we have gone over the settings, here’s how you select an area in the map to export.
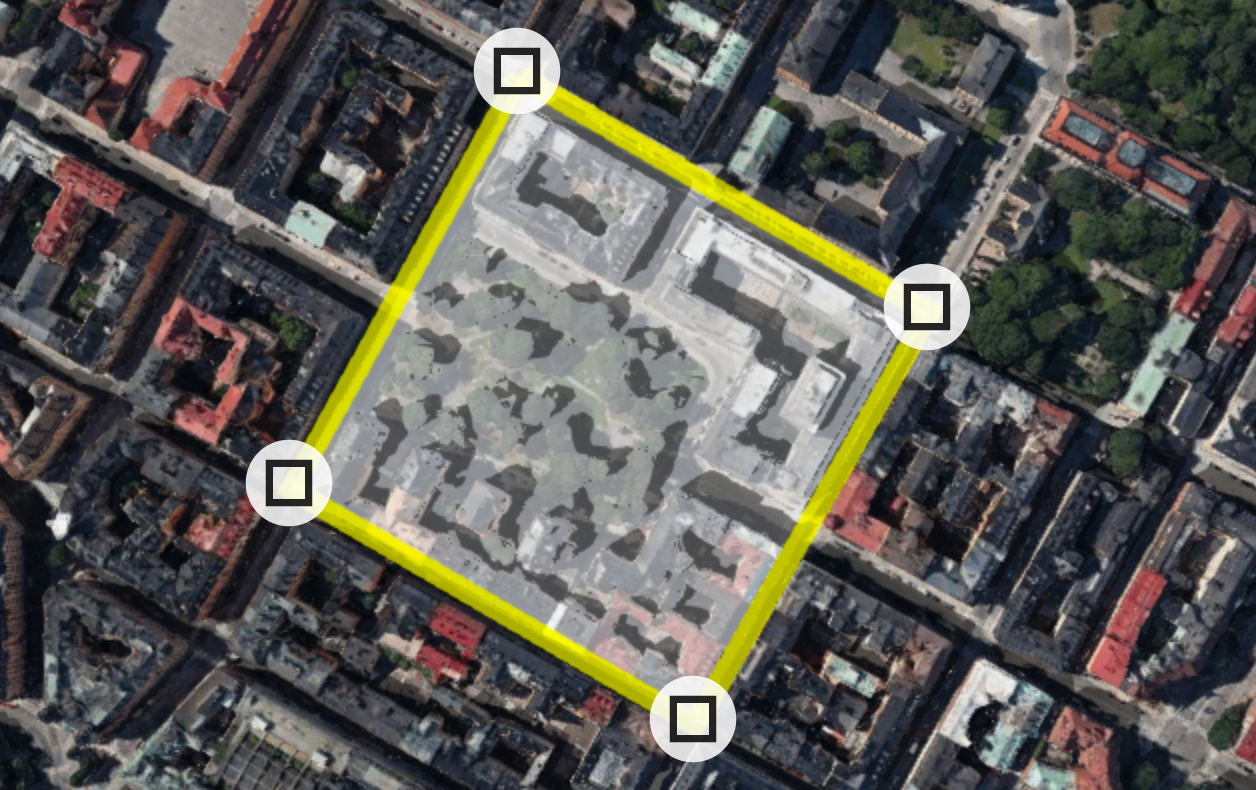
- Click the map to create nodes, defining your area.
- Double-click to close the area, an area needs to be ‘complete’ before the Export button becomes available.
- Click Export, you did it!
…I’ll be exporting you
Once you’ve created an export, you’ll receive an email with a link when your file is ready to download. Save or forward the message, you don’t need to be logged in to download.
Conversely, you can refresh the File Section and download directly from OpenCities Planner once it is available.
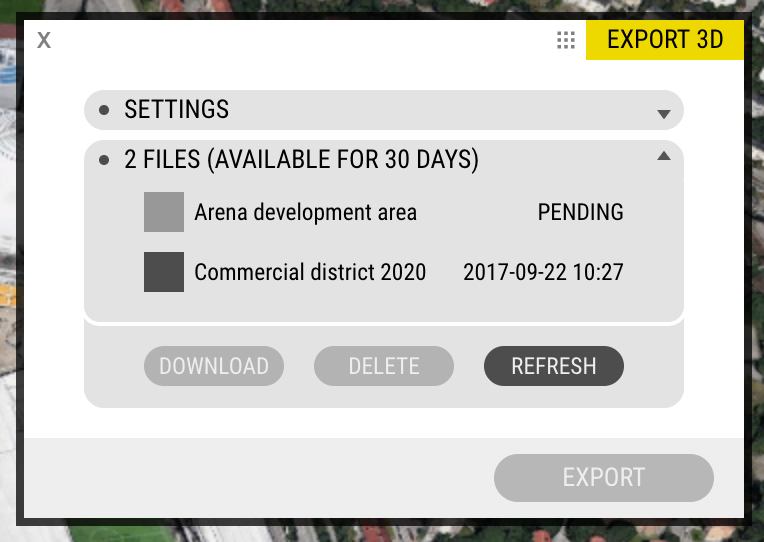
From the File Section you can download and manage exports. If you want more information about a file, hover and a tooltip will appear in the top centre of the screen.
Your turn
We’ve covered the basics, now you can apply what you’ve learned. Here are a few tasks you can try to practice using the tool:
Task: Export a local landmark
Task: Export an L-shaped area in your neighbourhood